# 🚀 Quick start
### A. Enable LUNA Booking in Your Theme
Before creating any services, you need to enable LUNA Booking in your Shopify theme. This allows the booking features to appear on your storefront.
#### Enable the app embed
1. In the **Setup Guide**, click **App embed settings**.
2. You’ll be redirected to your Shopify theme editor.
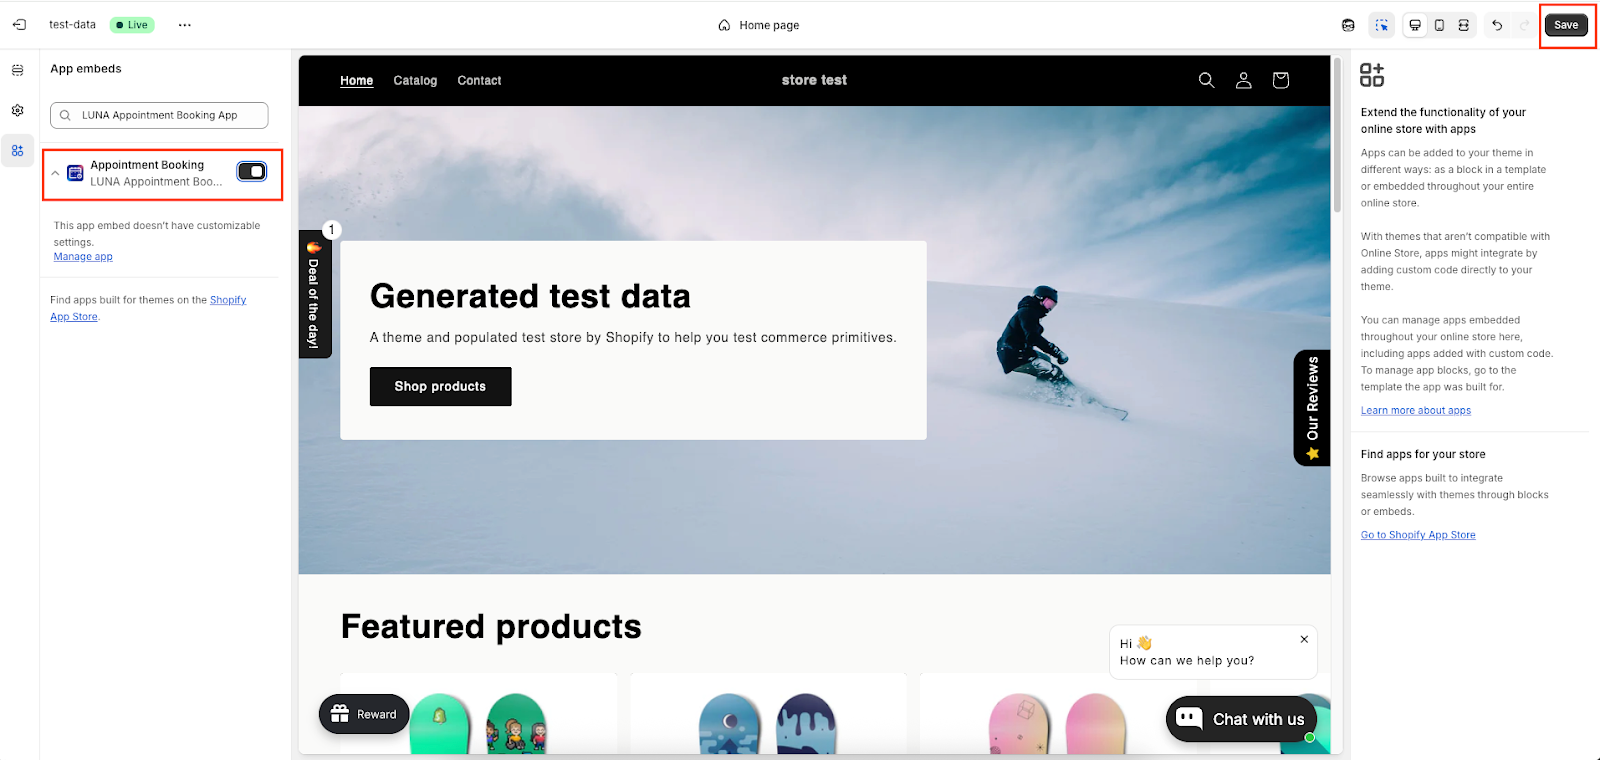
3. In the **App embeds** section, find **LUNA Booking App**.
4. Toggle the switch to **ON**.
5. Click **Save** in the top-right corner.
6. Return to the LUNA app to continue setup.
**Note:** This is a one-time setup and is required for booking to work on your store.
### B. Set Up Your Booking System
LUNA only requires **3 core steps** to start working on your store.
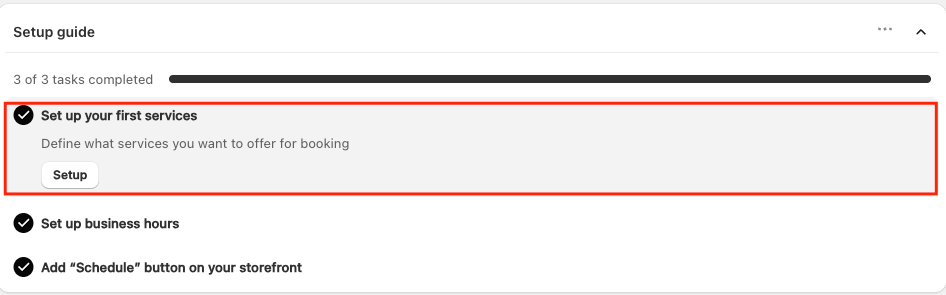
#### Step 1: Create your first service
A **service** connects a Shopify product with a booking schedule.
1. In the **Setup Guide**, click **Setup**.
* You’ll be taken to the **Services** page.
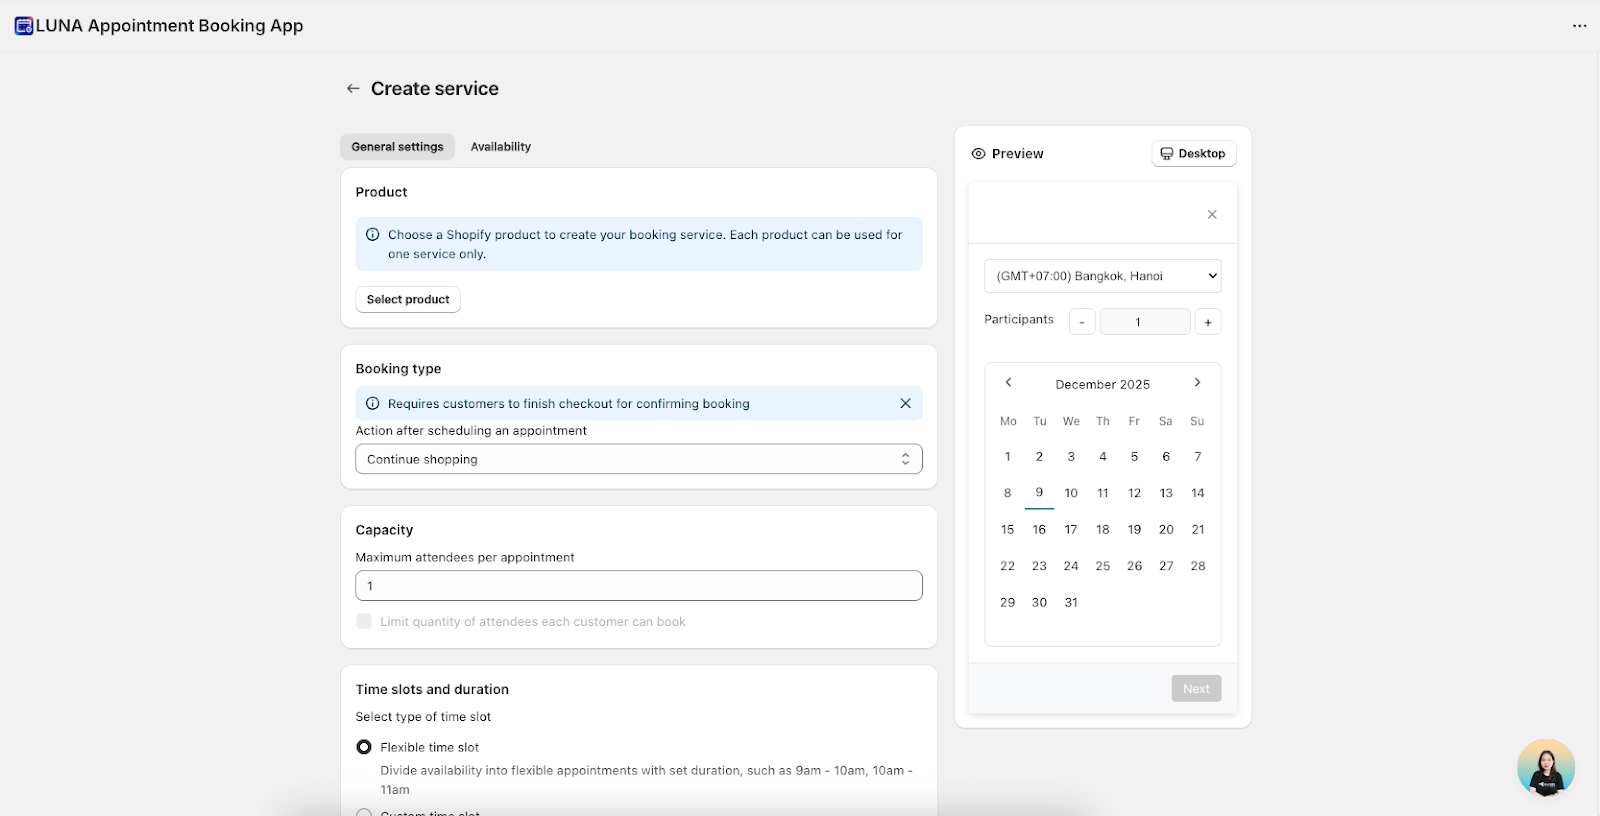
2. Select a Shopify product to create a booking service.
* Each product can be linked to **one service only**.
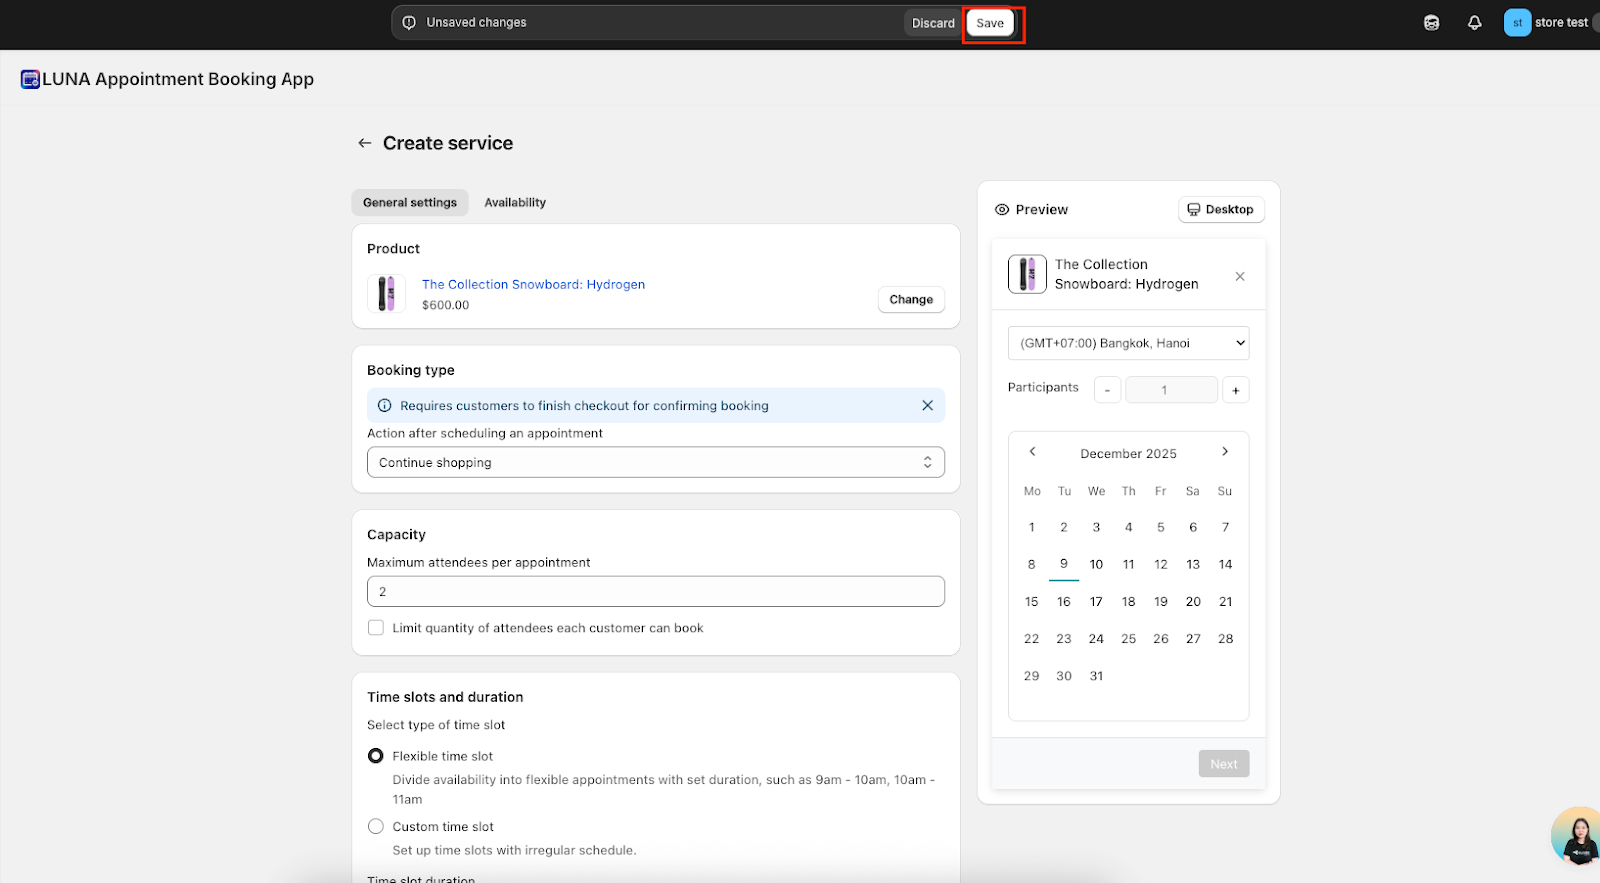
3. Configure your service settings.
4. Click **Save** to apply your changes.
For more details, see the full guide[: *How to create a service*](https://docs.avada.io/luna-appointment-booking/~/revisions/zITtlQhnjOKvzqufueRP/create-service).
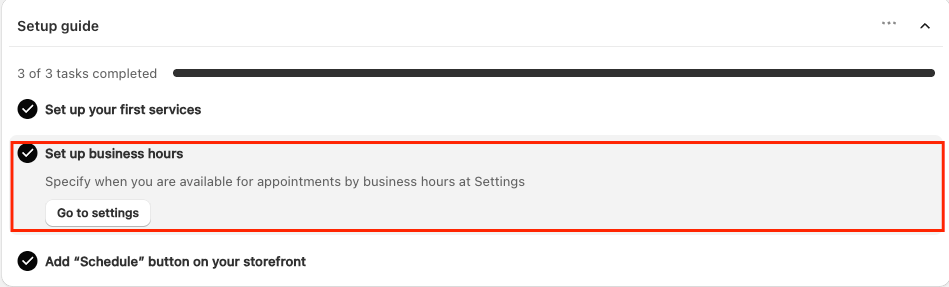
#### Step 2: Set up business hours
Business hours determine **when customers can book appointments**.
1. In the Setup Guide, click **Go to settings** under **Business hours**.
2. You’ll be taken to **Availability settings**.
3. Set your operating days and time ranges.
For more details, see the full guide:[ *How to set up business hours*](https://docs.avada.io/luna-appointment-booking/~/revisions/zITtlQhnjOKvzqufueRP/business-hours).
#### Step 3: Add the “Schedule” button to your storefront
Now it’s time to make booking visible to customers.
1. Open the Shopify theme editor.
2. Click **Add block** on the product page.
3. Select the **Schedule Button** block.
4. Drag and drop the block to your desired position.
**Recommended placement:**
* Below the product price, or
* Below the **Add to cart** button
This placement makes booking easy to find for customers.
5. Click **Save** to publish your changes.
***
#### Step 4: Preview your booking experience
Before going live, preview how booking looks on your store.
1. In the Setup Guide, click **See it on store**.
2. You’ll be redirected to the live product page.
**Review the layout**
Take a moment to:
* Check the **button placement**
* Test the **booking flow**
* Verify that **available time slots** match your service and business hour settings
This step ensures your booking experience is both functional and visually aligned with your store.
***
### What Customers Will See
Once setup is complete, customers will book appointments as follows:
1. Visit a product page
2. Click the **Schedule** button
3. Select an available date and time
4. See a notice that the booking will be **confirmed after checkout**
5. Click **Add to cart** and complete checkout
6. Receive an **automatic booking confirmation email**
That’s it! Your store is now ready to accept appointments with LUNA.