Quick start
Get your first age verification popup live in just a few minutes! This guide walks you through the essential steps - from installing the app to seeing the popup on your storefront.
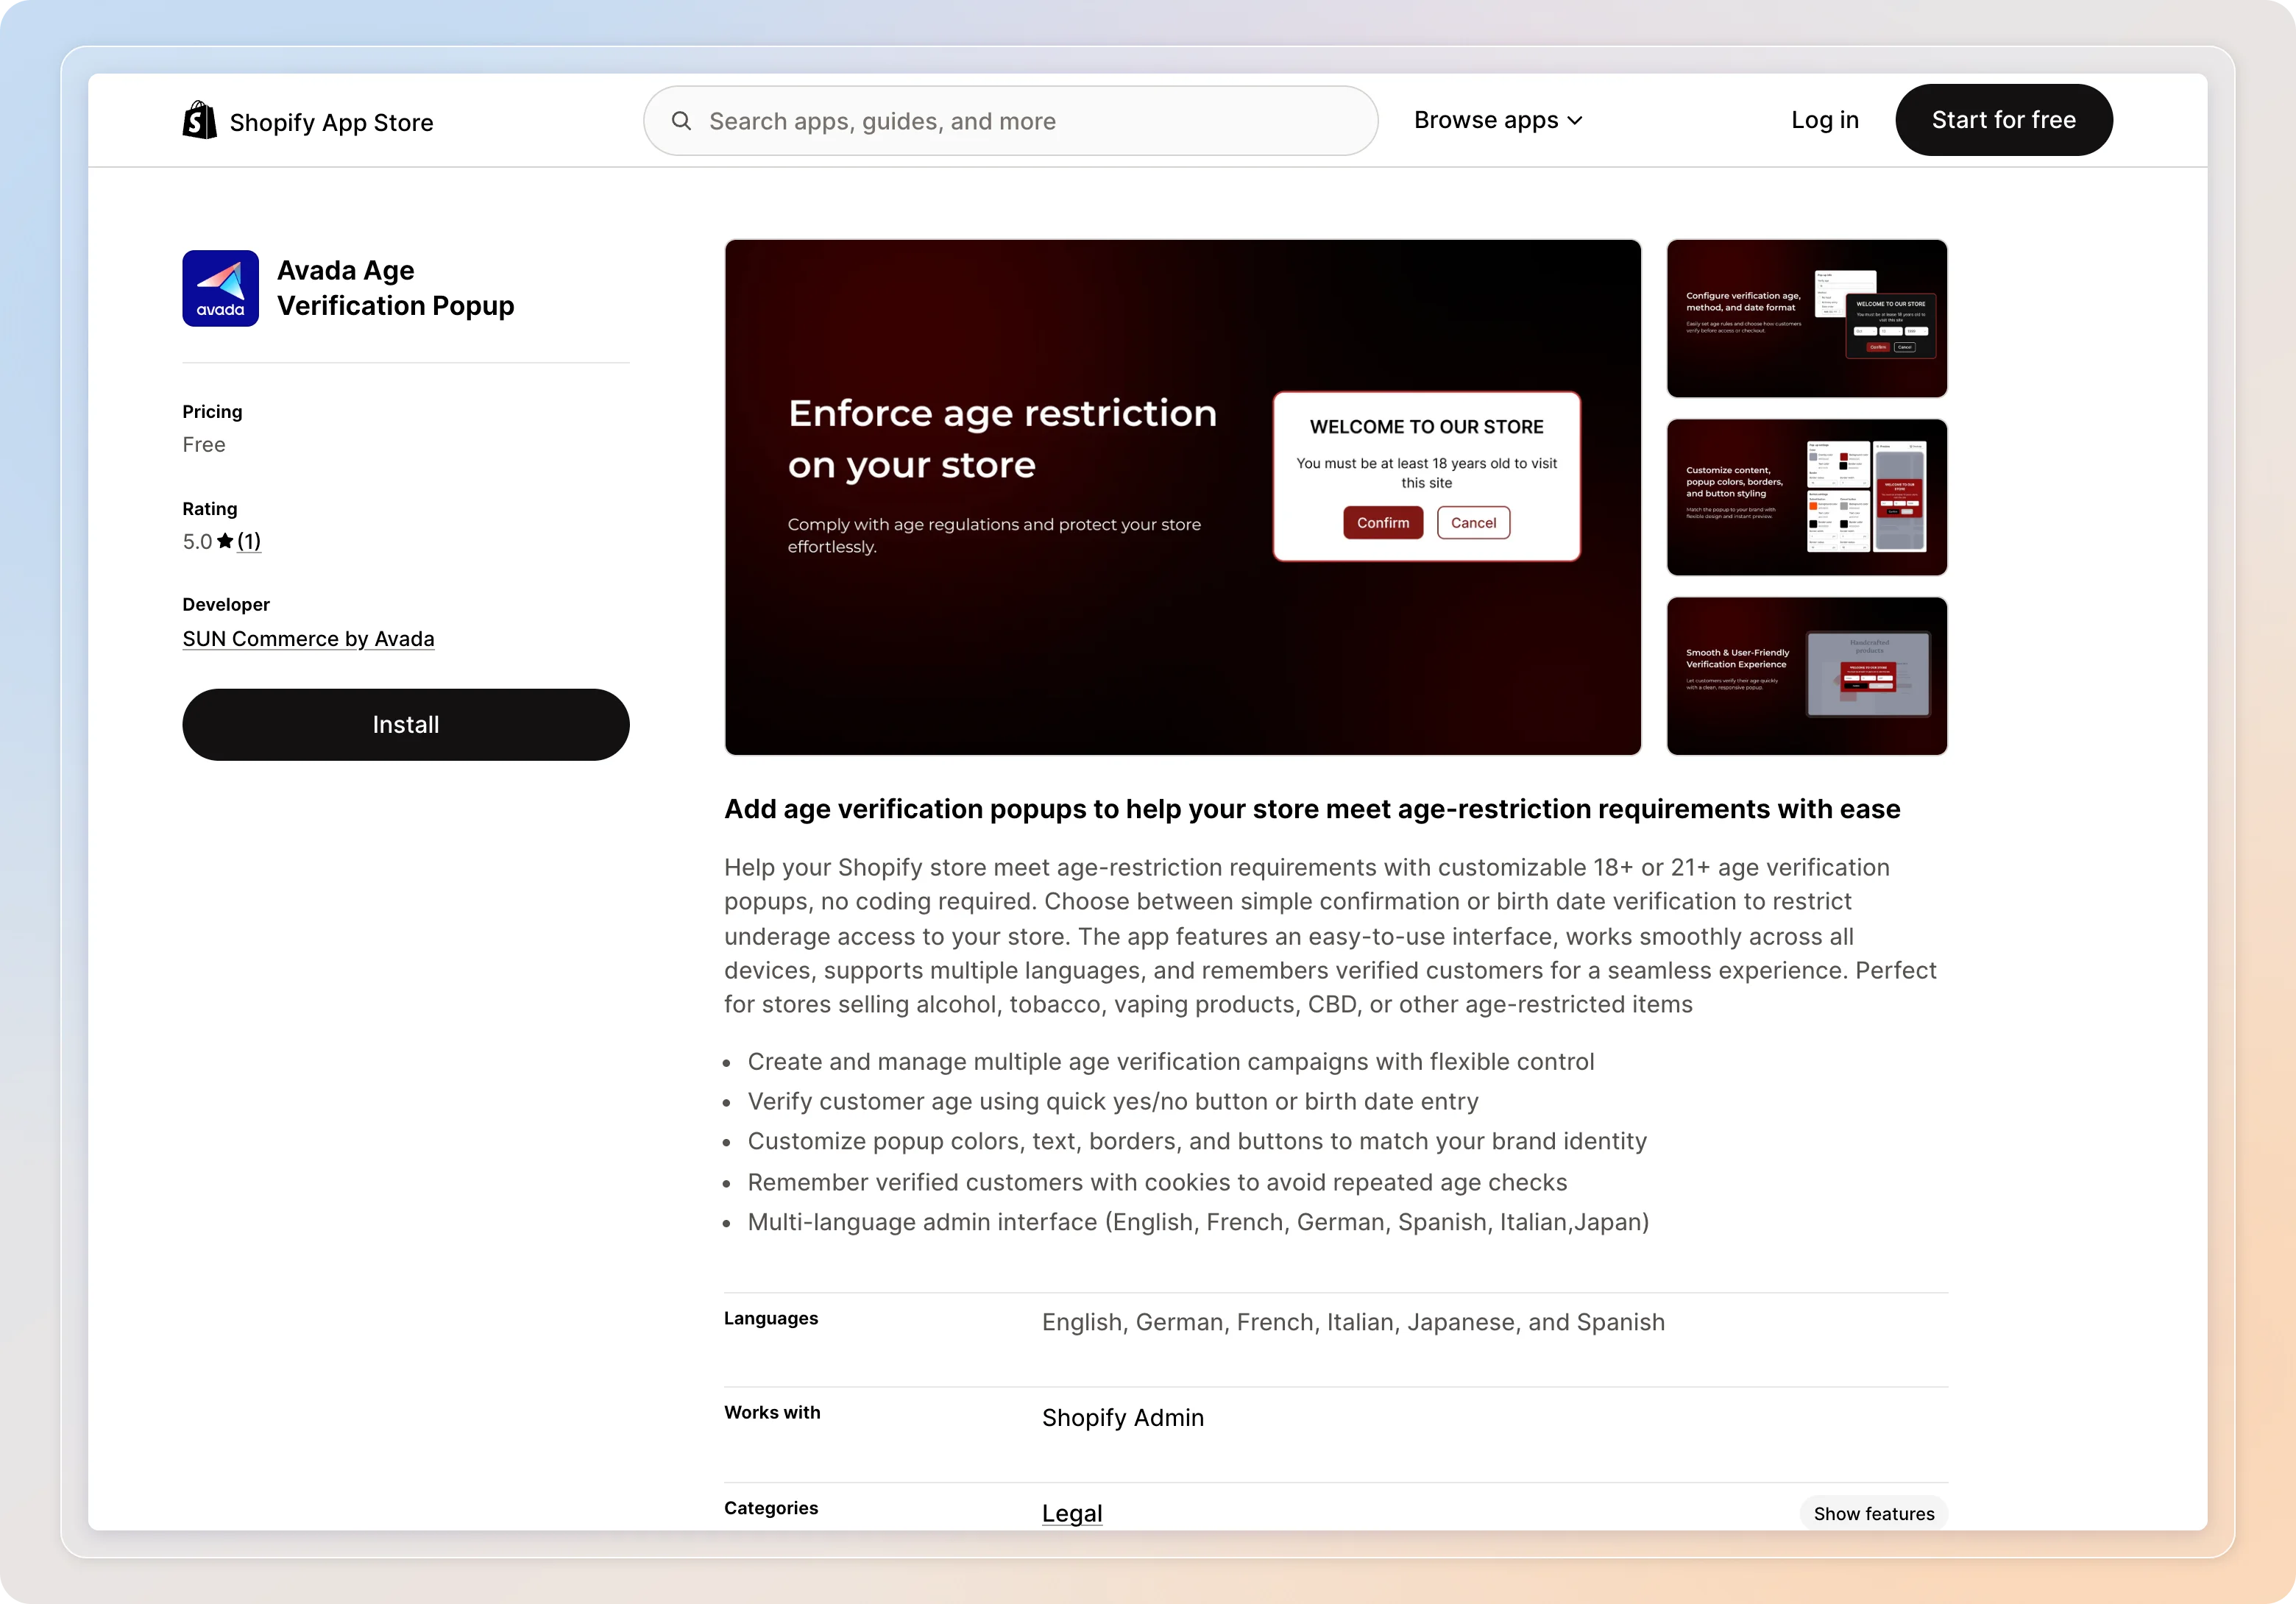
Install the app
Head to the Shopify App Store and search for "Avada Age Verification Popup", or open the listing directly at apps.shopify.com/sun-age-verification-popup (opens in a new tab). Click Install and review the permissions. Once approved, you'll be redirected to the app dashboard.
Enable the app
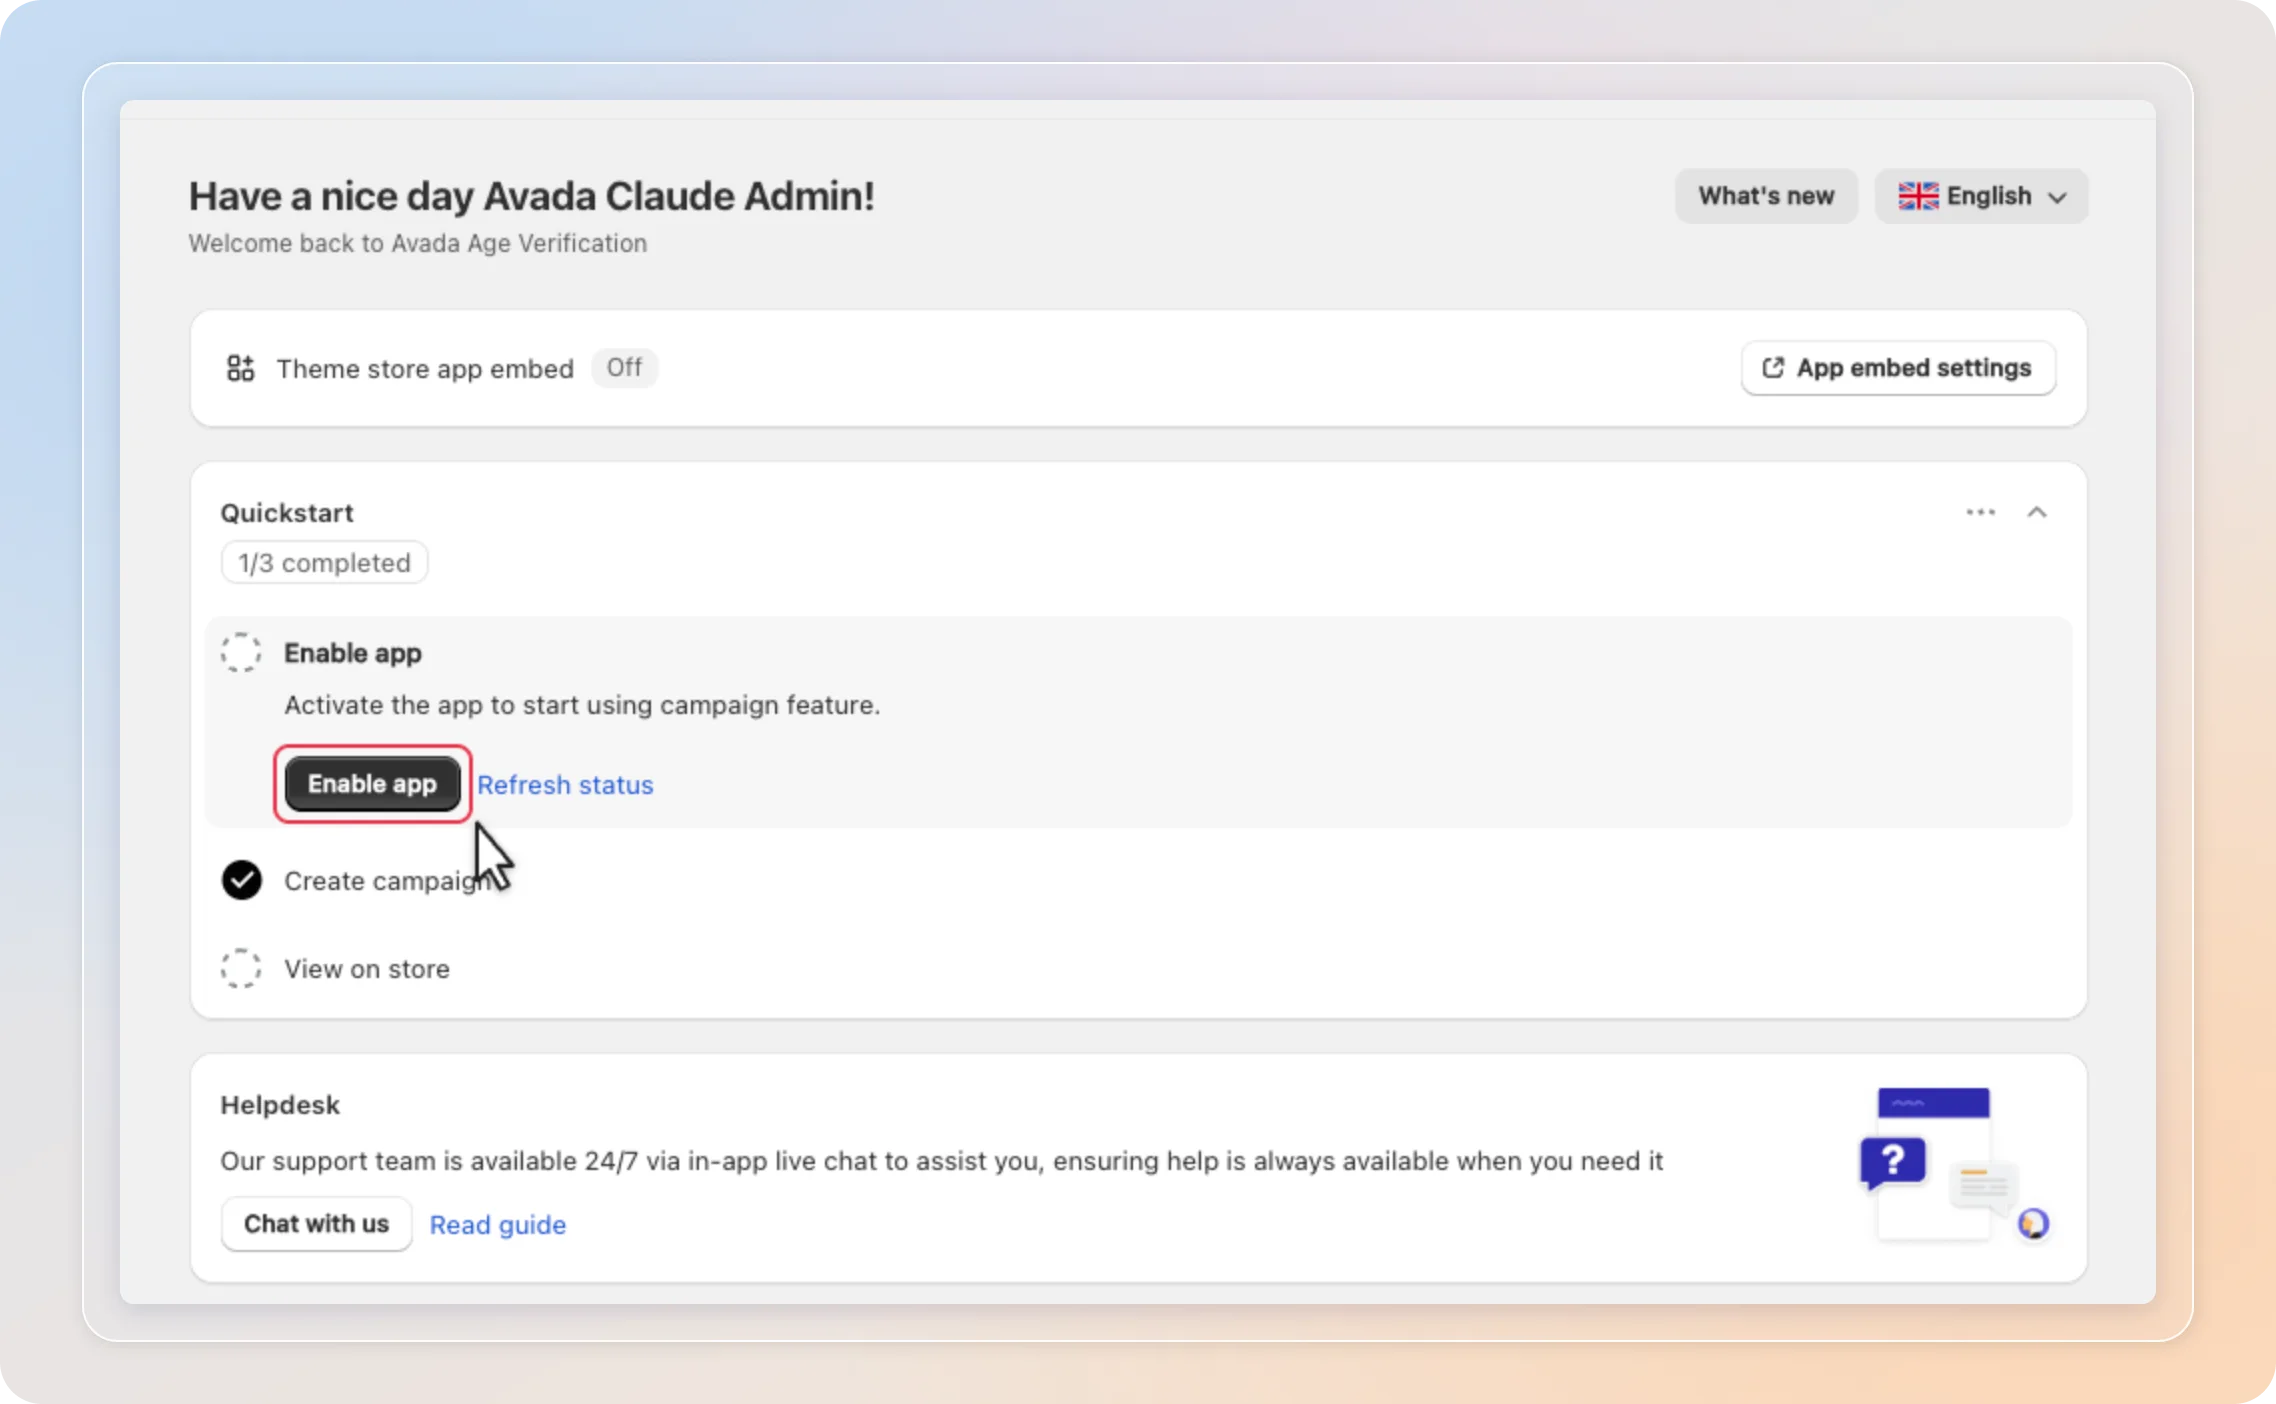
On the app Home page, check the Theme store app embed card. If it shows Off, the popup can't appear on your storefront yet. In the Quickstart checklist, click Enable app (or use App embed settings in the card above) to fix that.
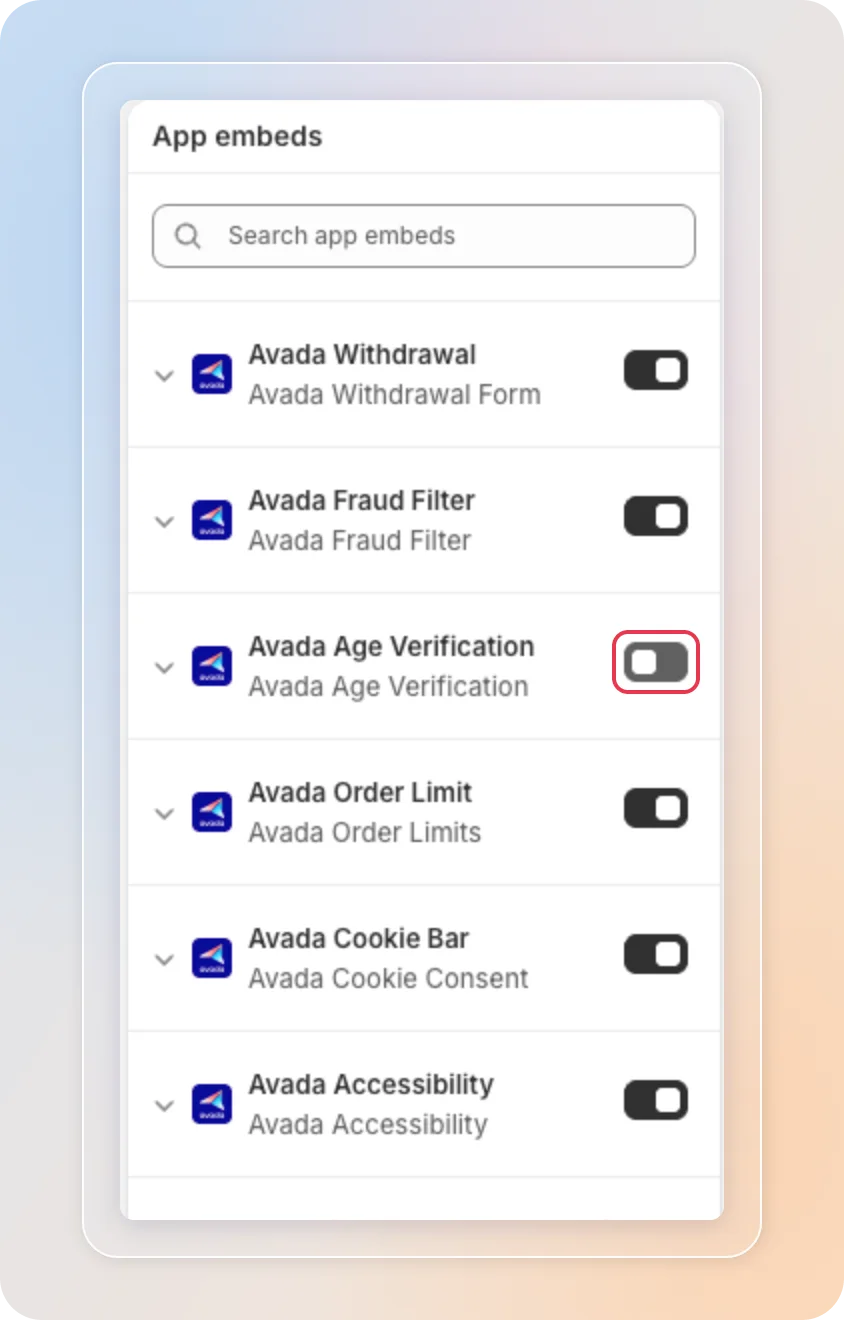
This opens the Shopify theme editor. Turn on the Avada Age Verification toggle, then click Save.
Back on the Home page, the Quickstart checklist tracks your setup progress: enable the app, create a campaign, and view it on your store. Click Refresh status if the checklist hasn't caught up yet.
Create your first campaign
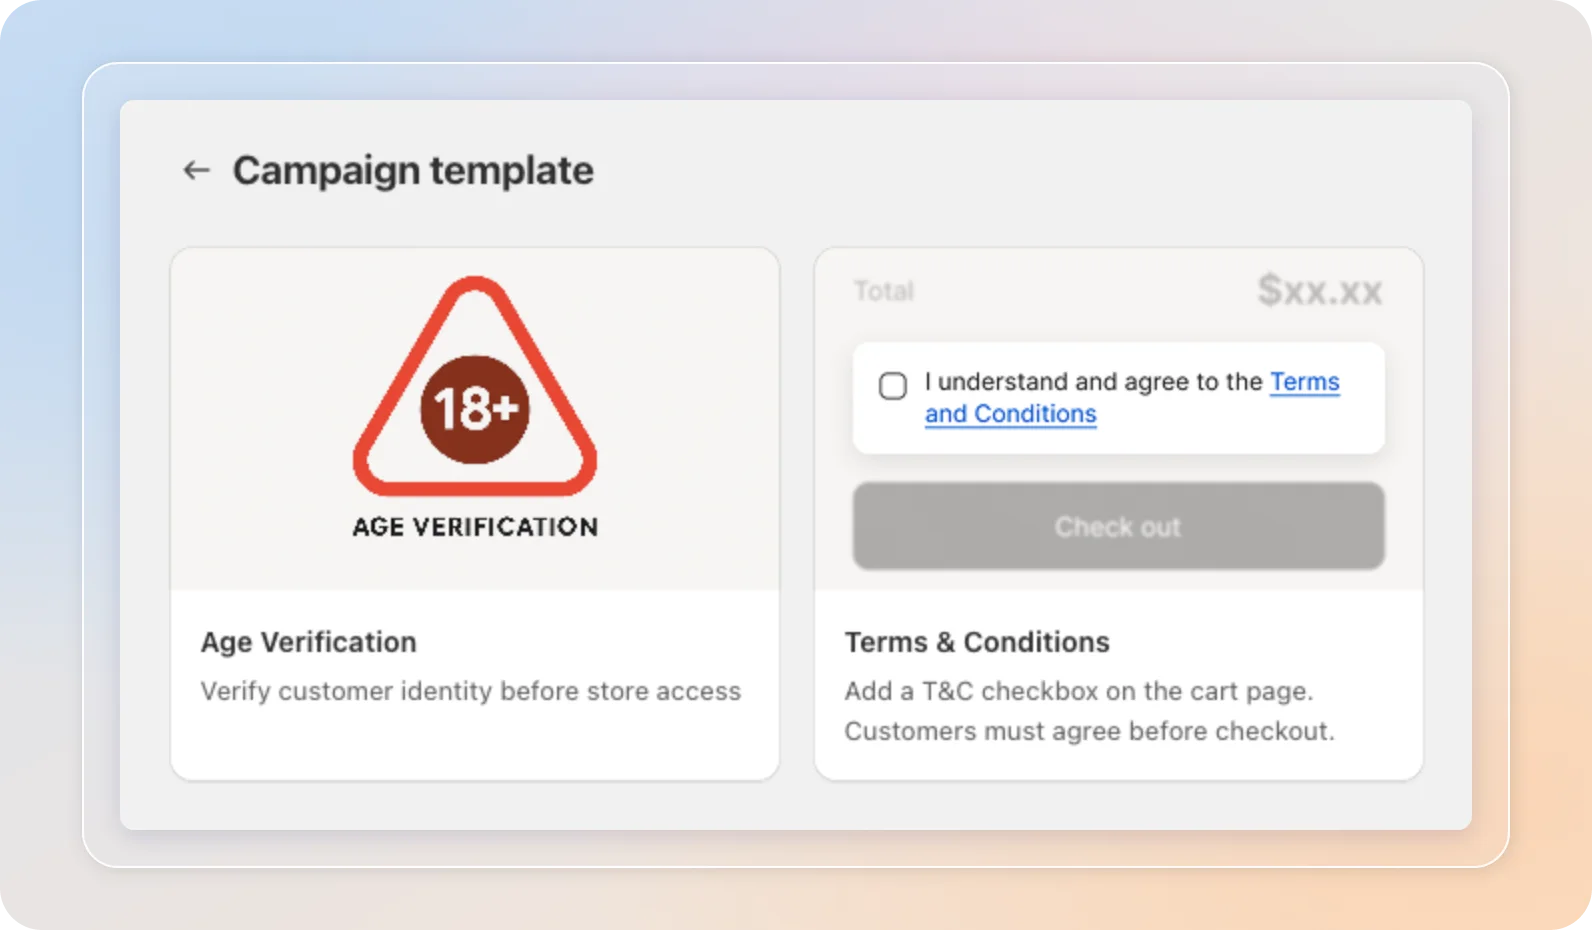
Click Create campaign and select the Age Verification template.
On the General tab:
- Enter a campaign name and set the status to Active.
- Set the minimum required age (e.g., 18 or 21).
- Choose a verification method: No input (one-click confirmation, least friction) or Birthday entry (customers enter their date of birth for stricter validation).
- Choose the underage action - show an error message, or redirect visitors who fail verification to a URL.
By default the popup shows on all pages for all countries. You can narrow this down with page and country targeting - see the Age Verification Banner guide for details.
Customize the design
Head to the Style tab to match the popup with your brand - colors, borders, and button styling. The live preview updates as you edit. For the full list of options, see the Age Verification Banner guide.
Edit the content
Popup text lives in the Content tab, organized by language. Click the edit icon next to a language to customize the Heading, Sub-heading, Error message, and the Confirm / Cancel button labels.
The {{verify_age}} variable automatically displays the age you set in the General tab - no need to update it manually!
Activate and test
Save your campaign and make sure its status is Active on the Campaigns page. Then open your store in an incognito window to verify the popup displays correctly.
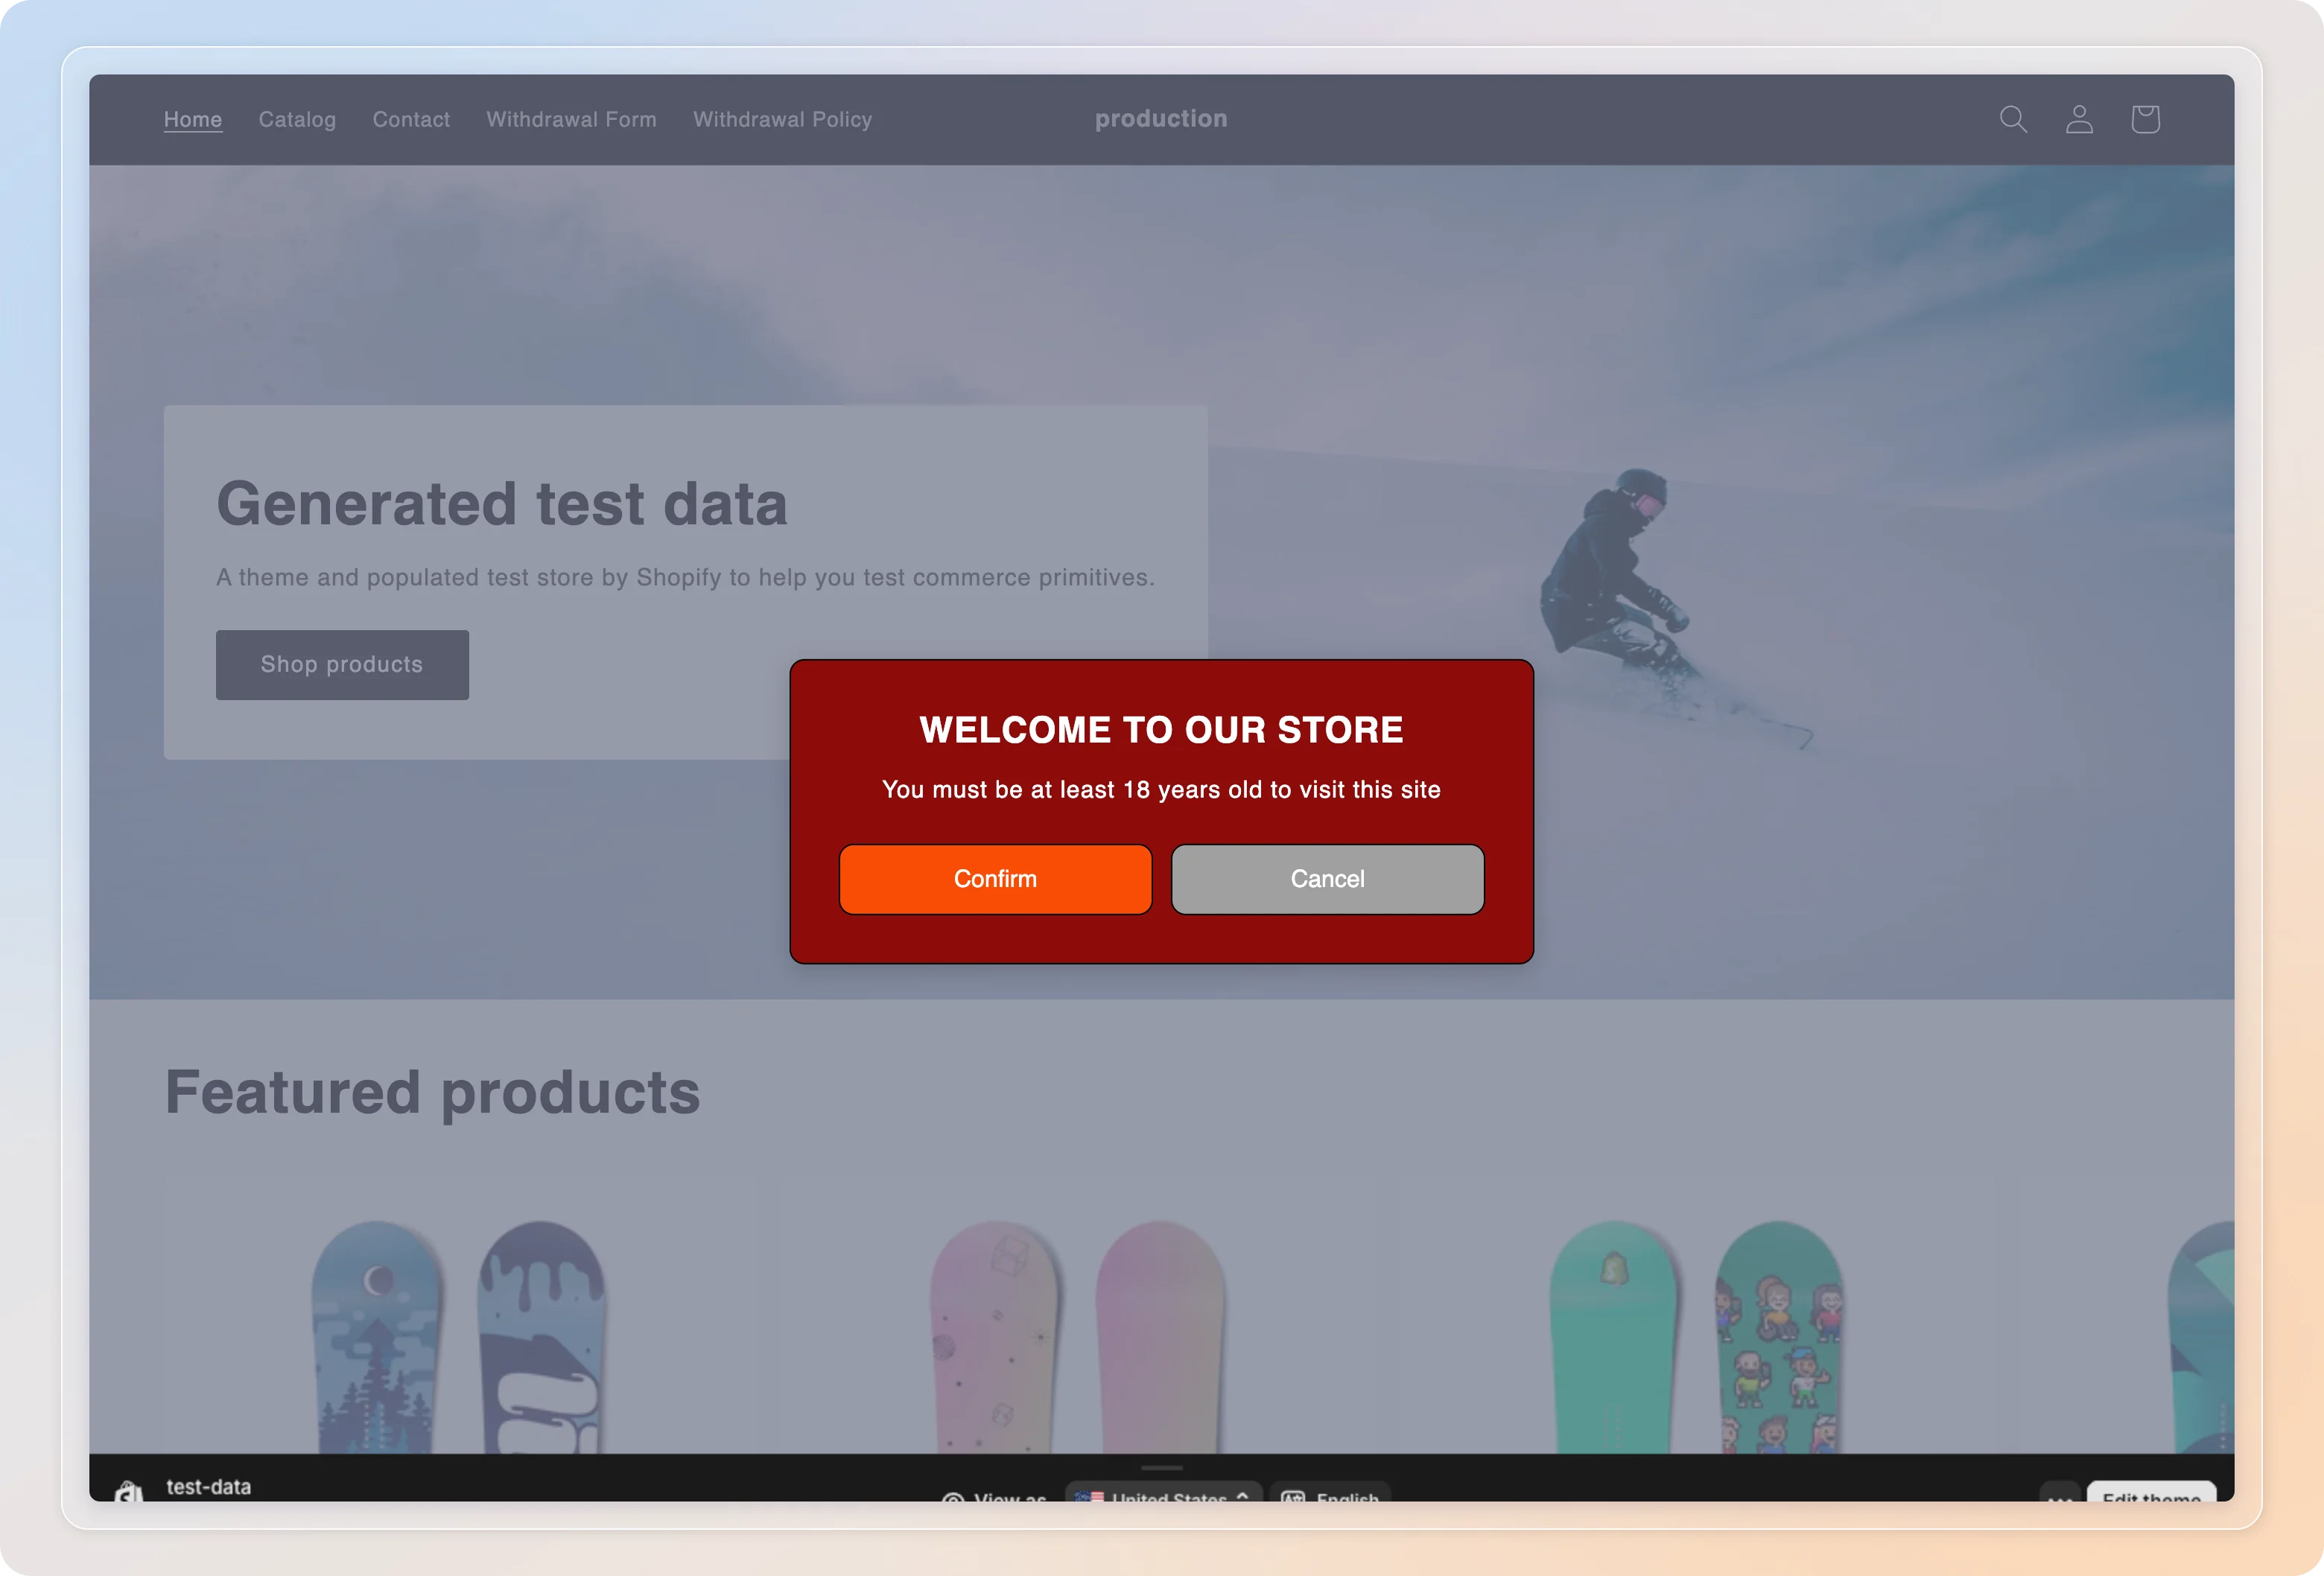
Make sure to test:
- ✅ Popup appears on page load
- ✅ Confirm button grants access
- ✅ Cancel button blocks access
- ✅ Looks good on both desktop and mobile
Tips
- The popup remembers verified visitors, so use an incognito window every time you test.
- Start with the No input method to keep friction low - you can switch to Birthday entry later without recreating the campaign.
Related Articles
You're all set!
That's it - your age verification popup is live. For the full list of targeting, styling, and translation options, head to the Campaigns section of this guide.