Report Management
The Reports page allows you to manage accessibility reports submitted by visitors through the accessibility widget on your storefront.
Managing Reports
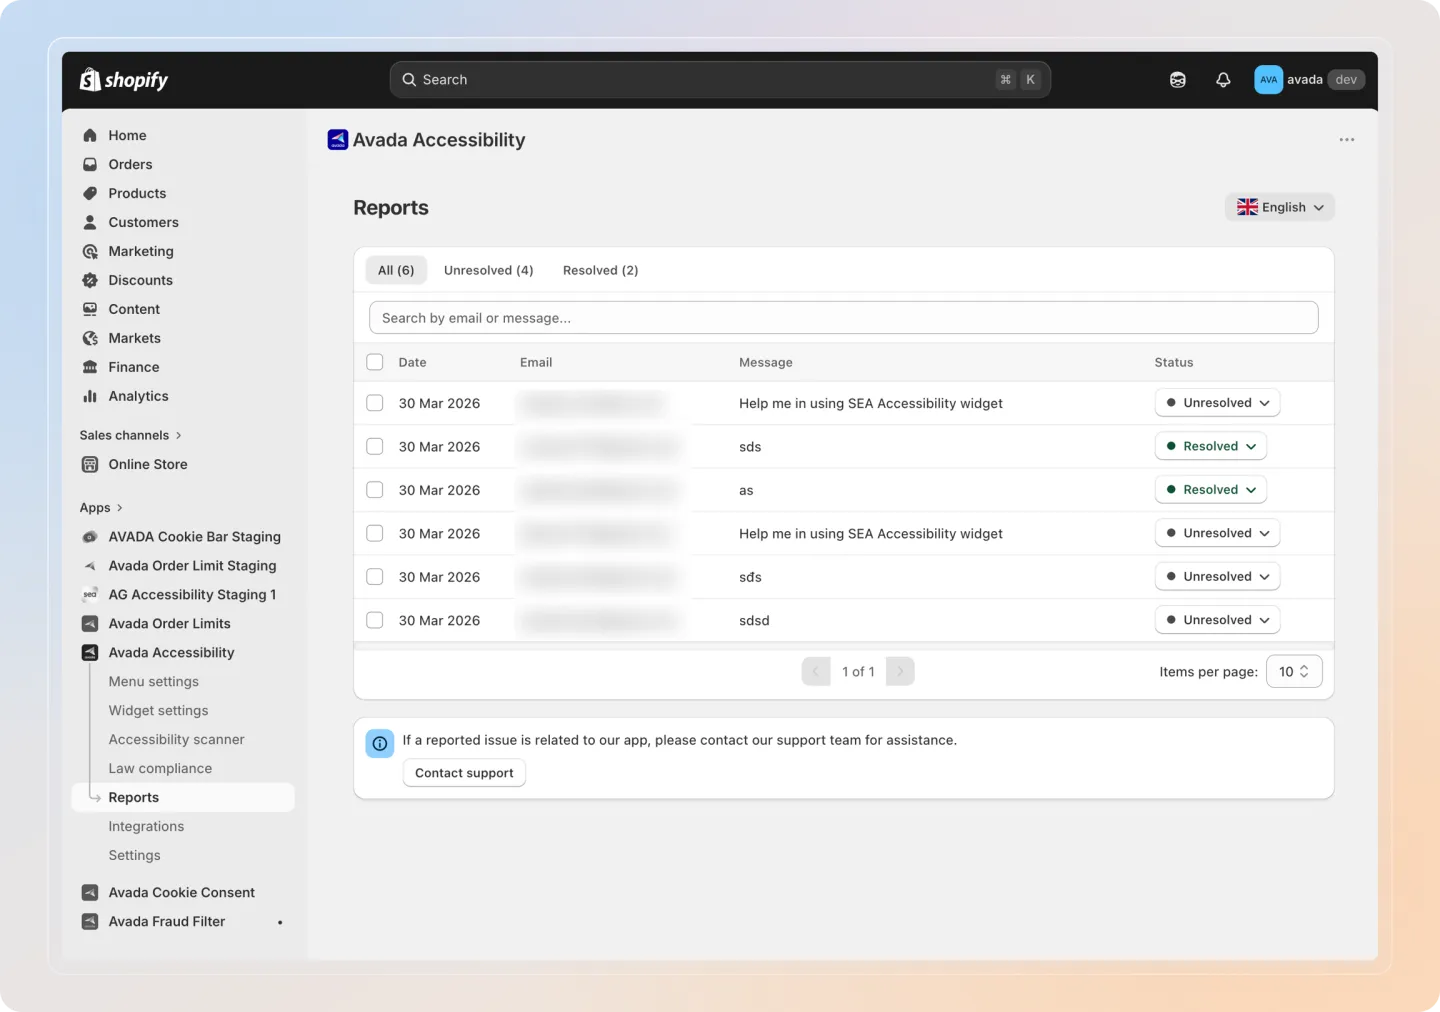
Step 1: Open the Reports page
Navigate to Reports in the Avada Accessibility app sidebar.
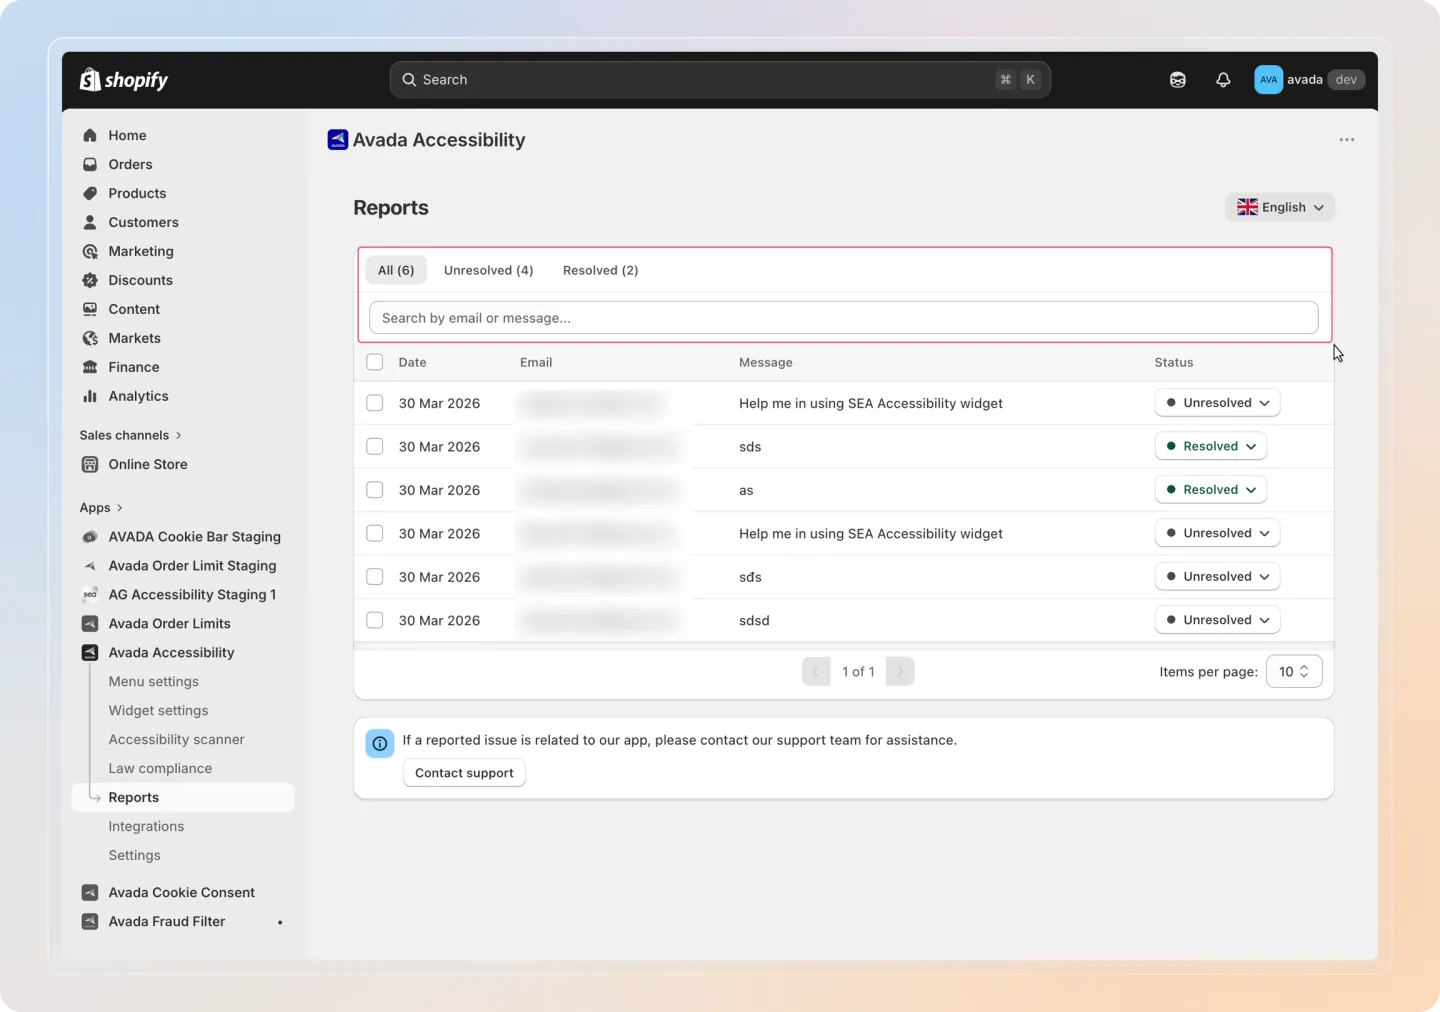
Step 2: Filter and search reports
Use the tabs and search bar to find specific reports:
| Tab | Description |
|---|---|
| All | Shows all submitted reports. |
| Unresolved | Shows reports that have not yet been addressed. |
| Resolved | Shows reports that have been marked as resolved. |
Use the search bar to find reports by visitor email, message content, or date.
Step 3: View report details
Click on a report to view its full details:
| Field | Description |
|---|---|
| Status | Current status of the report (Unresolved or Resolved). |
| The visitor's email address. | |
| Date | When the report was submitted. |
| Message | The visitor's description of the accessibility issue. |
Step 4: Update the status
Change the report status by clicking the status dropdown and selecting Resolved or Unresolved.
Step 5: Add internal notes
Add notes for your team about the report. Notes are internal only and are not visible to the visitor who submitted the report.
Internal notes have a maximum length of 1,000 characters. Notes are visible only to your team members who have access to the app.
Step 6: Bulk mark as resolved
Select multiple reports using the checkboxes, then click Mark as Resolved to update them all at once.
When a report is marked as resolved, the visitor may receive an email notification if you have email notifications enabled. Make sure the issue is actually resolved before changing the status.