Configure Automation
Avada Withdrawal Form can act automatically whenever you accept, reject, or refund a request, so you spend less time repeating the same steps by hand. There are four separate automations, and each works on its own - turn on any combination you need.
Requires: Pro plan. Each automation card is marked Pro. If your store hasn't upgraded yet, click the Pro badge on any card to open the Subscription page and choose a plan. Once you're on a paid plan, the badge disappears automatically.
Open the Automation tab
Open Avada Withdrawal Form, go to the Settings page, then select the Automation tab in the left column. You'll see four automation cards, each with its own toggle and settings.
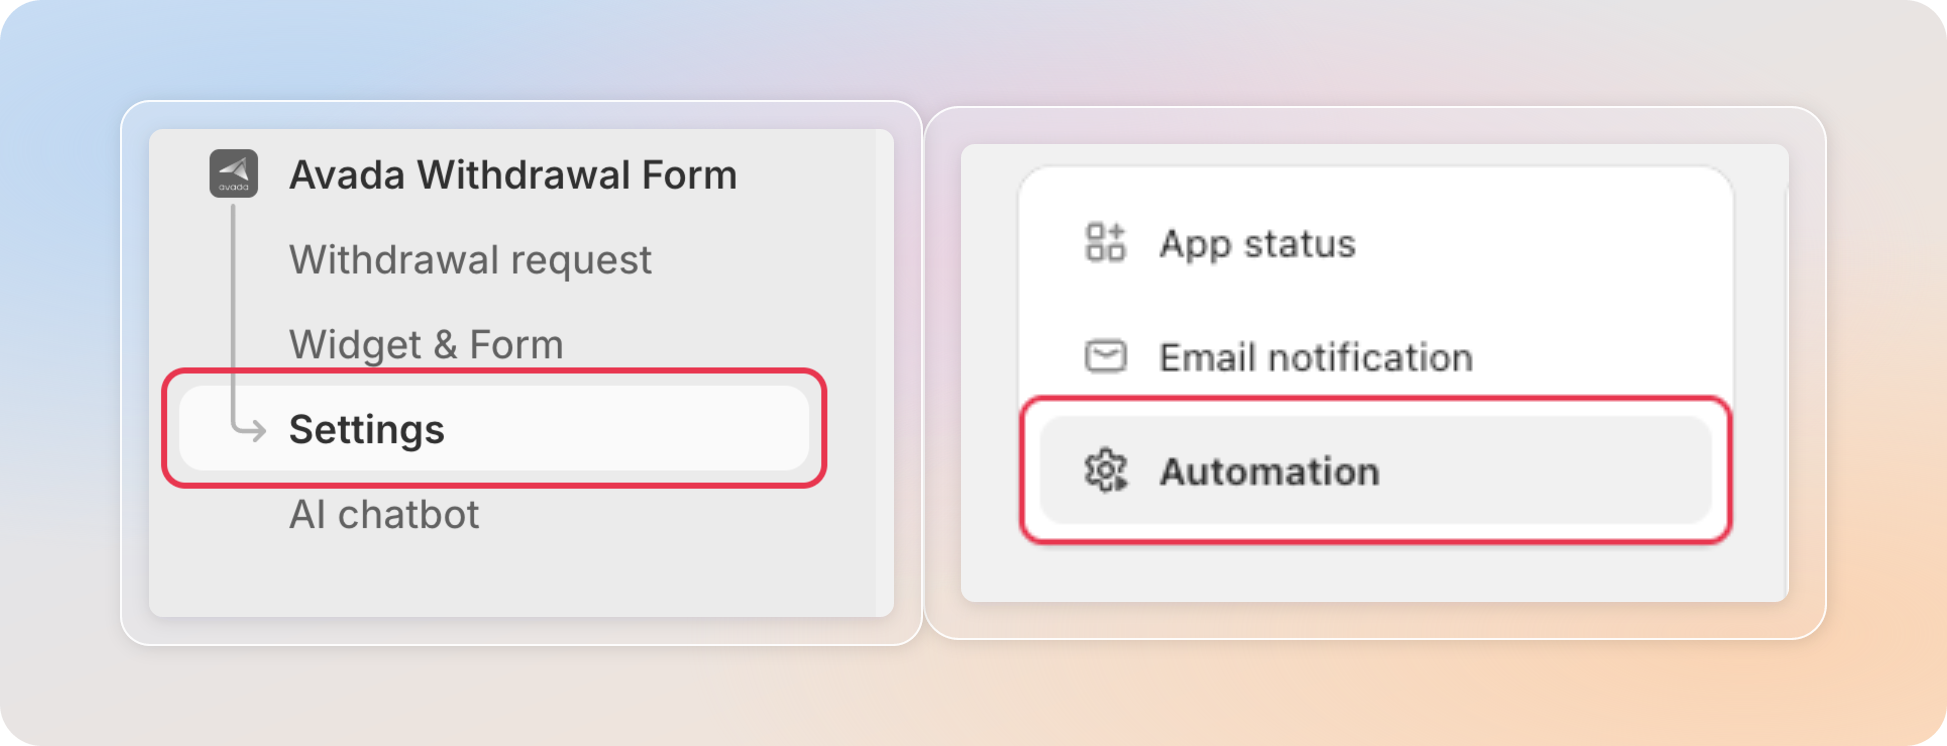
The four automations are independent - turn on any combination you need. The sections below cover each one in turn.
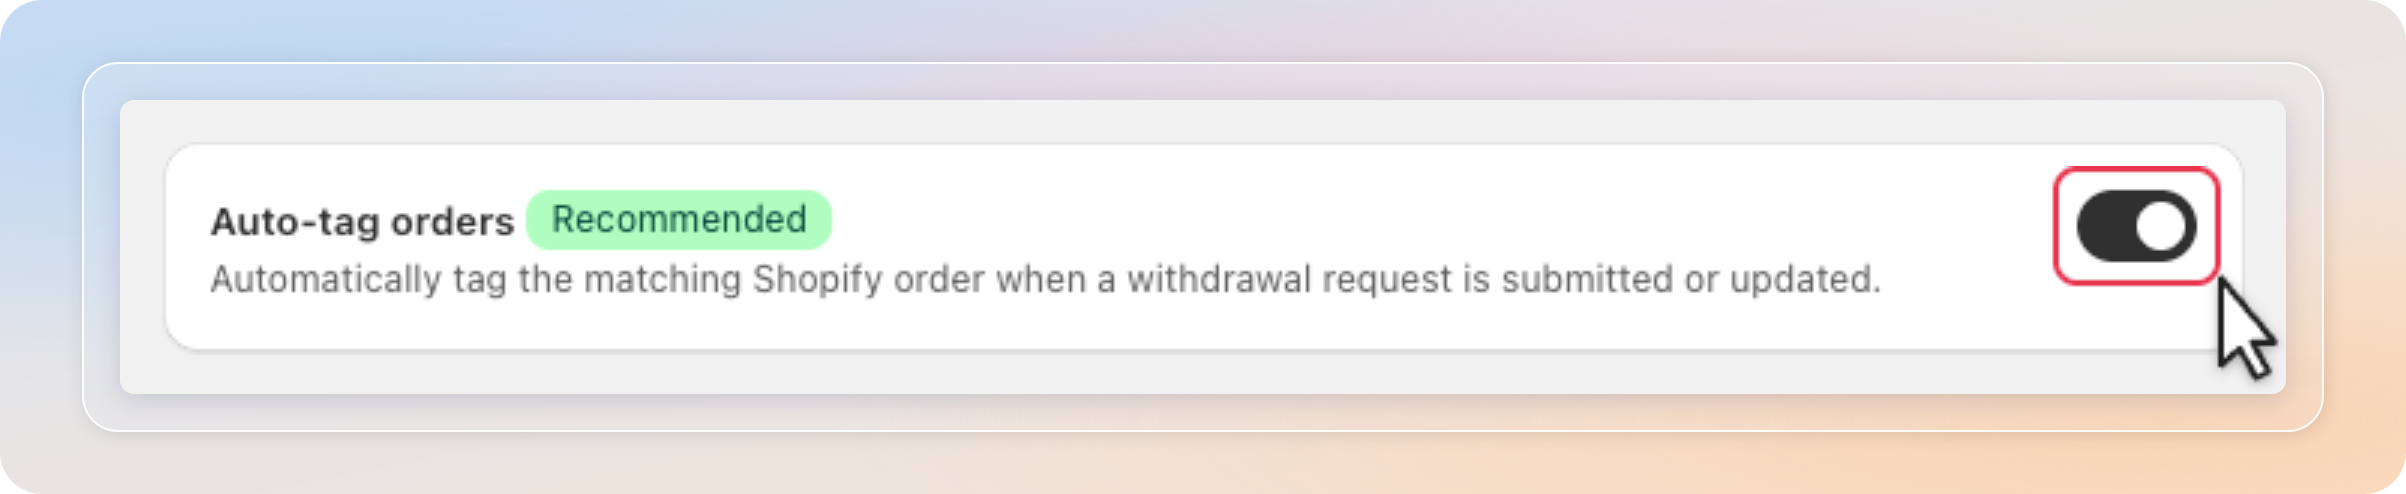
Turn on Auto-tag orders
Turn on Auto-tag orders to have the app tag the matching Shopify order every time a withdrawal request is submitted or its status changes. The tag always reflects the request's current status, so you can filter or report on these orders straight from Shopify.
| Request status | Tag applied on the order |
|---|---|
| Customer submits a request | Withdrawal Request |
| You move it to In review | Withdrawal In review |
| You Accept it | Withdrawal Accepted |
| You Reject it | Withdrawal Rejected |
| You Refund it | Withdrawal Refunded |
Only one withdrawal tag is kept on the order at a time - the old tag is replaced, not stacked, each time the status changes.
If tagging an order fails for any reason, the withdrawal request is still processed normally - tagging never blocks your workflow.
Turn on Auto email customer
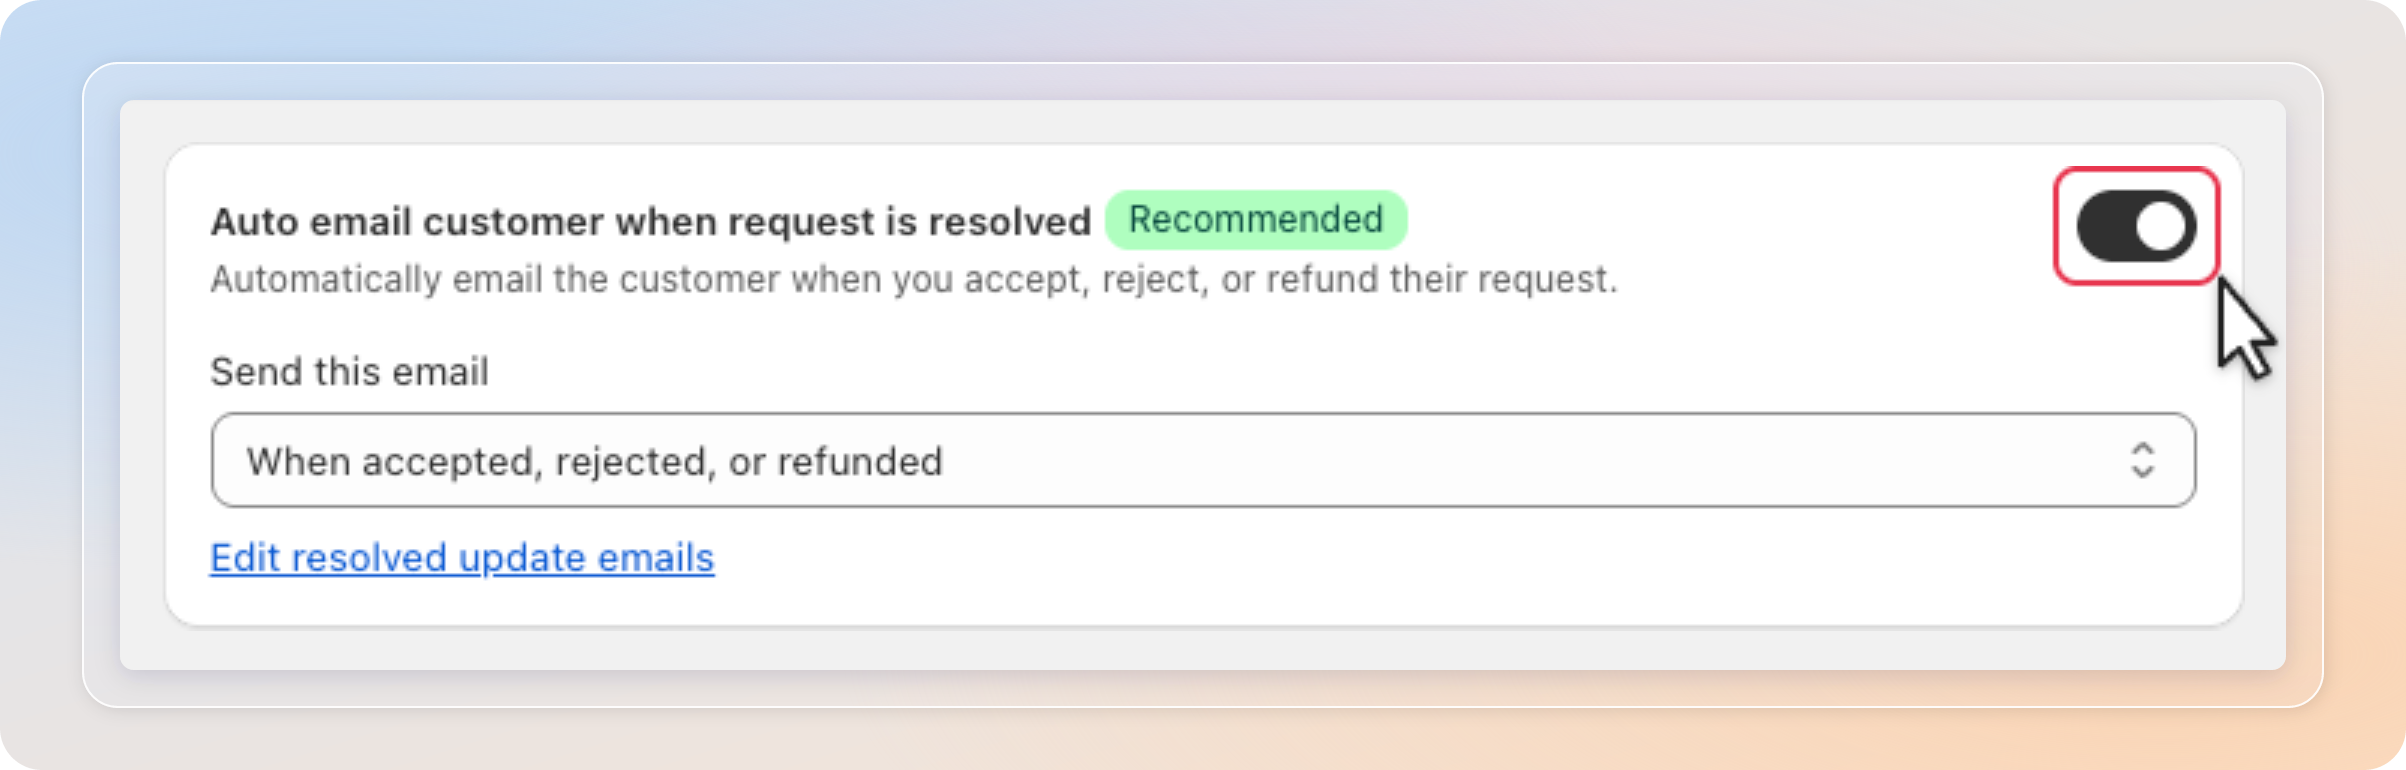
Turn on Auto email customer when request is resolved to notify the customer automatically the moment you resolve their request, with no manual email needed.
| Setting | What it does |
|---|---|
| Send this email | Choose which resolutions trigger the email - for example, When accepted, rejected, or refunded. |
| Edit resolved update emails | Opens the email templates so you can customize the wording customers receive. |
Turn on Auto cancel order
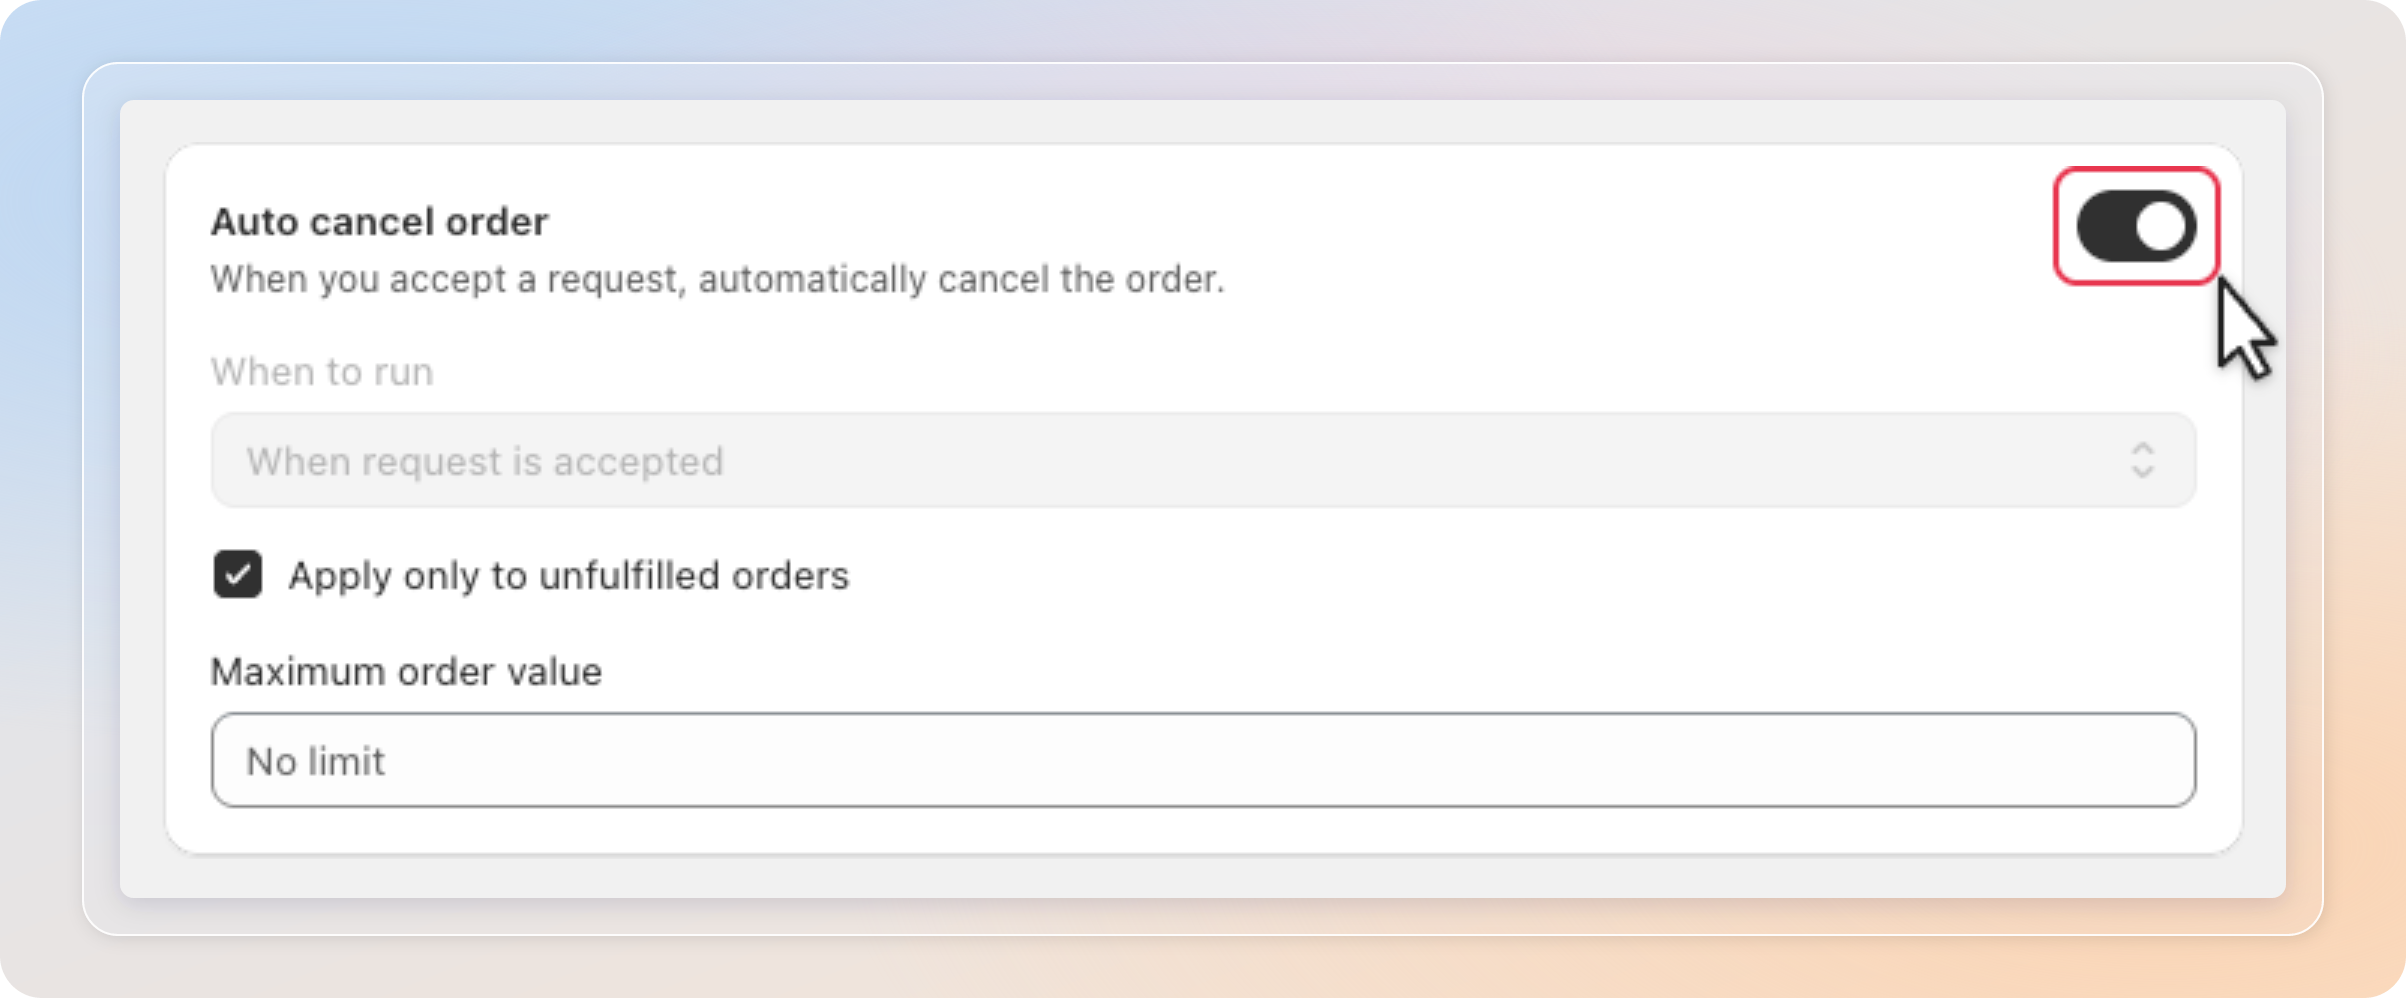
Turn on Auto cancel order to cancel the linked Shopify order automatically when you accept a withdrawal request, so you don't have to cancel it by hand.
When you turn this on, a confirmation appears because it acts on real orders. The cancellation runs on live orders after you accept a request and cannot be undone, so review the settings below before enabling.
| Setting | What it does |
|---|---|
| When to run | The trigger for the cancellation - by default, When request is accepted. |
| Apply only to unfulfilled orders | Limits auto cancel to orders that haven't shipped yet, so fulfilled orders are left untouched. |
| Maximum order value | Skips auto cancel for orders above this amount. Leave it as No limit to apply to every order. |
Turn on Auto refund
Turn on Auto refund to refund the linked Shopify order automatically when you accept a withdrawal request, closing the loop without a manual refund.
When you turn this on, a confirmation appears because it moves real money. The refund runs on live orders after you accept a request and cannot be undone, so review the settings below before enabling.
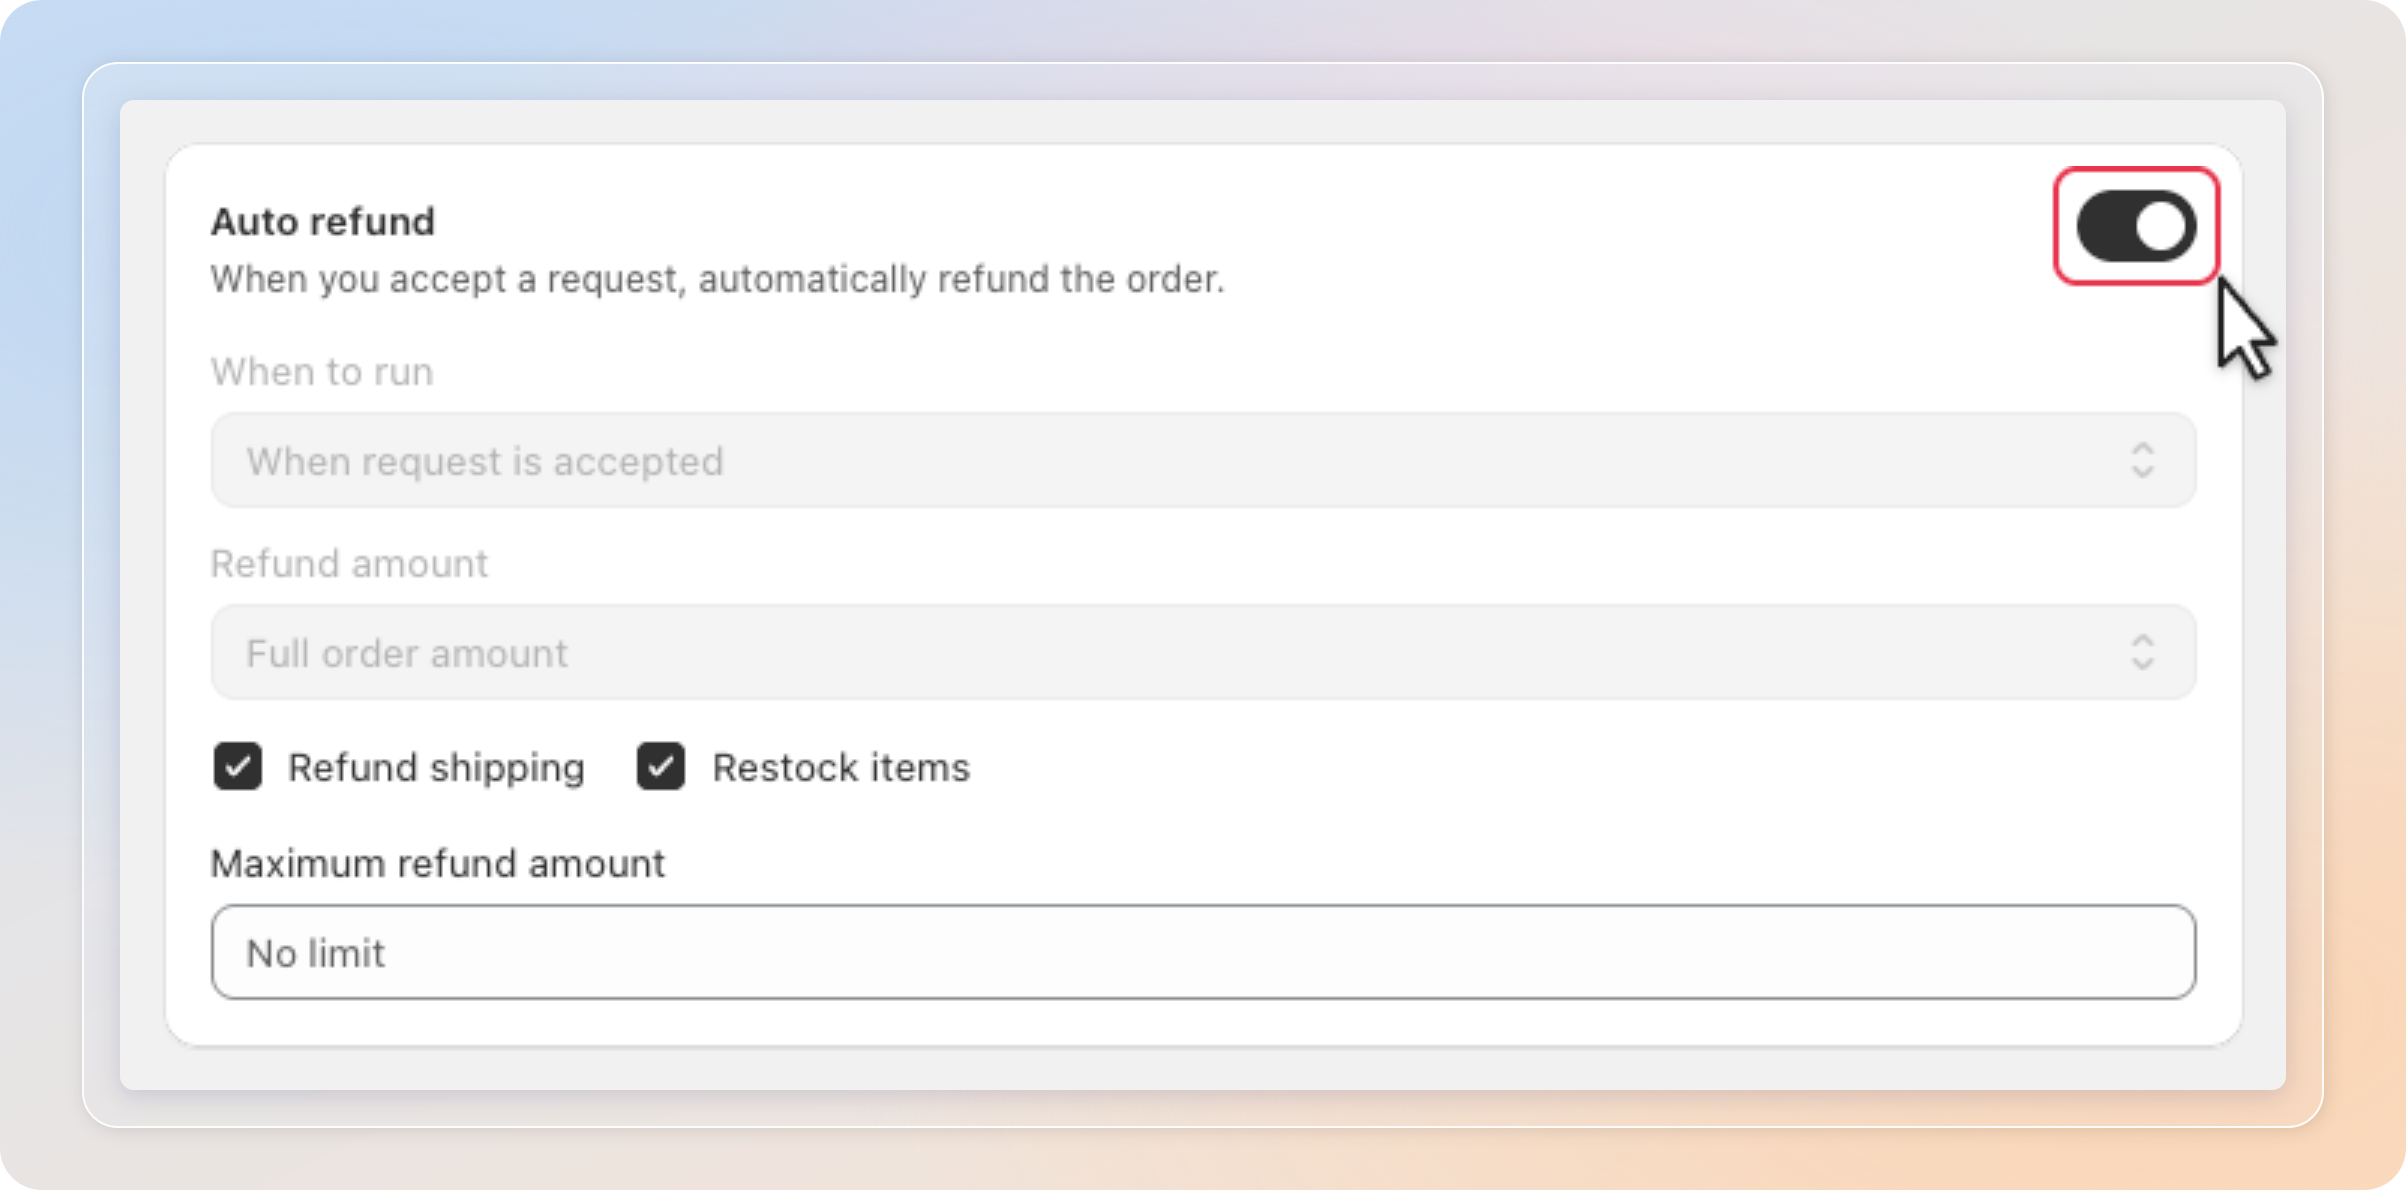
| Setting | What it does |
|---|---|
| When to run | The trigger for the refund - by default, When request is accepted. |
| Refund amount | How much to refund - for example, the Full order amount. |
| Refund shipping | Includes the shipping cost in the refund. |
| Restock items | Returns the refunded items to your inventory. |
| Maximum refund amount | Skips auto refund for amounts above this cap. Leave it as No limit to apply to every order. |
Tips
- Turn on Auto-tag orders first if your team already relies on order tags for reporting or other apps.
- Combine Auto cancel order or Auto refund with Auto email customer so shoppers are notified the moment their order updates.
- Use Maximum order value or Maximum refund amount as a safety cap so large orders are always reviewed by hand.
- If you previously used a custom tag name for withdrawal orders, note that the custom Tag name field has been removed - new tags always use the fixed names above. Tags already on past orders are left as they are.