Customize the Resolved Update Email
Prerequisites
- The Avada Withdrawal Form app must be installed on your store.
- Turn on Request resolved update on the Settings page to send this email automatically. See Configure Email Notifications.
This is a status-update email, separate from the legally required Withdrawal request confirmation. Only one resolved-update email is sent per outcome for each request.
Open the email template editor
Open Avada Withdrawal Form, go to Settings → Email notification, and click Request resolved update in the Customer emails card.
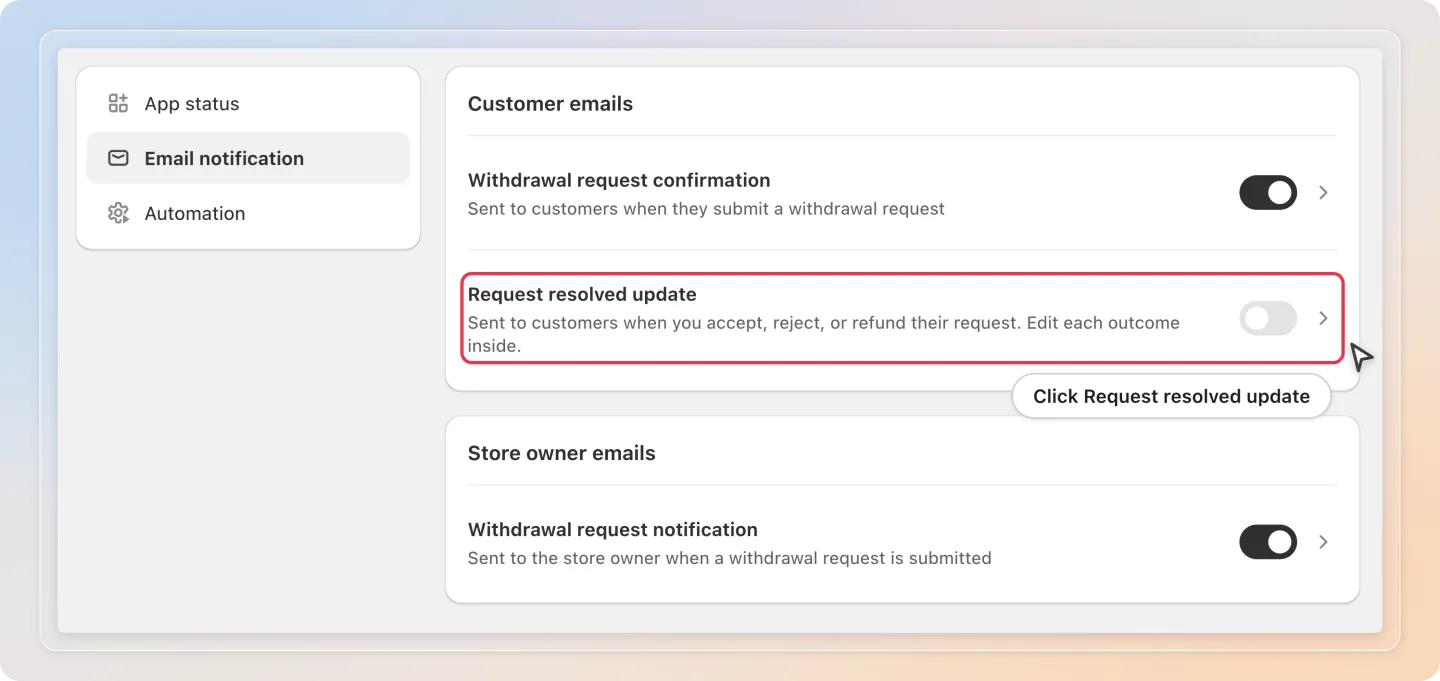
If the Request resolved update toggle on the Settings page is off, the editor shows a warning banner and these emails are not sent automatically - you can still edit them here as drafts.
Choose the outcome to edit
In the Email template card, pick the Accepted, Rejected, or Refunded tab. Each outcome has its own subject and body, since customers should read a different message depending on what happened to their request.
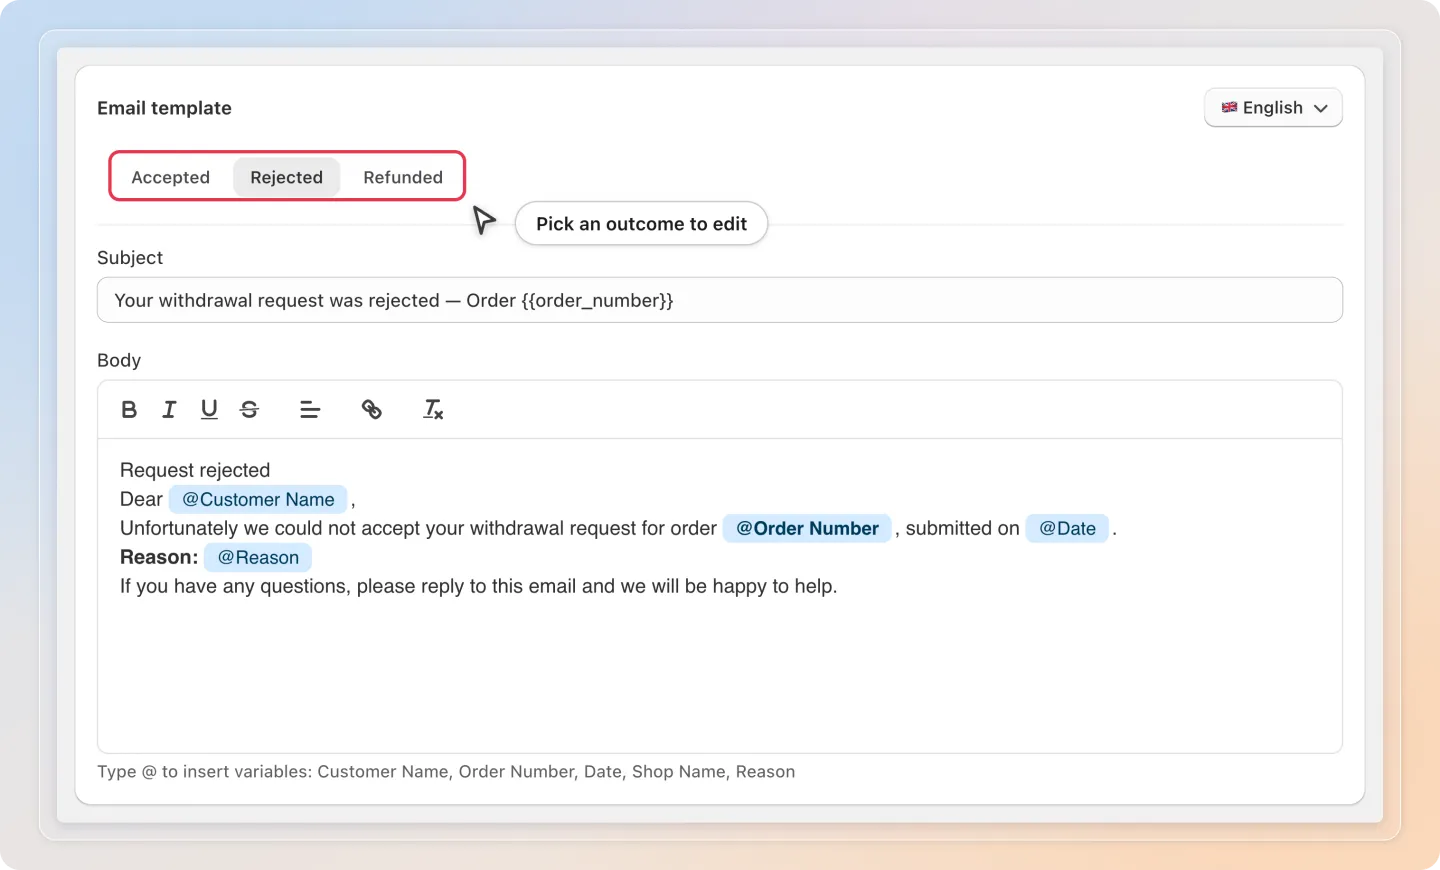
The Rejected template can include the reason you typed when you clicked Reject on the request - add the @Reason variable to the body where you want it to appear.
Edit the email content
For the tab you're on, write what customers receive.
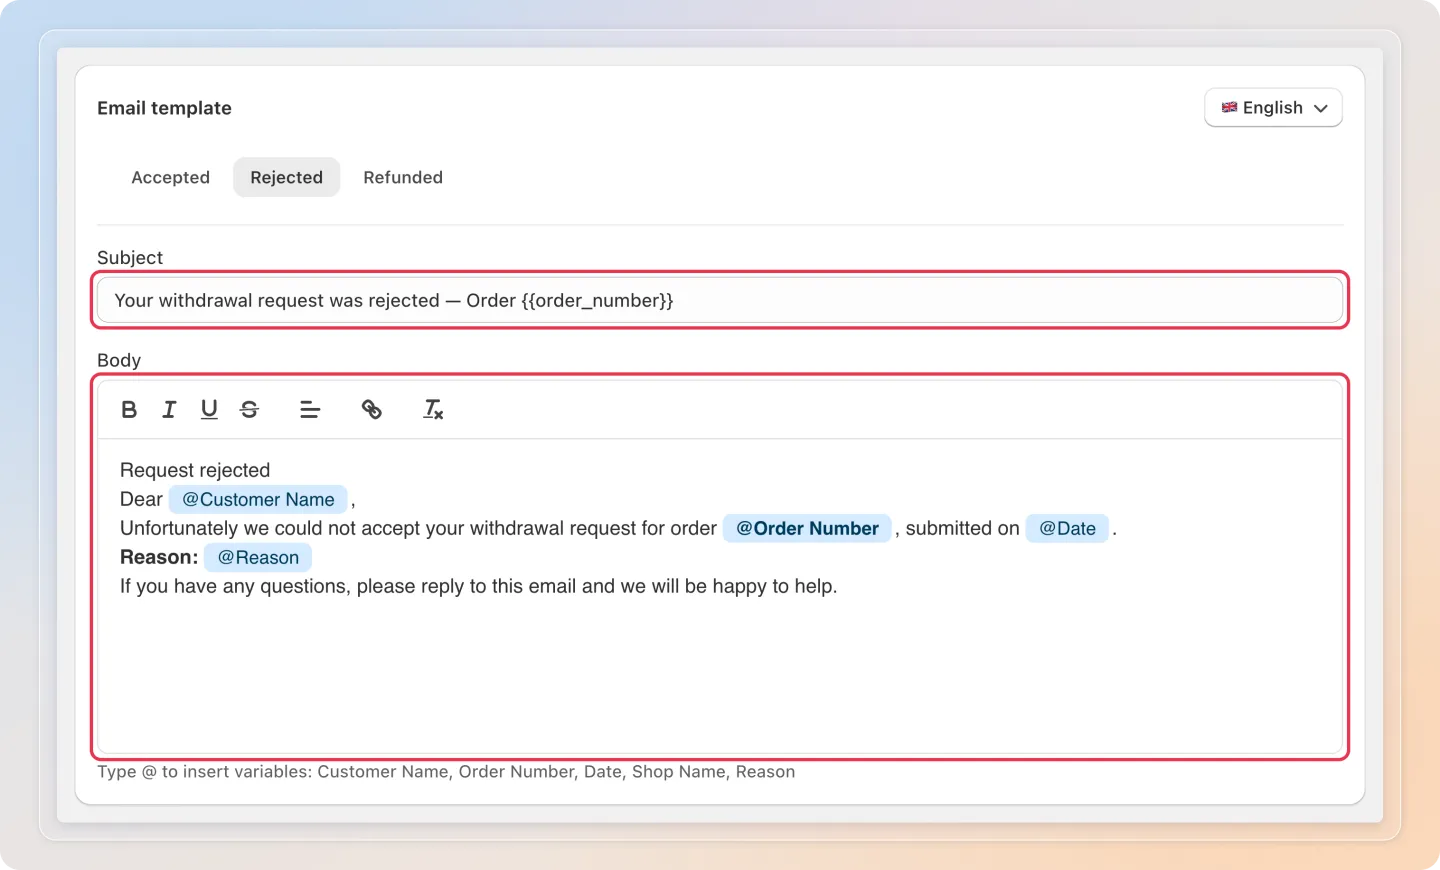
- Set the Subject line.
- Edit the Body of the message.
- Type @ in the body to insert variables: Customer Name, Order Number, Date, and Shop Name. The Rejected tab also offers Reason.
- In the Sender card, you can set the From name and Reply-to email customers see.
Set the language
Use the language selector in the top-right corner of the Email template card to choose which storefront language you're editing.
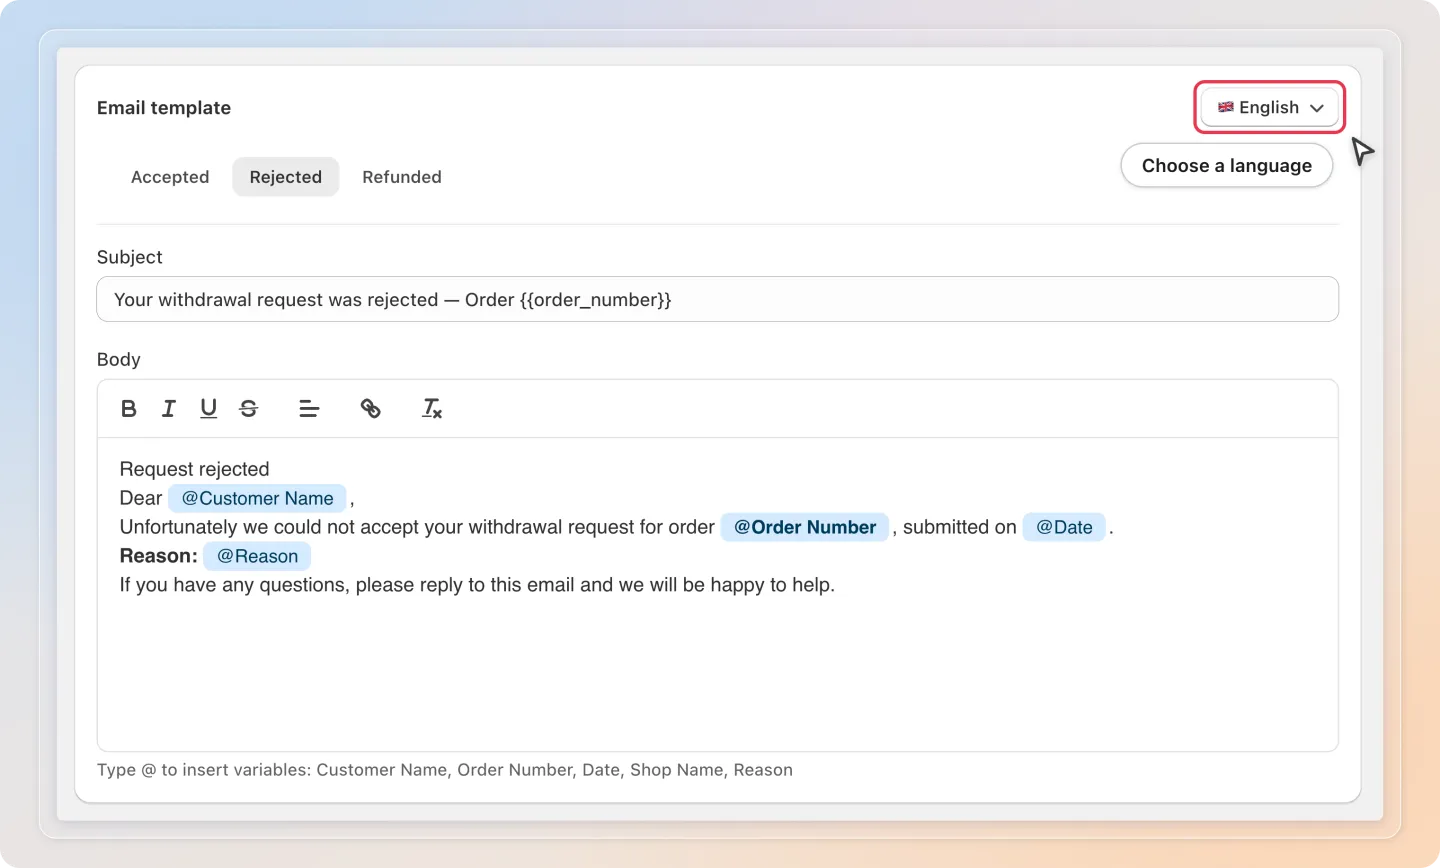
- Write a separate version for any language you sell in.
- If a language doesn't have its own version, the app sends the default template instead, so customers never get a blank email.
Send a test email
Before going live, check how the email looks.
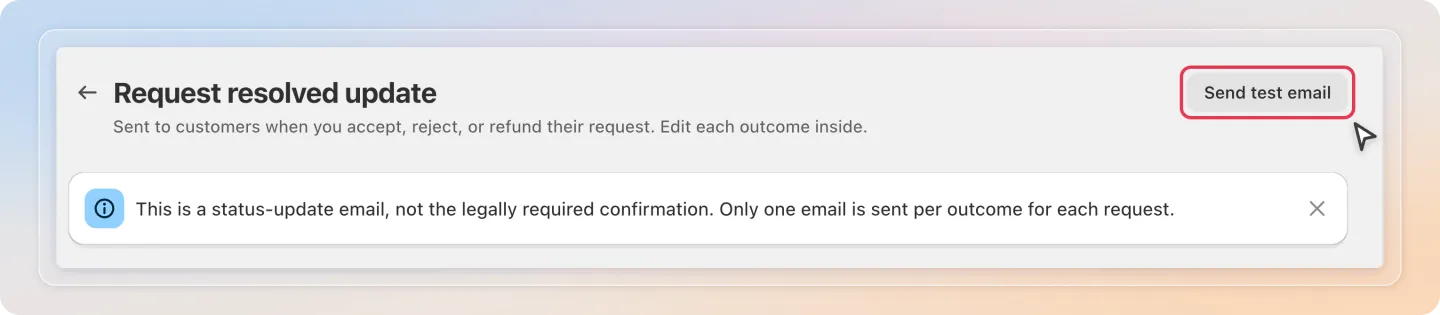
- Click Send test email in the top-right corner.
- The current template (for the outcome and language you're viewing) is sent with sample data to your shop email.
Save your template
- Click Save in the bar that appears at the top of the page to apply your changes. Click Discard to undo them.

- The next time a request is accepted, rejected, or refunded, the customer receives the matching template you just edited.
Tips
- If a request is accepted and then automatically refunded right after (for example through Auto refund), the customer only receives one final email, so you won't need to worry about duplicate messages.
- If you accept a request and refund it yourself as two separate actions, the customer receives both emails - one for each action.
- Send a test email for every outcome and language you edit so you catch formatting issues before customers do.
Related Articles
And there you have it! You've customized the resolved-update emails. Customers now get a clear, on-brand message the moment their request is accepted, rejected, or refunded.
If you have any questions or run into any issues, don't hesitate to reach out. We're here to help!