Whitelist Trusted Visitors
A whitelist rule guarantees a visitor is never blocked - even if they match one of your block rules. Use whitelisting to protect your own team, trusted partners, and known-good IPs while you block everything else.
Whitelist rules always take priority over Block and Redirect rules.
When to whitelist
| Scenario | Why whitelist |
|---|---|
| You block an entire country but your own office is there | Whitelist your office IP so your team keeps access |
| You block a region but a trusted supplier ships from it | Whitelist the supplier's IP |
| A broad rule accidentally catches a real customer | Whitelist their IP to restore access immediately |
Open the Rules page
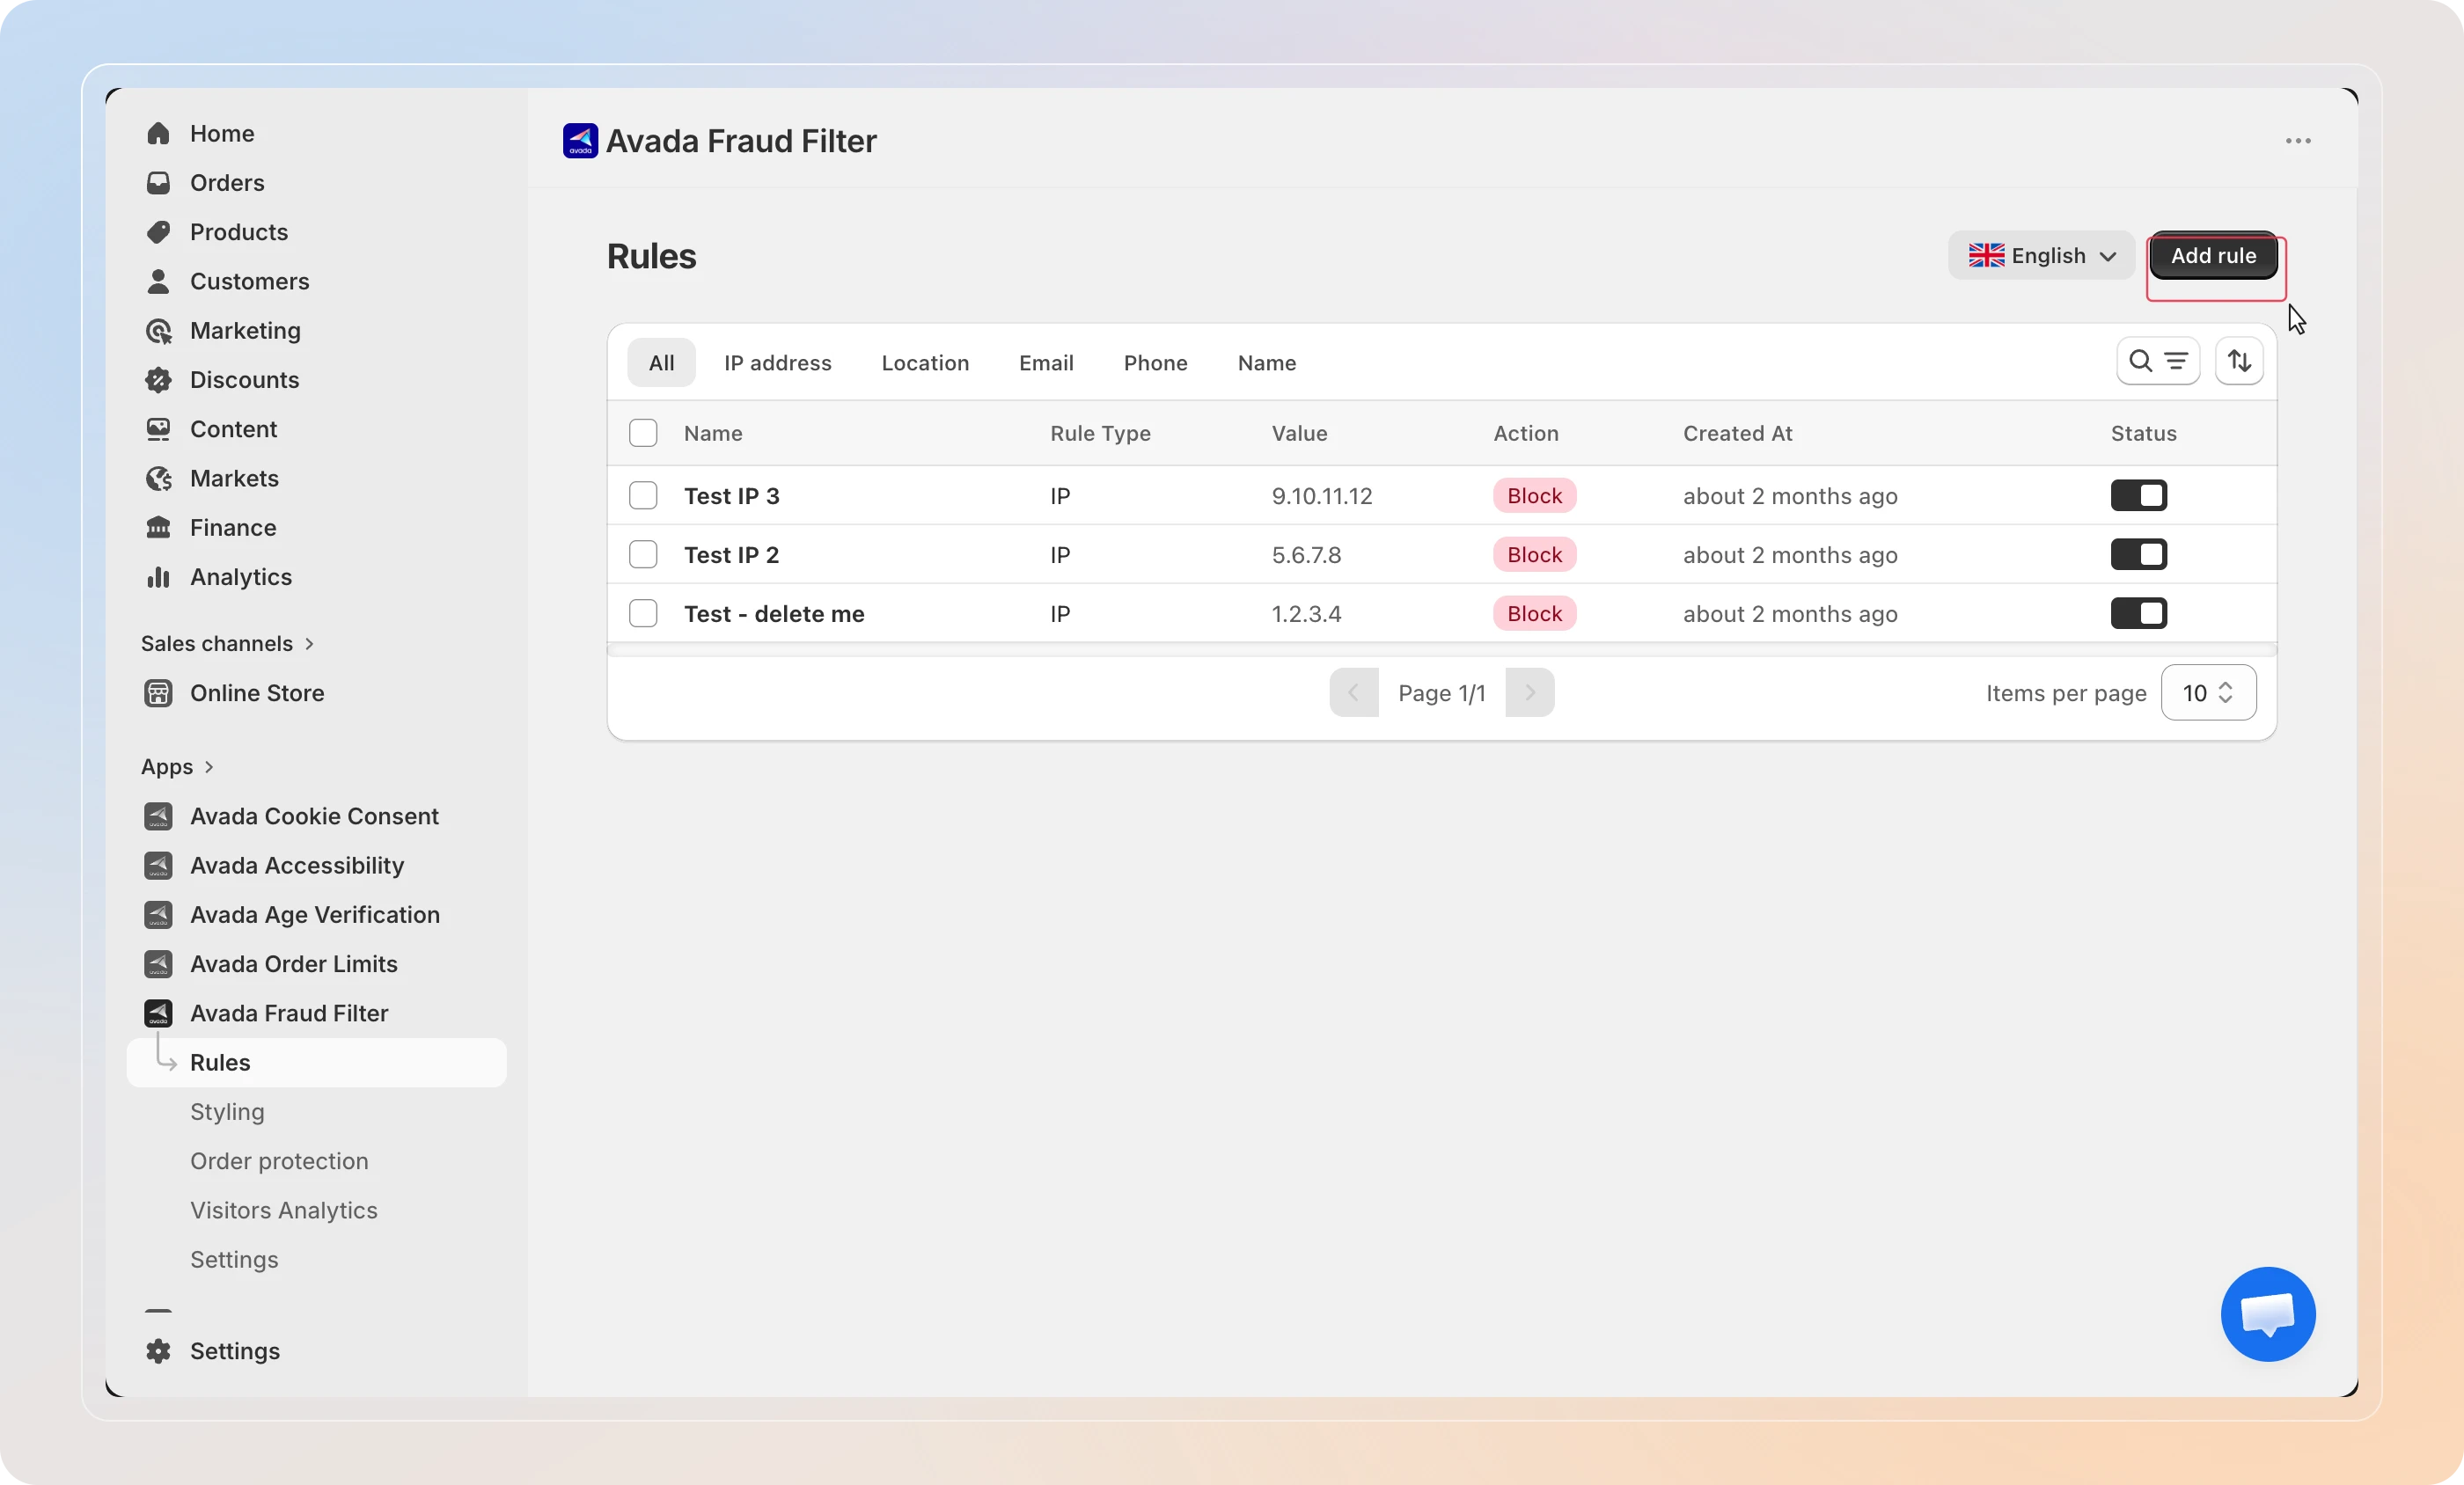
In the sidebar, click Rules, then click Add rule.
Choose what to whitelist
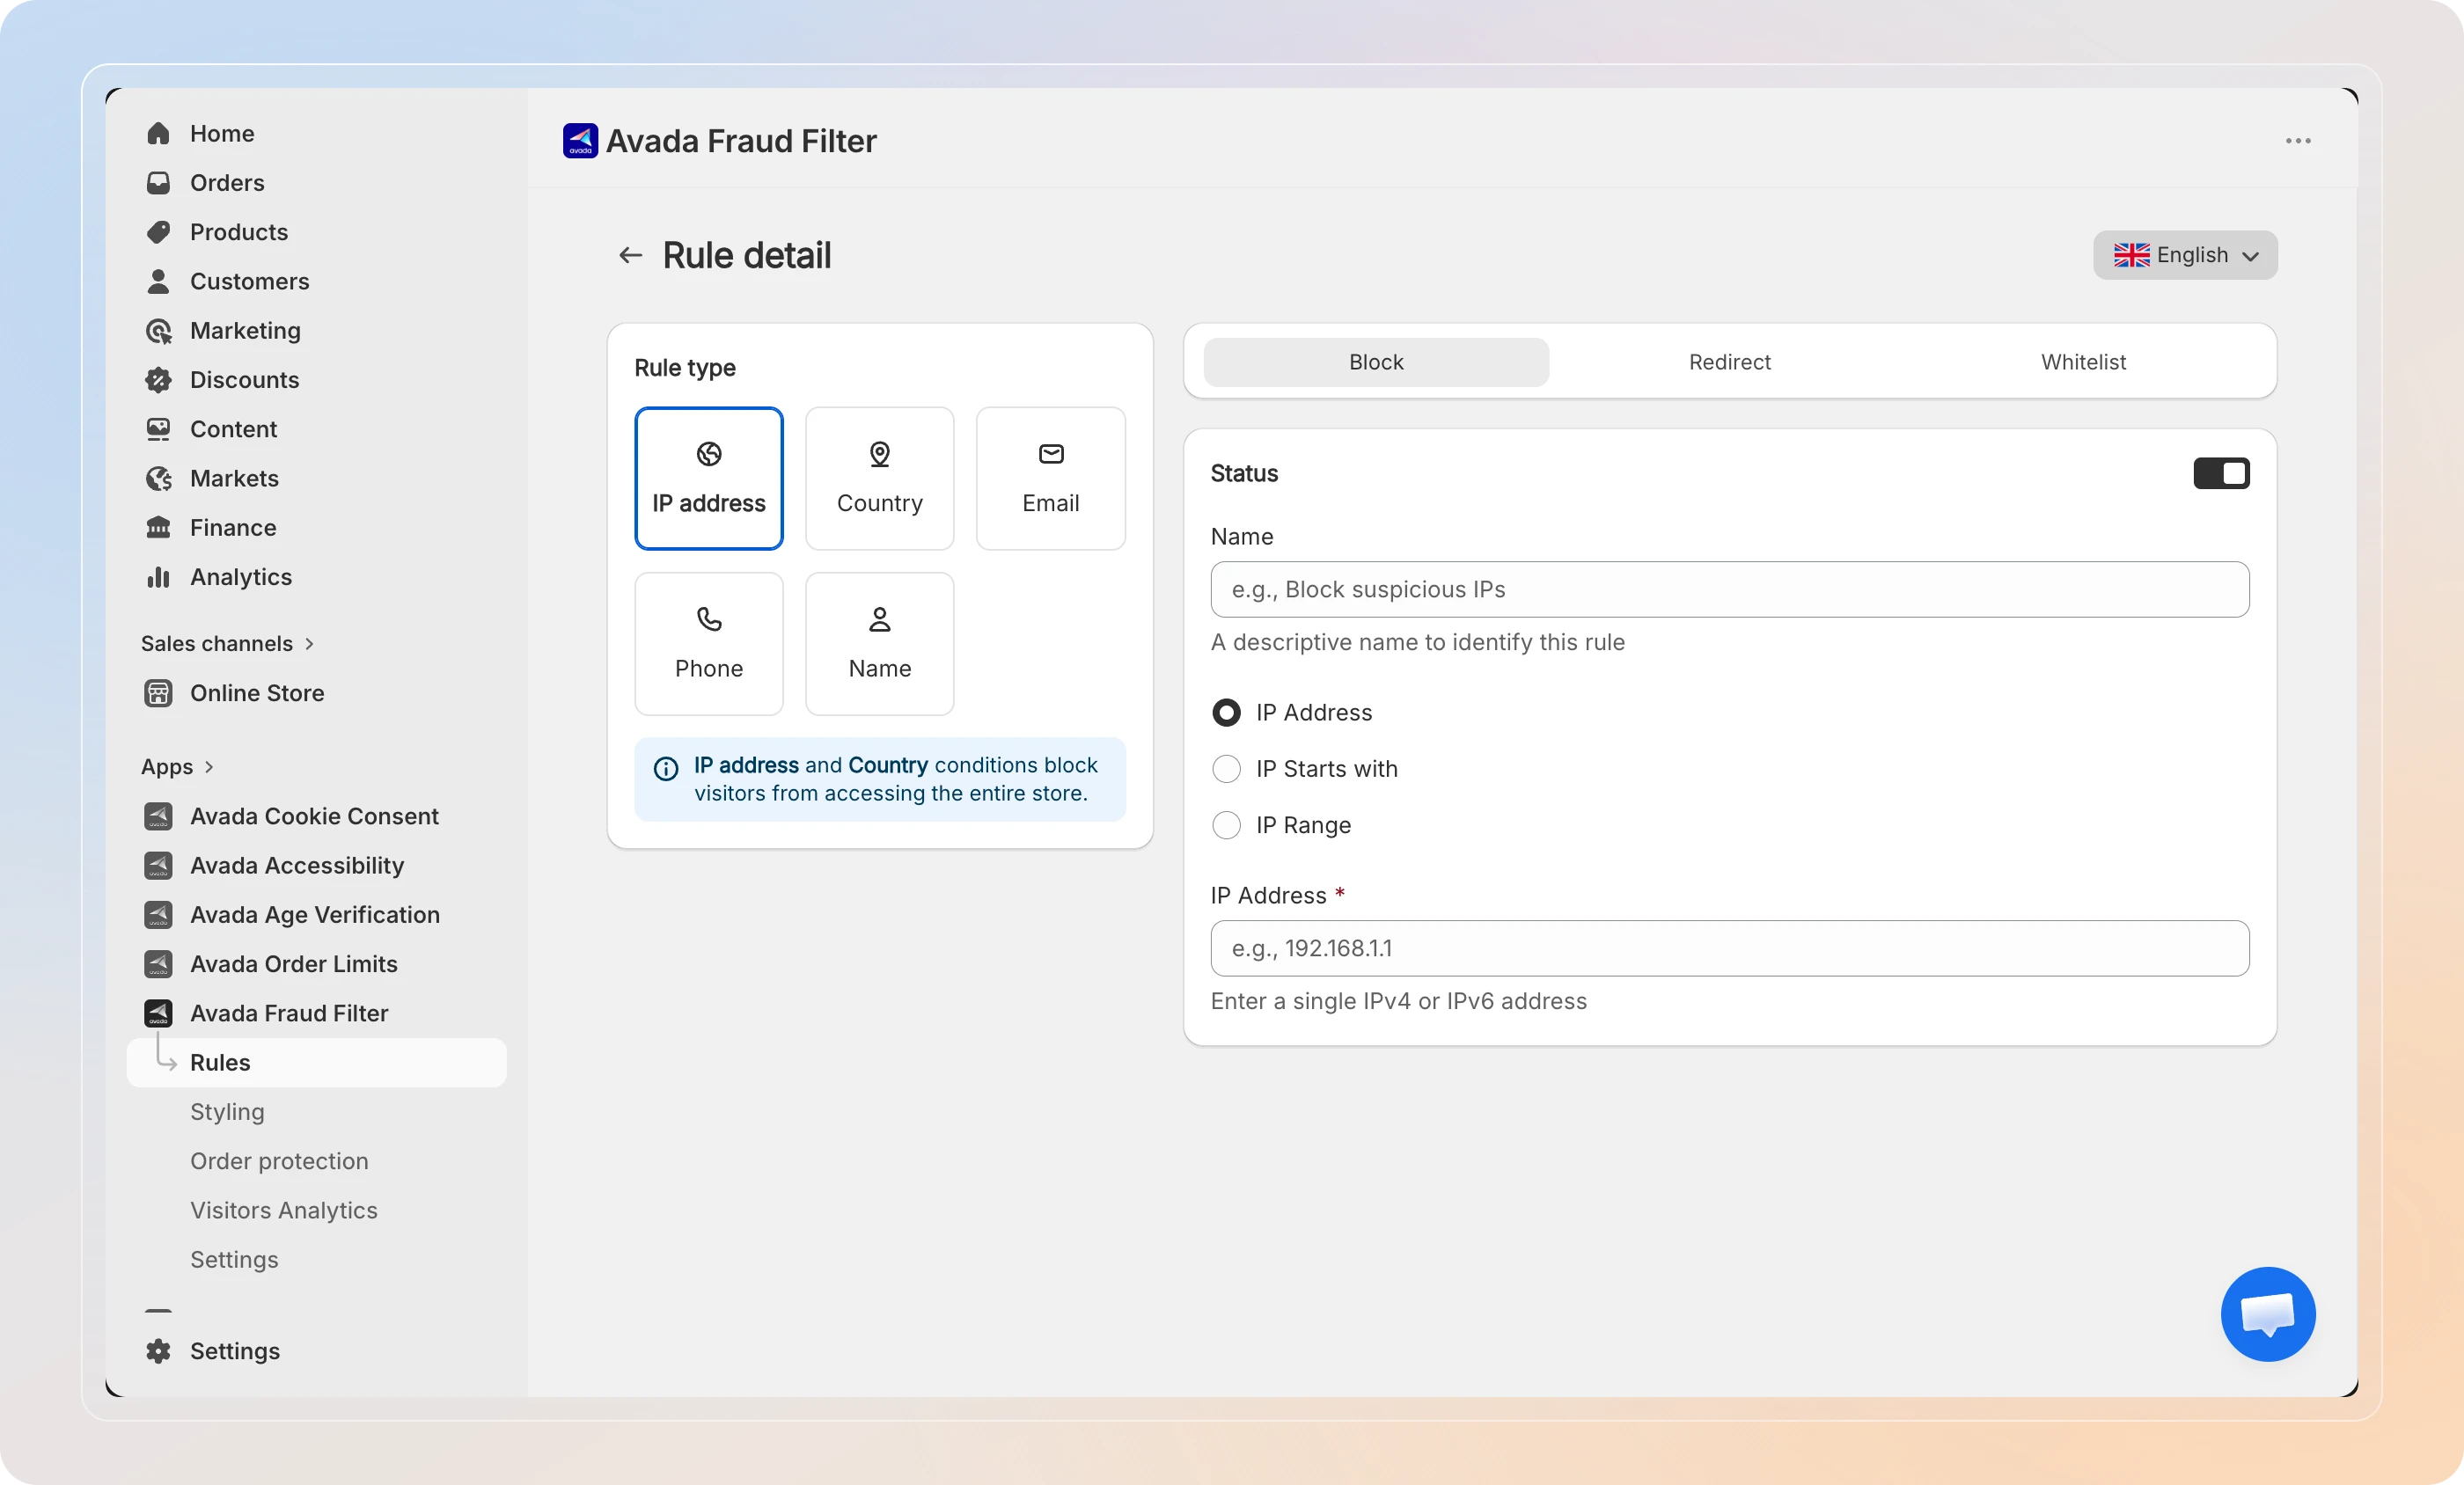
On the Rule detail page, select the Rule type for the visitor you want to trust - most often IP address, but you can also whitelist by Country, Email, Phone, or Name.
Enter the value, for example a single IP Address such as 203.0.113.10.
Set the action to Whitelist
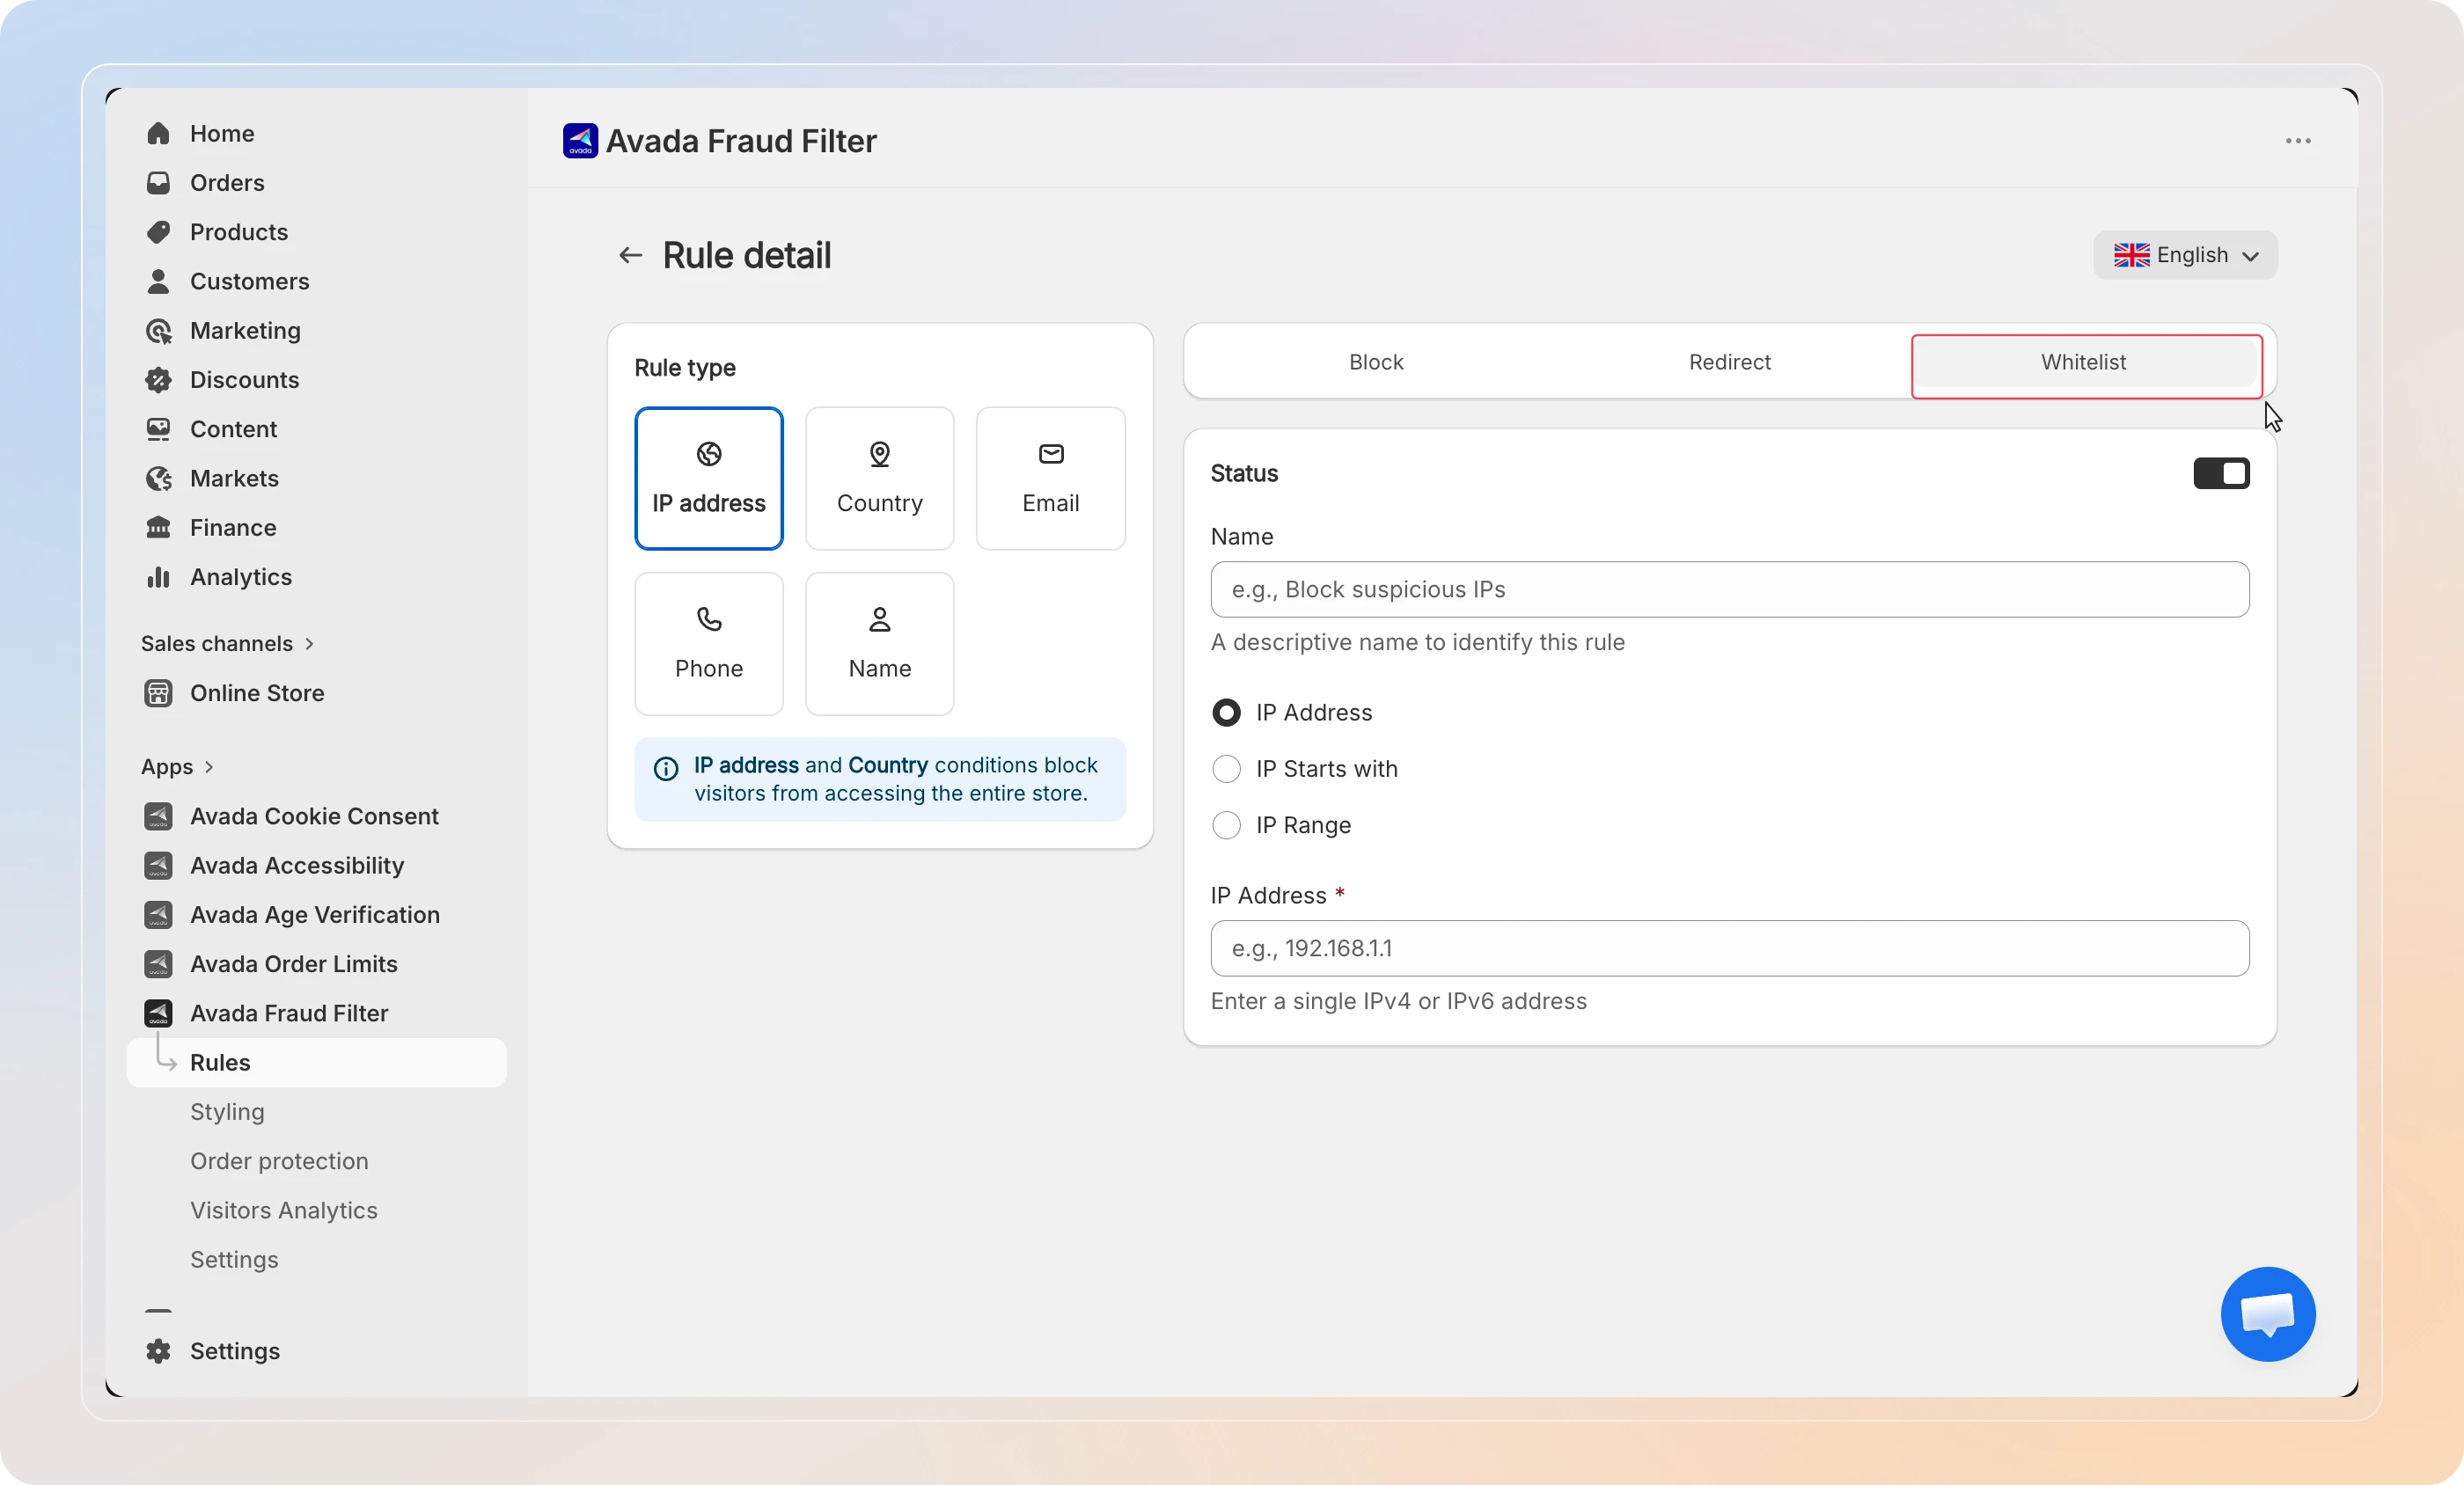
Set the action to Whitelist.
This visitor will now bypass every Block and Redirect rule, no matter how many other rules they match.
Whitelisting is all-or-nothing for that visitor - a whitelisted IP is exempt from all of your blocking rules, not just one.
Name and save
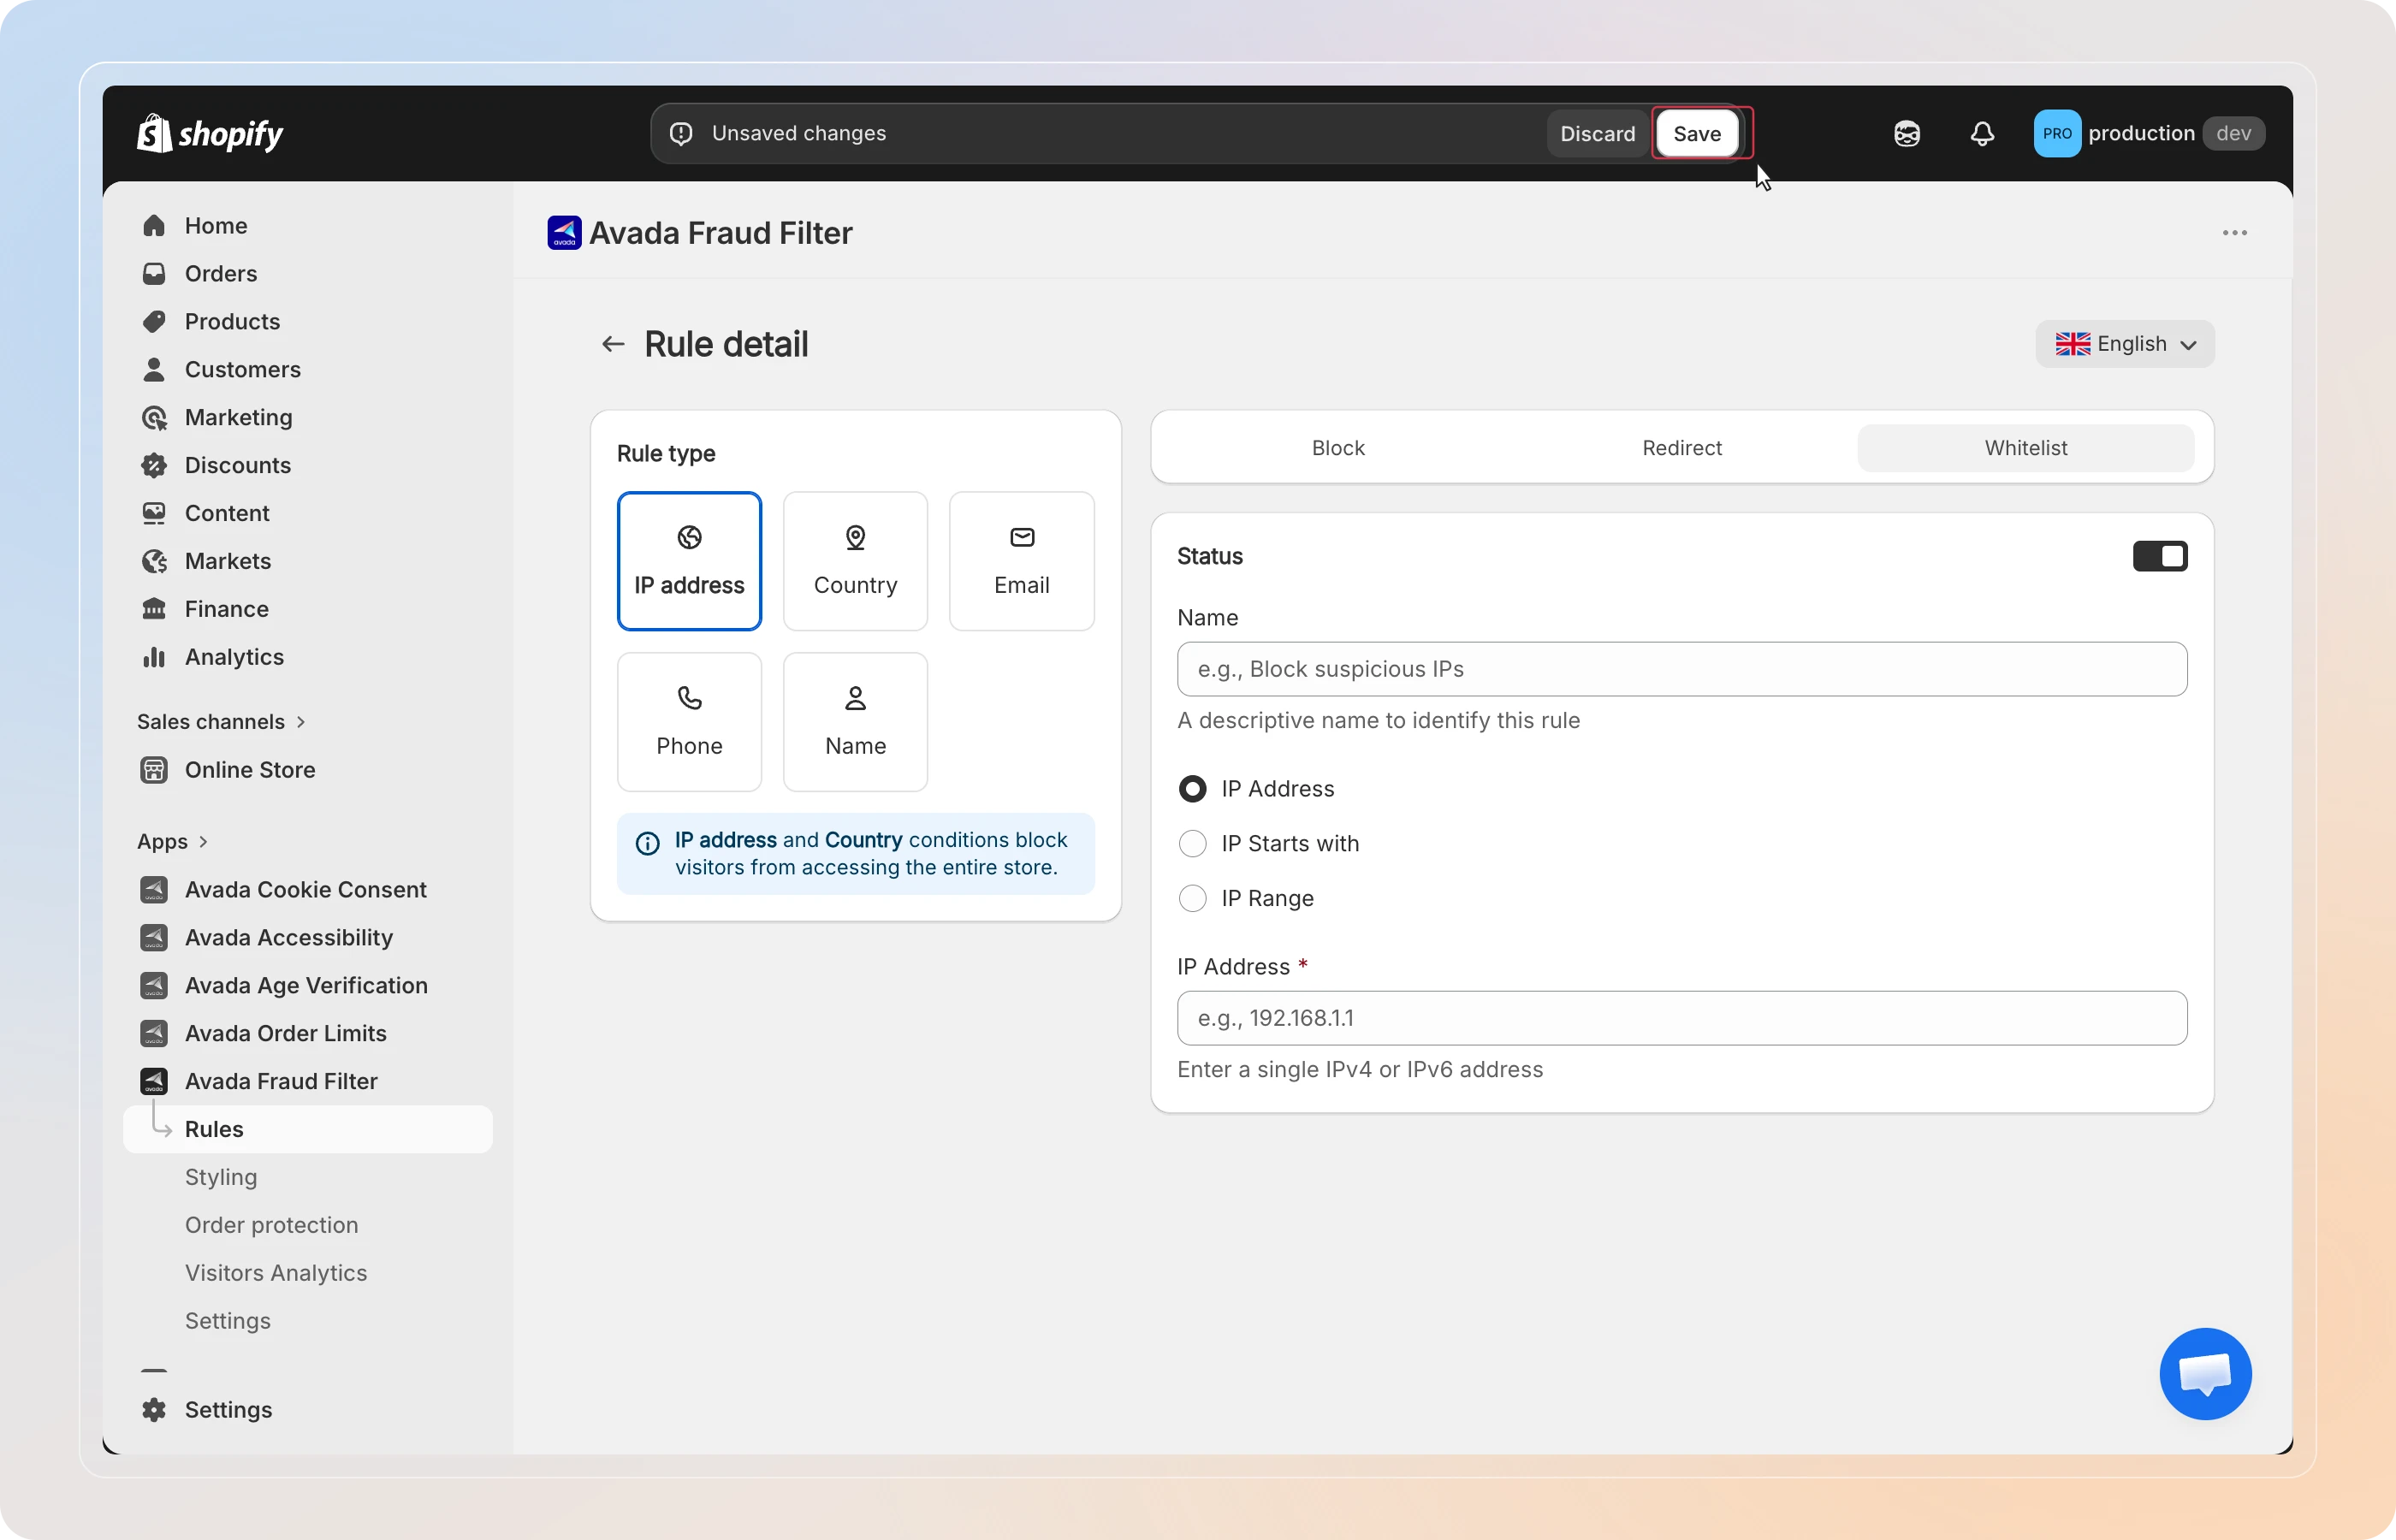
Add a clear Name so you remember why this entry is trusted (e.g., Office IP - HQ or Supplier - Acme), keep Status set to Active, and click Save.
Your whitelist rule appears under the Whitelist tab in the Rules list.
Tips
- Whitelist first, block second - when rolling out a broad country block, add your whitelist entries before the block so you're never locked out, even briefly.
- Use the Whitelist tab - open the Whitelist tab in the Rules list to review everyone you currently trust in one place.
- Keep names descriptive - future-you will thank present-you for Office IP - HQ instead of a bare IP address.
And there you have it! You've successfully whitelisted a trusted visitor. They'll bypass your blocking rules from now on.