Create Customer Limit
Requires: Free plan (advanced gating options require Paid plan)
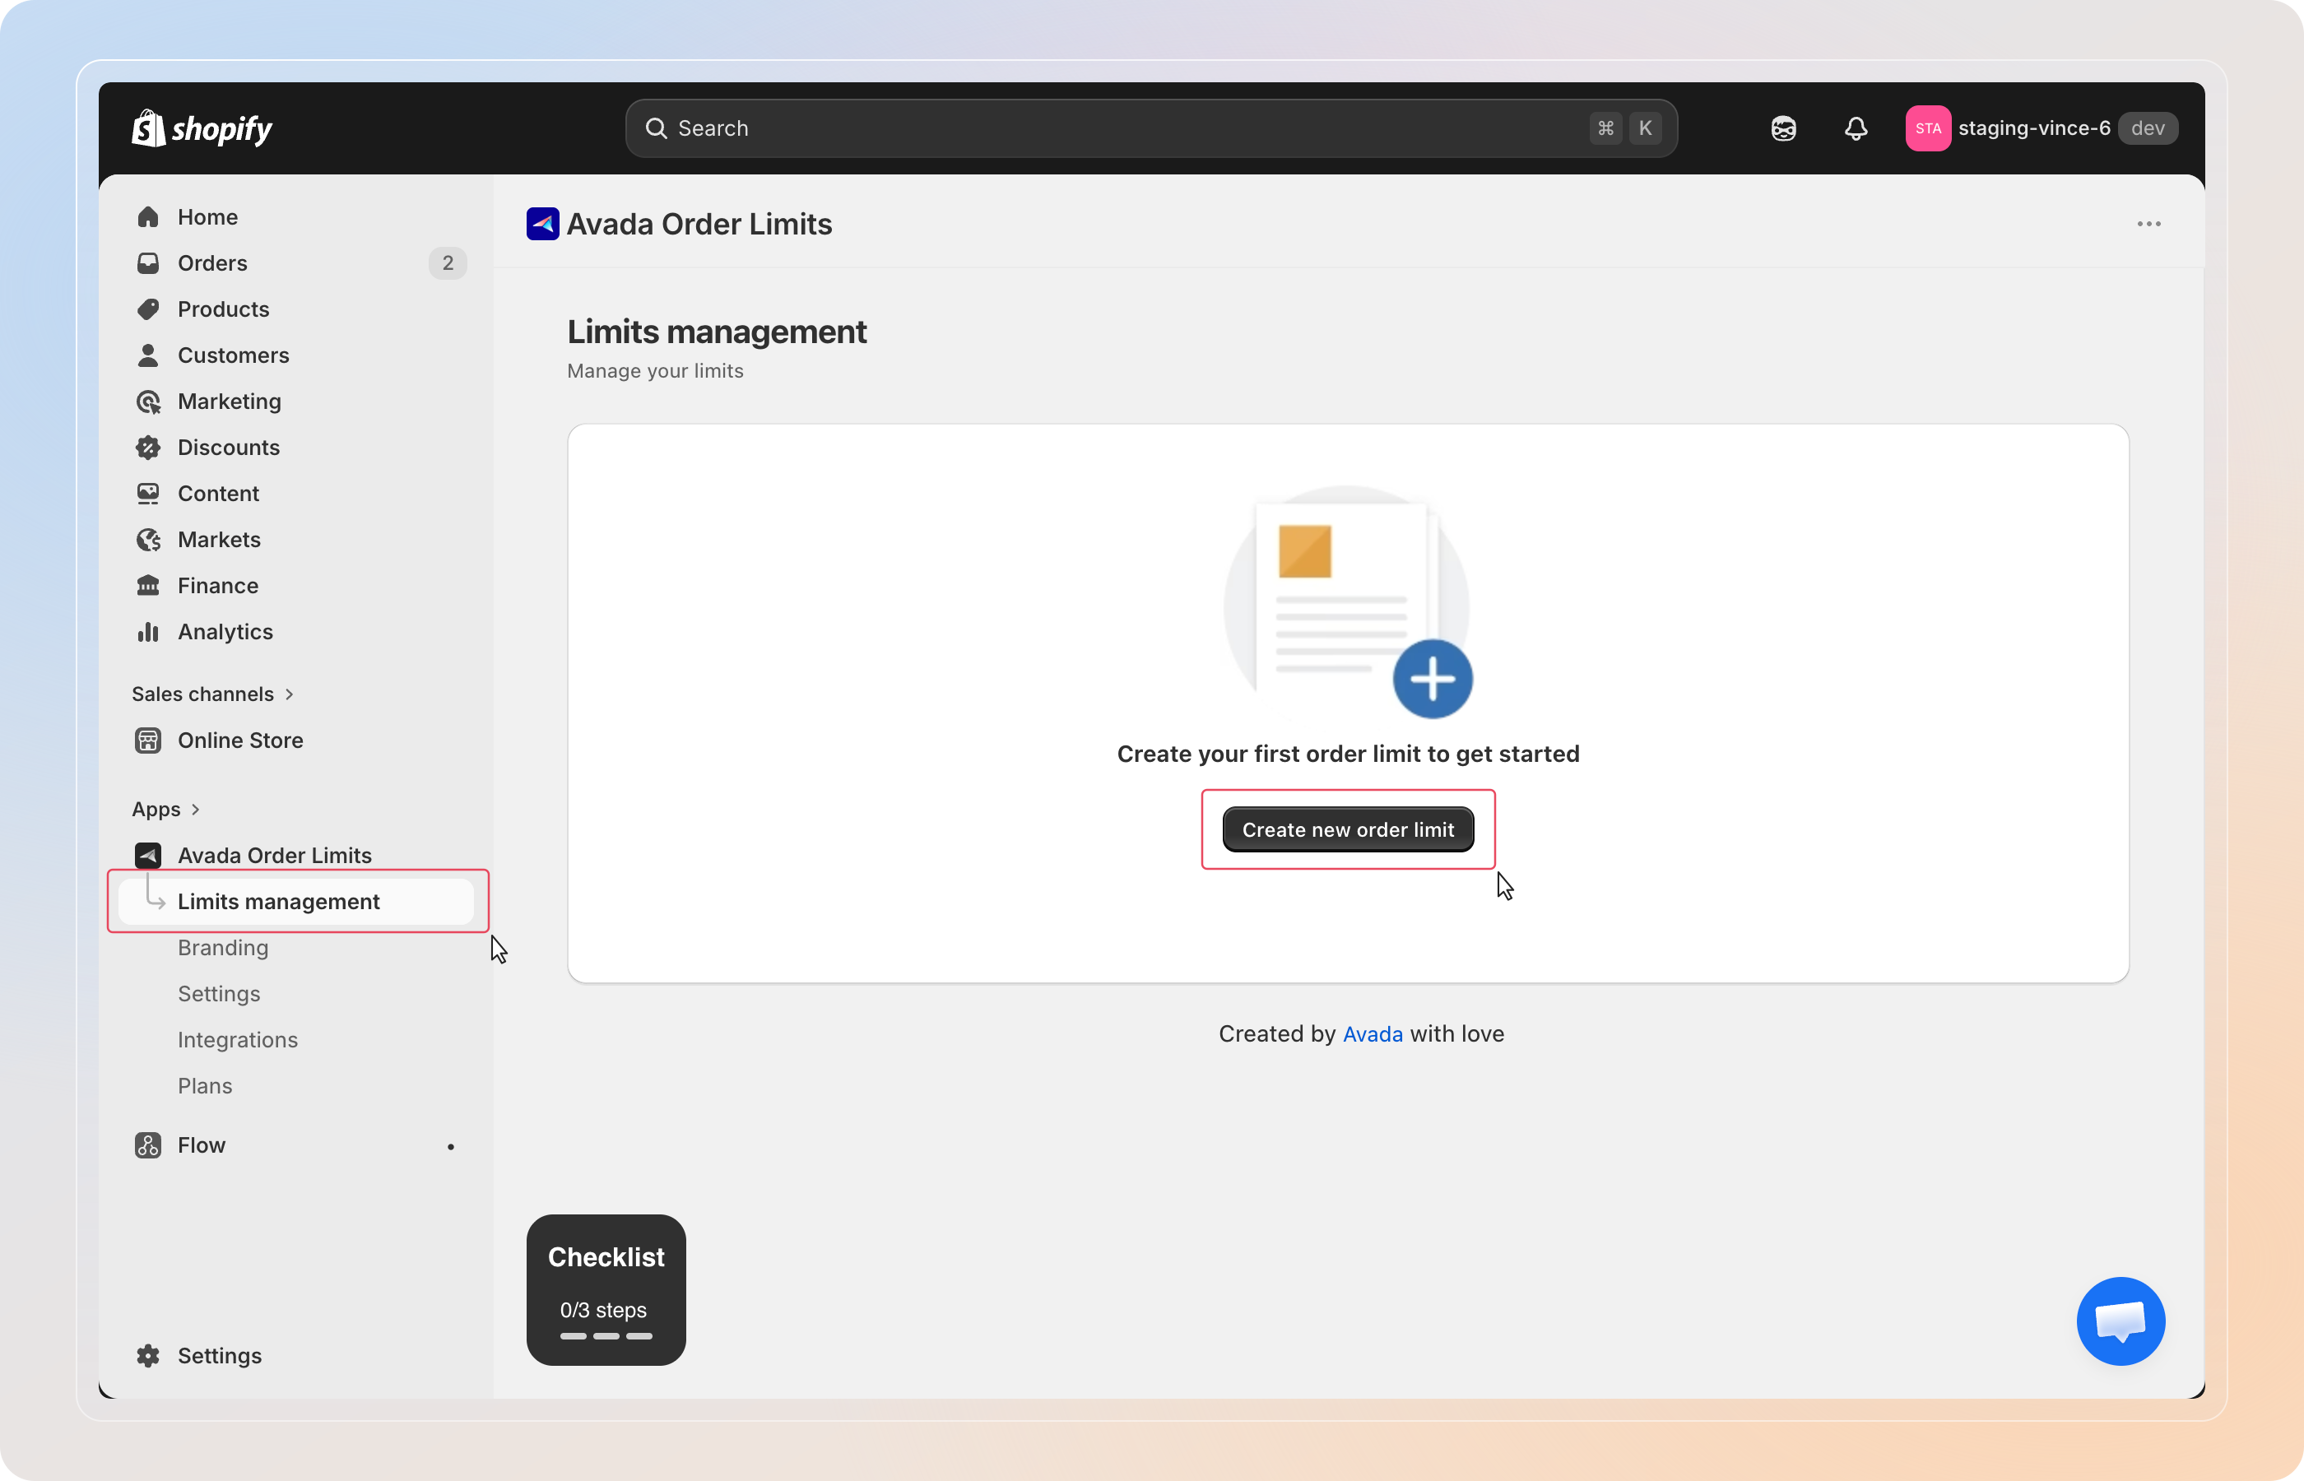
Step 1: Open Limits management and create a new limit
From the left-hand menu of the app, click Limits management to open the list of your rules. Click Create new order limit (or Create new limit, in the top-right, if you already have rules) to open the limit type chooser.
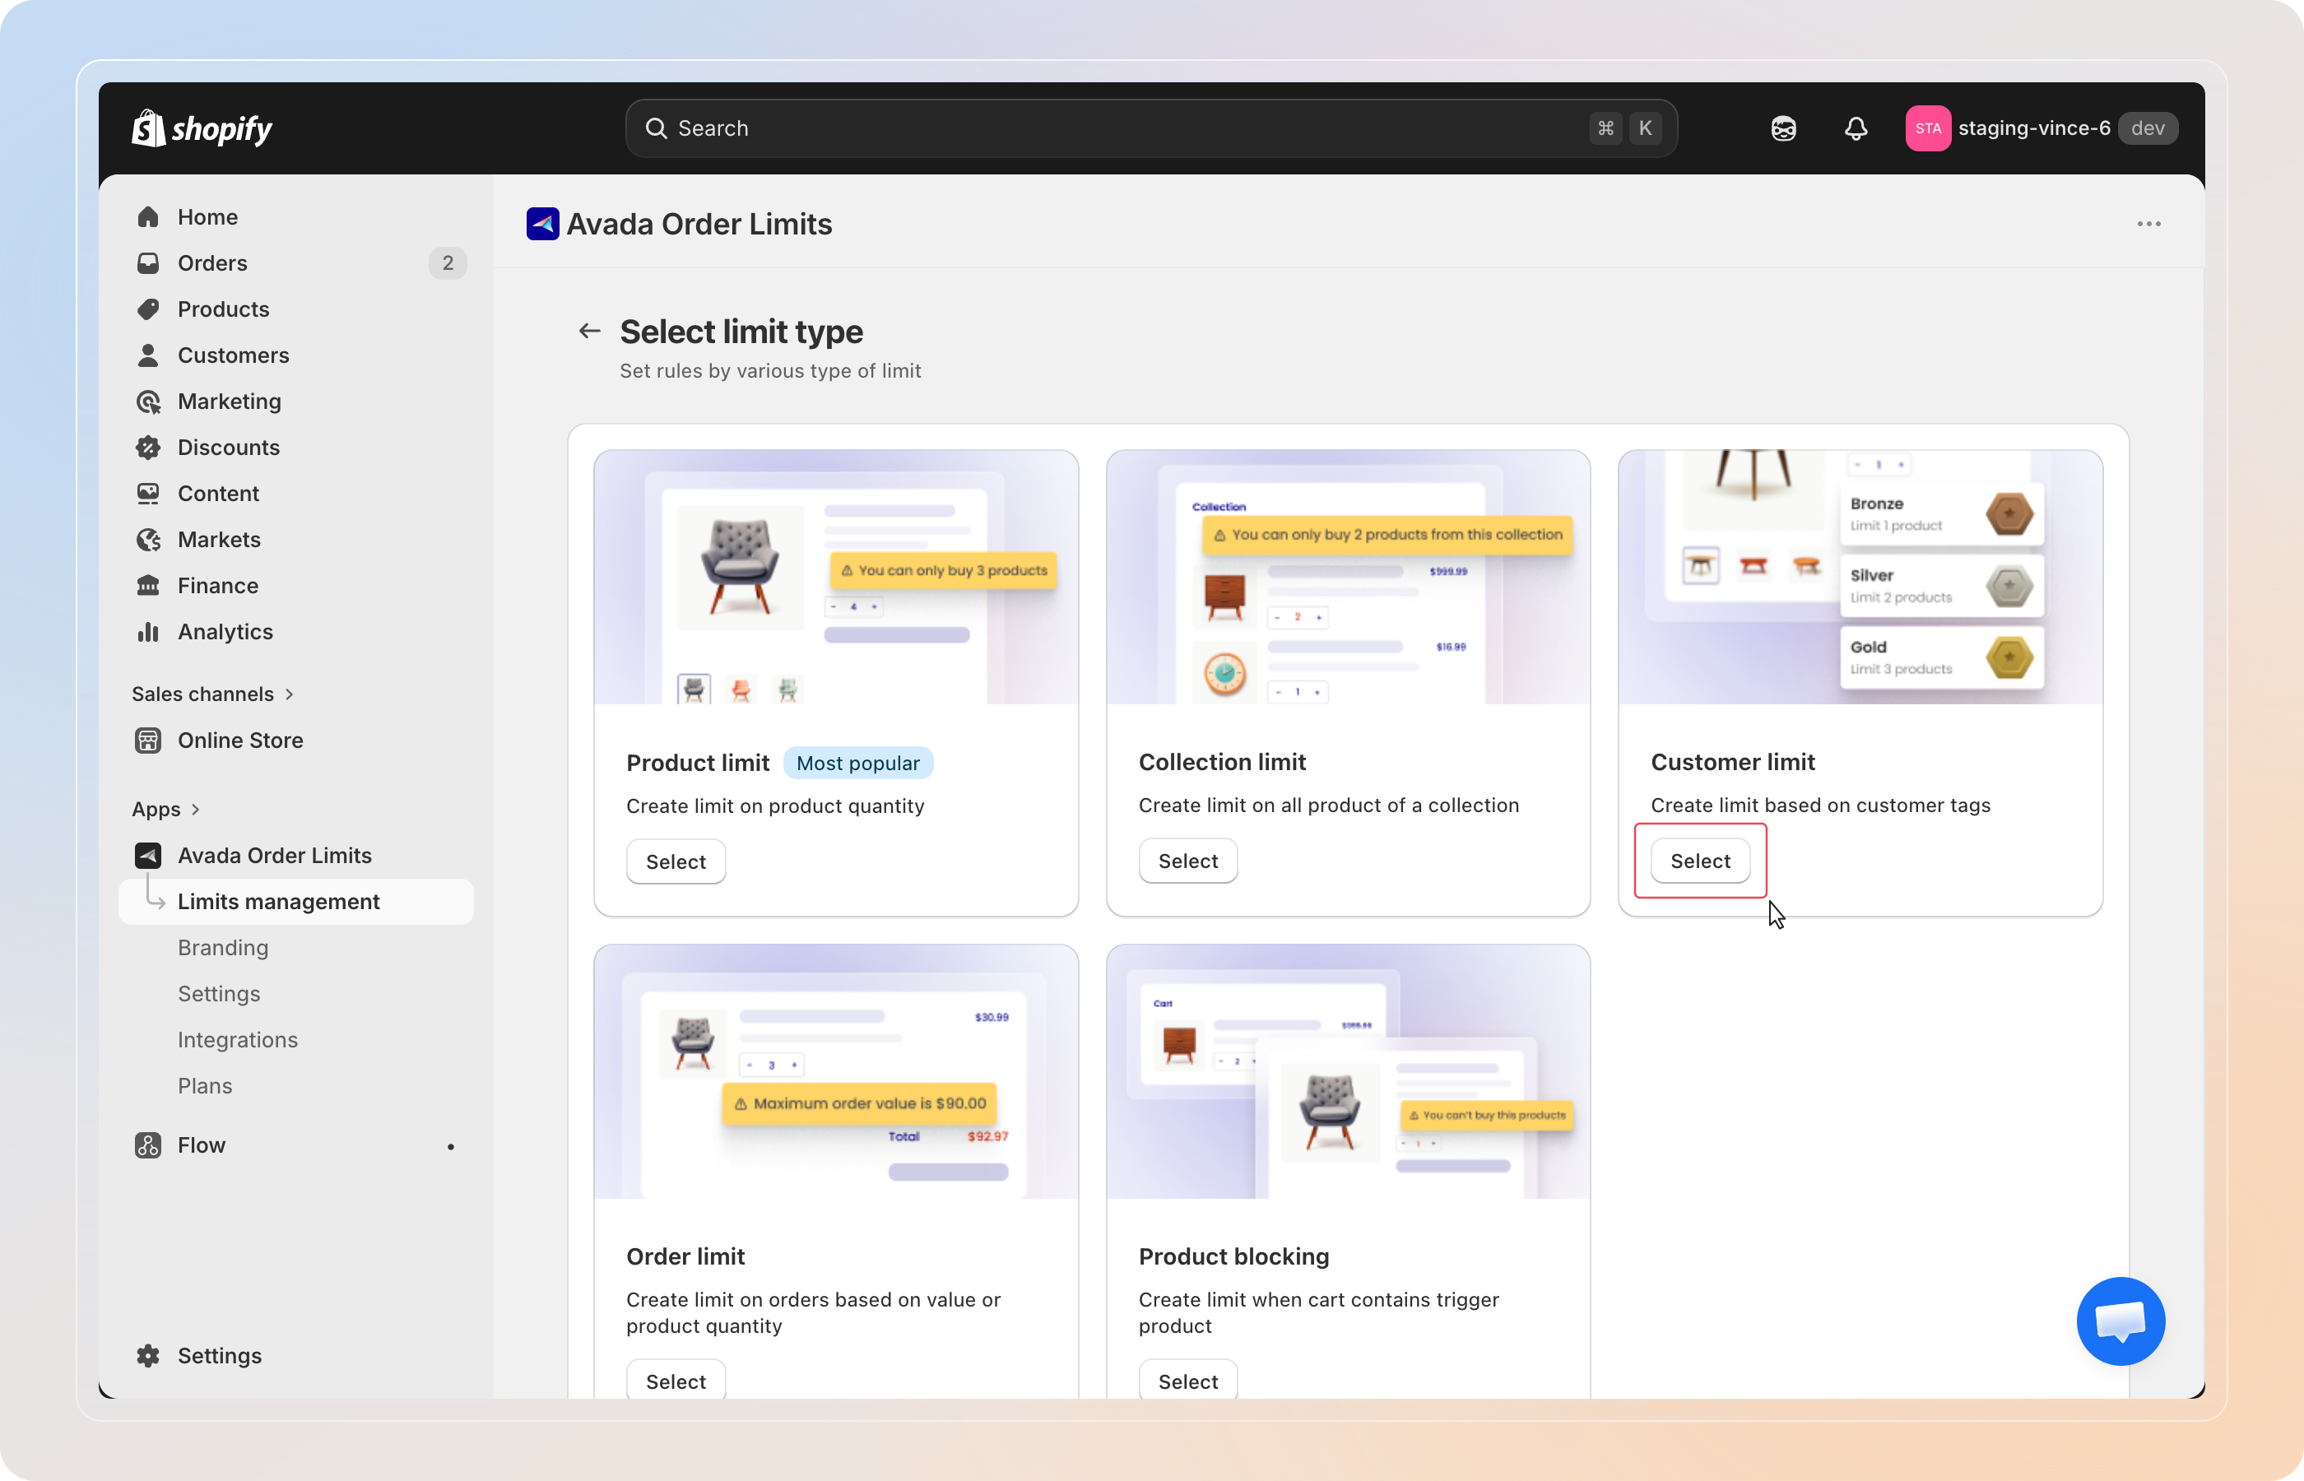
Step 2: Choose the limit type
On the limit type chooser, find the Customer limit card and click Select.
A Customer Limit applies on top of every order from customers carrying the tag(s) you choose — useful for "VIP gets unlimited", "wholesale max 100 units", or "tagged buyers must order $500+".
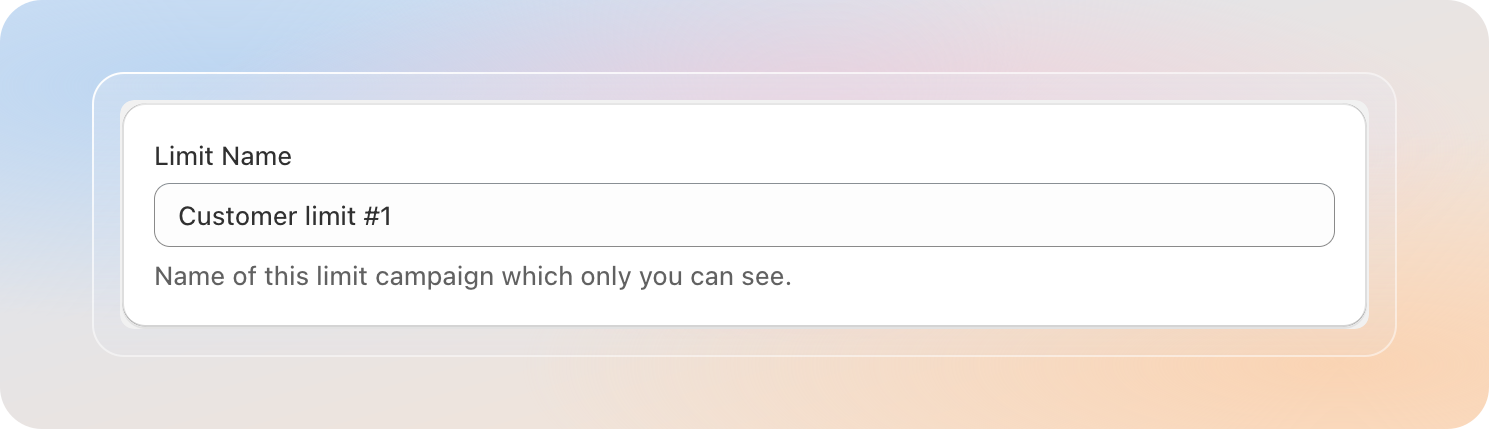
Step 3: Name your limit
Enter a name in the Limit name field. This name is for internal use only — customers will never see it. Pick something that identifies the segment, for example "VIP — unlimited orders" or "Wholesale — $500 minimum".
Step 4: Pick the customer tags to limit
Under Select customer tag to limit, choose how broadly the rule fires:
| Option | When to use |
|---|---|
| All customer tags | The rule applies to every tagged customer. Use this for a blanket "anyone who has a tag" rule. |
| Specific customer tags | Hand-pick the tags that trigger the rule. Click Browse, tick the tags you want in the Select customer tag modal, and click Select. Best for targeting one segment. |
Tip: Customer tags are managed in Shopify Admin → Customers → open a customer → Tags. Apply your segment tag (e.g., vip, wholesale) before testing the rule.
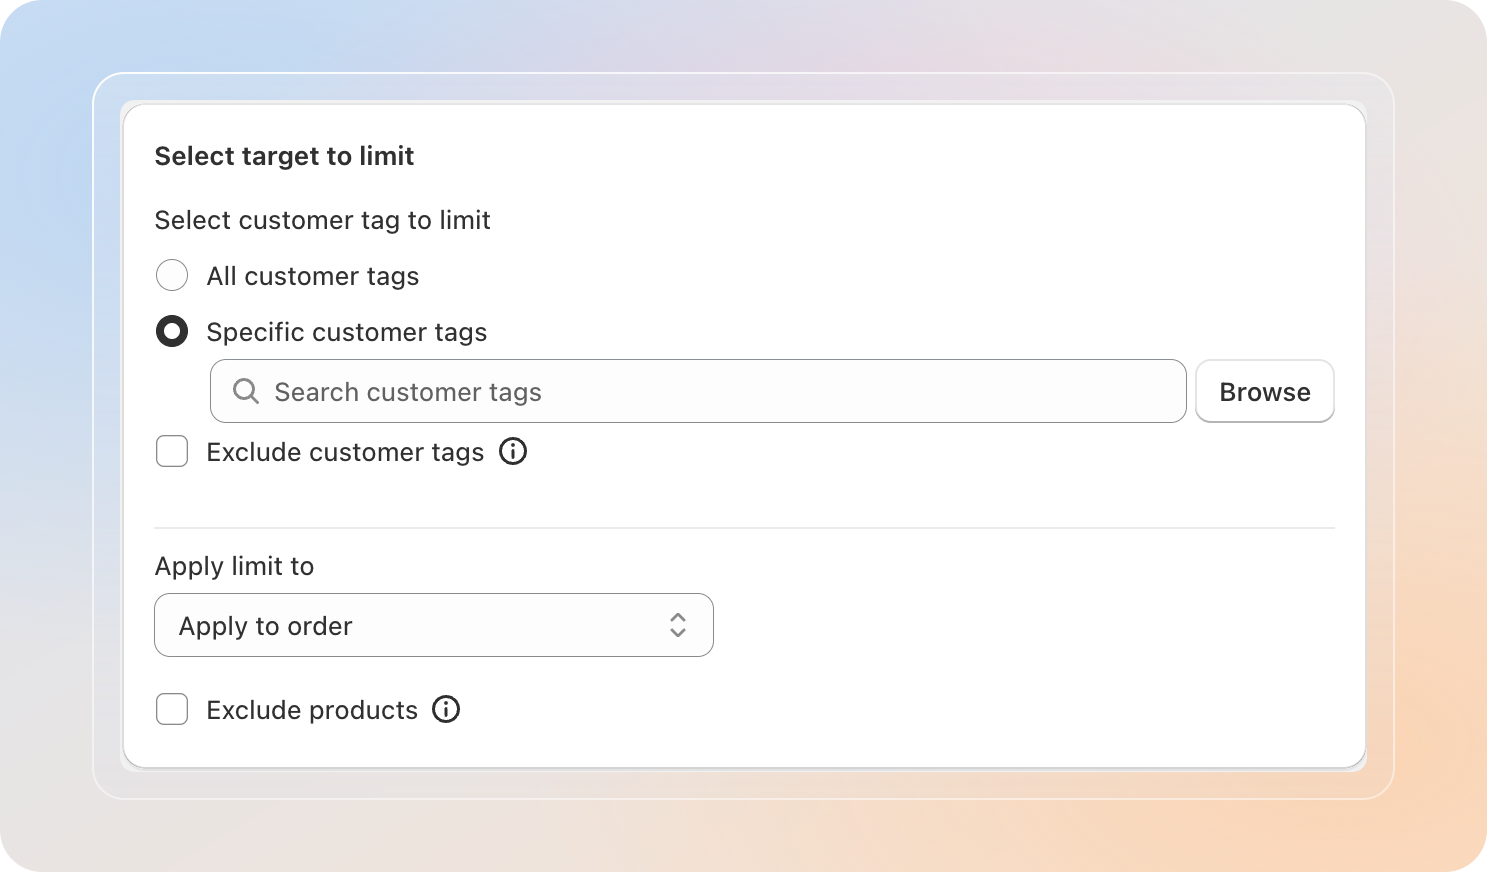
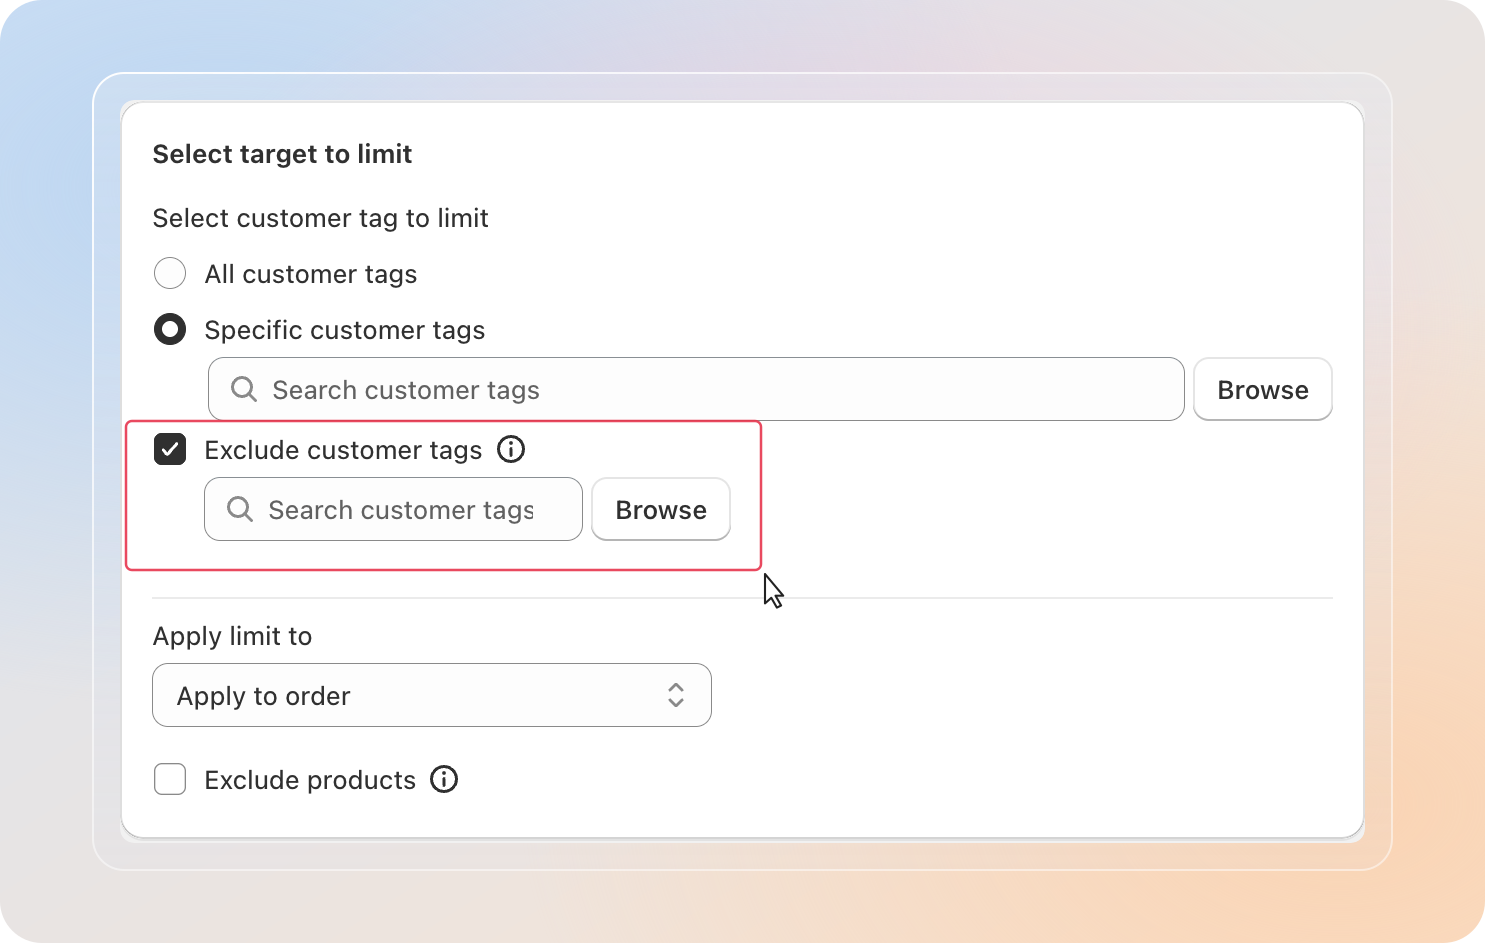
Exclude customer tags (optional)
Tick Exclude customer tags to remove specific tags from the rule's reach. Useful when a customer carries both an "include" tag and an "exclude" tag — the exclusion wins.
Pro plan: Exclude customer tags is available on Pro and above. On Free, the checkbox is locked and a pricing prompt appears next to it.
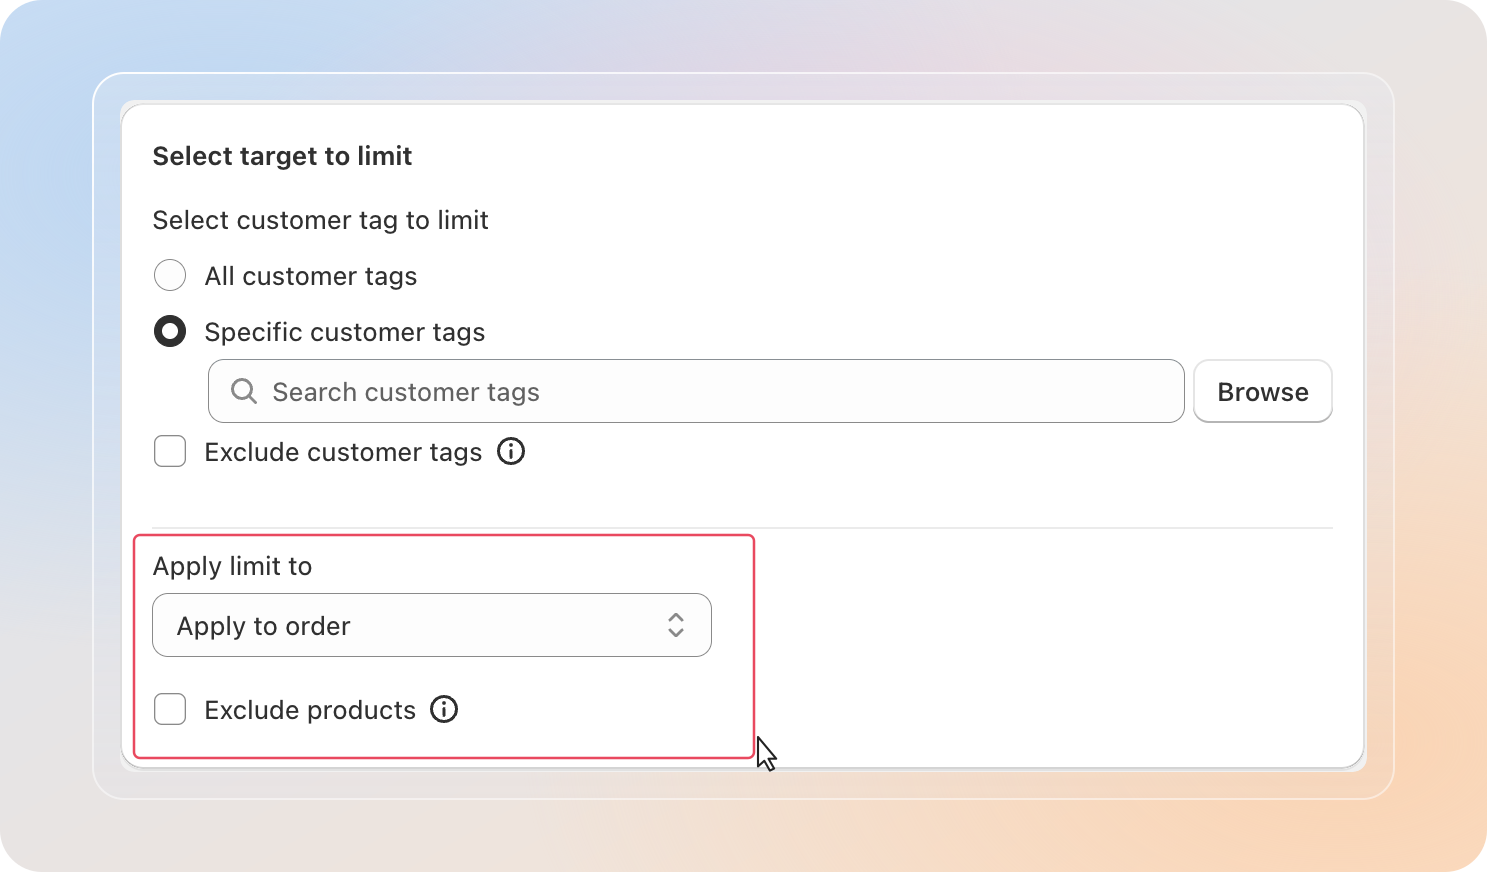
Step 5: Choose where the limit applies (Apply limit to)
Under Apply limit to, pick the scope the cap should evaluate against:
| Option | What the limit measures |
|---|---|
| Apply to order | The full cart contents from the tagged customer. Caps the total quantity, total value, or total weight of the order. |
| Apply to collection | Only items from a chosen collection count toward the cap. You'll be prompted to pick the collection right after. |
| Apply to product | Only items from a hand-picked product list count toward the cap. Caps product quantity only. |
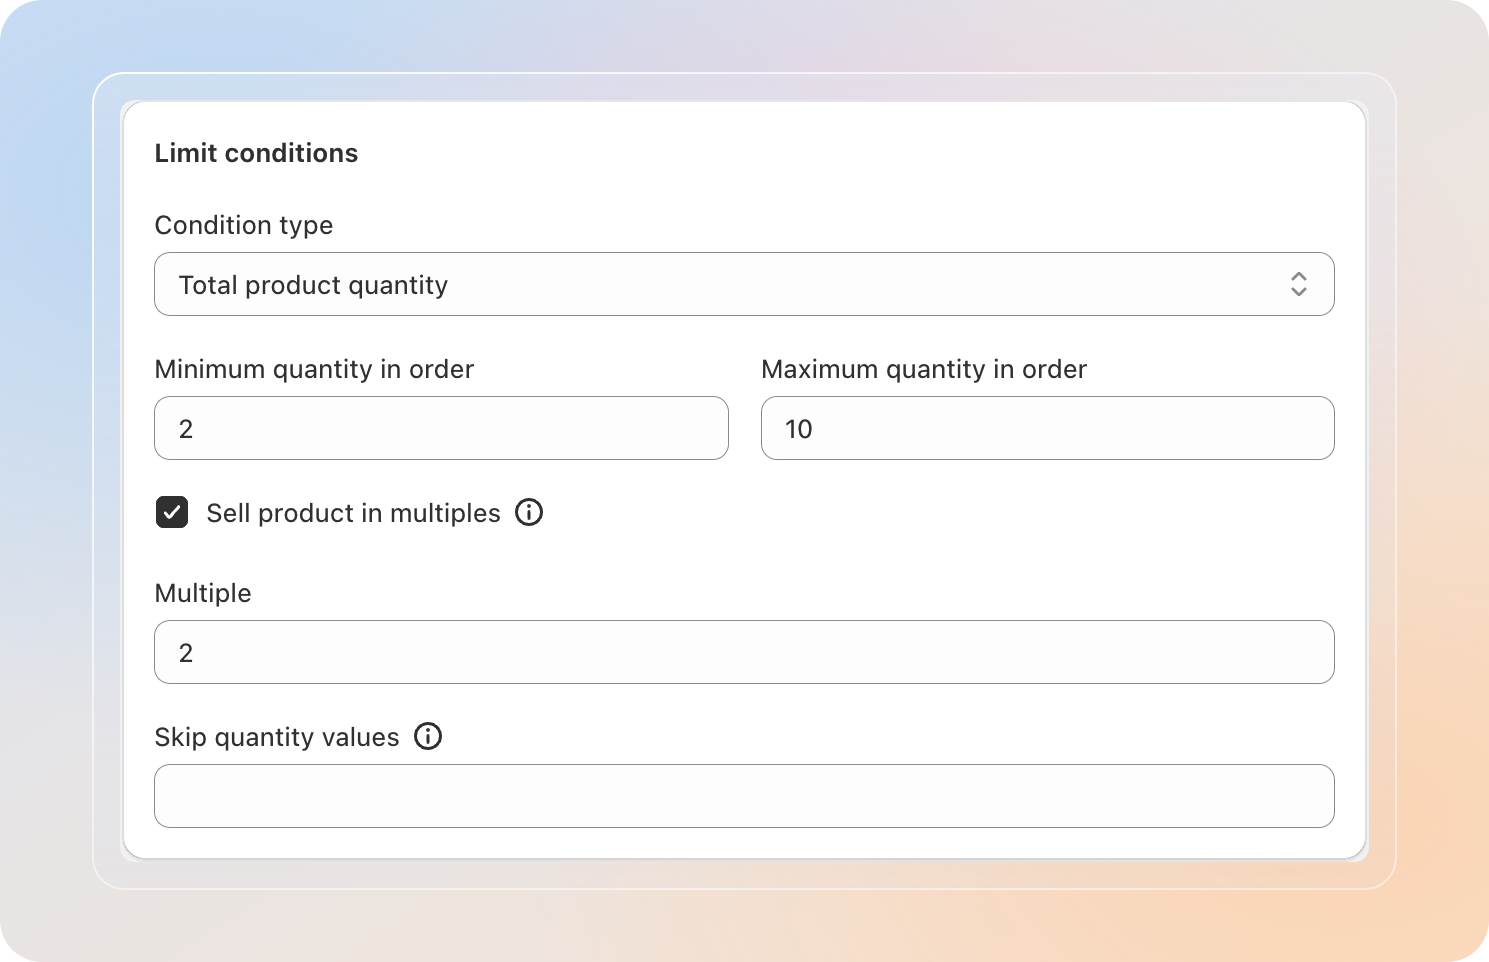
Step 6: Set the limit conditions
Open the Limit conditions card and pick the Condition type that matches your goal. The available types change based on the Apply limit to choice from Step 5:
| Apply limit to | Available condition types |
|---|---|
| Order | Total product quantity, Total product value, Total product weight |
| Collection | Total product quantity, Total product value |
| Product | Total product quantity |
Then fill in Minimum and Maximum values for the chosen condition.
Sell product in multiples (optional)
Tick Sell product in multiples when the tagged customer must buy in fixed packs — for example, "only in multiples of 6". Two more fields appear:
- Multiple — the pack size.
- Skip quantity values — optional. List specific quantities (comma-separated) that are allowed to bypass the multiple rule.
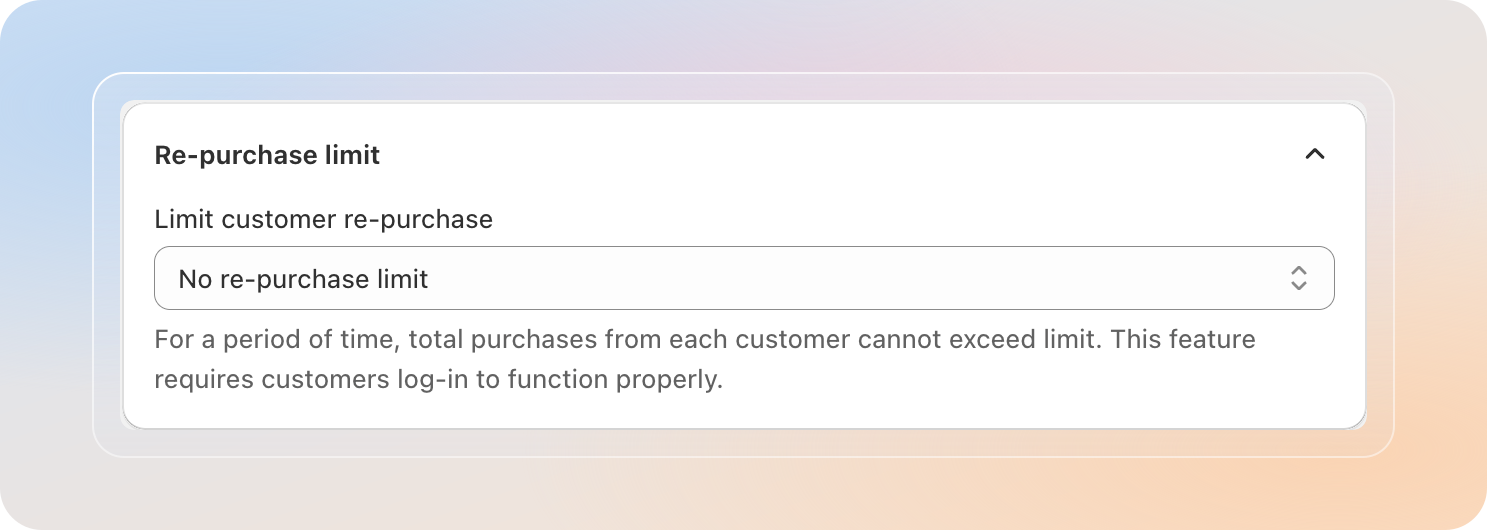
Step 7: Set the re-purchase rule (optional)
In the Re-purchase limit card, use Limit customer re-purchase to cap how often a single logged-in customer can re-order within the rule — once per lifetime, per year, per month, a custom window, or no limit at all.
Pro plan: Limit customer re-purchase is available on Pro and above. On Free, it stays at No re-purchase limit. Re-purchase rules also require customer login to be enabled on your store.
For the full breakdown of every option, the Reset repurchase at the start of the period behavior, and the required Shopify login setup, see the dedicated Re-purchase limit guide.
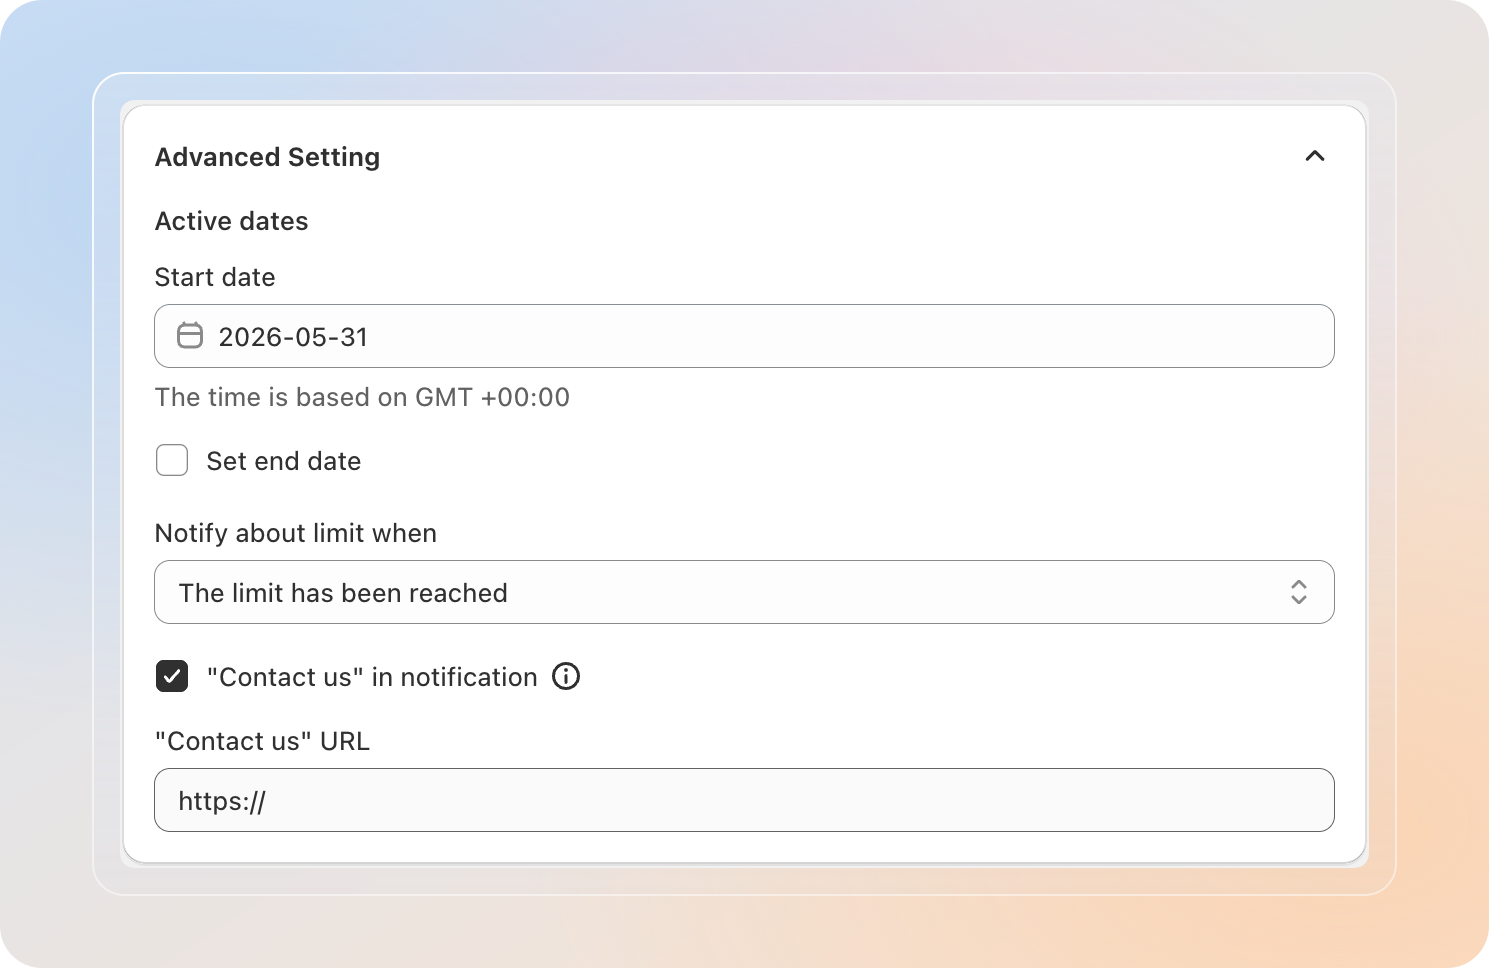
Step 8: Configure Advanced Setting
Expand the Advanced Setting card to control when the limit runs, how notifications behave, and the optional Contact us link.
Active dates
- Start date — the date (GMT +00:00) the limit becomes active. Required.
- Set end date — tick this to add an end date. Leave unchecked for an indefinite rule.
Notify about limit when
Pro plan: Notify about limit when is available on Pro and above. On Free, the dropdown is locked to the default option.
- The limit has been reached — only show the message after the limit has been hit.
- "add-to-cart" button is clicked and in cart page — show whenever the customer adds to cart or changes a cart line in a way that would break the limit.
- No notification — silent mode. The Checkout button is disabled when the limit is hit, but no message is shown.
"Contact us" in notification
Tick "Contact us" in notification to add a Contact us button to the limit message. When enabled, paste the destination link in the "Contact us" URL field.
Step 9: Customize the message and save
Switch to the Message tab to tailor the limit notification text and add translations.
Available variables for Customer Limit:
{{minimum_product_quantity}}/{{maximum_product_quantity}}{{minimum_total_product_value}}/{{maximum_total_product_value}}{{minimum_product_weight}}/{{maximum_product_weight}}(Order scope only){{multiple}}— current multiple value{Button text}— for the Contact us button copy
For the full translation walkthrough, see Customize and translate limit message.
When everything looks right, click Save. The limit goes live immediately on the start date.
Tip: Open the storefront in an incognito tab, log in as a tagged customer, and try to break the limit. Confirm the notification fires and the message reads as expected.
Tips
- Tag customers first. A Customer Limit only fires for logged-in shoppers whose Shopify customer record carries the listed tag(s). Apply tags via Shopify Admin → Customers → Tags before testing.
- Stack tags carefully. A buyer can hold many tags. If you also use Exclude customer tags, exclusion always wins.
- Don't double-up rules. Avoid stacking Customer Limit on top of Product or Order Limit covering the same SKU — the stricter rule usually wins.
- Re-purchase needs login. In Shopify Admin → Settings → Checkout, switch customer accounts on.
- Use a test tag. Tag a test customer (e.g.,
qa-vip) and rehearse the cart flow end-to-end before announcing the rule.