Create Product Blocking Limit
Requires: Free plan (advanced gating options require Paid plan)
Step 1: Open Limits management and create a new limit
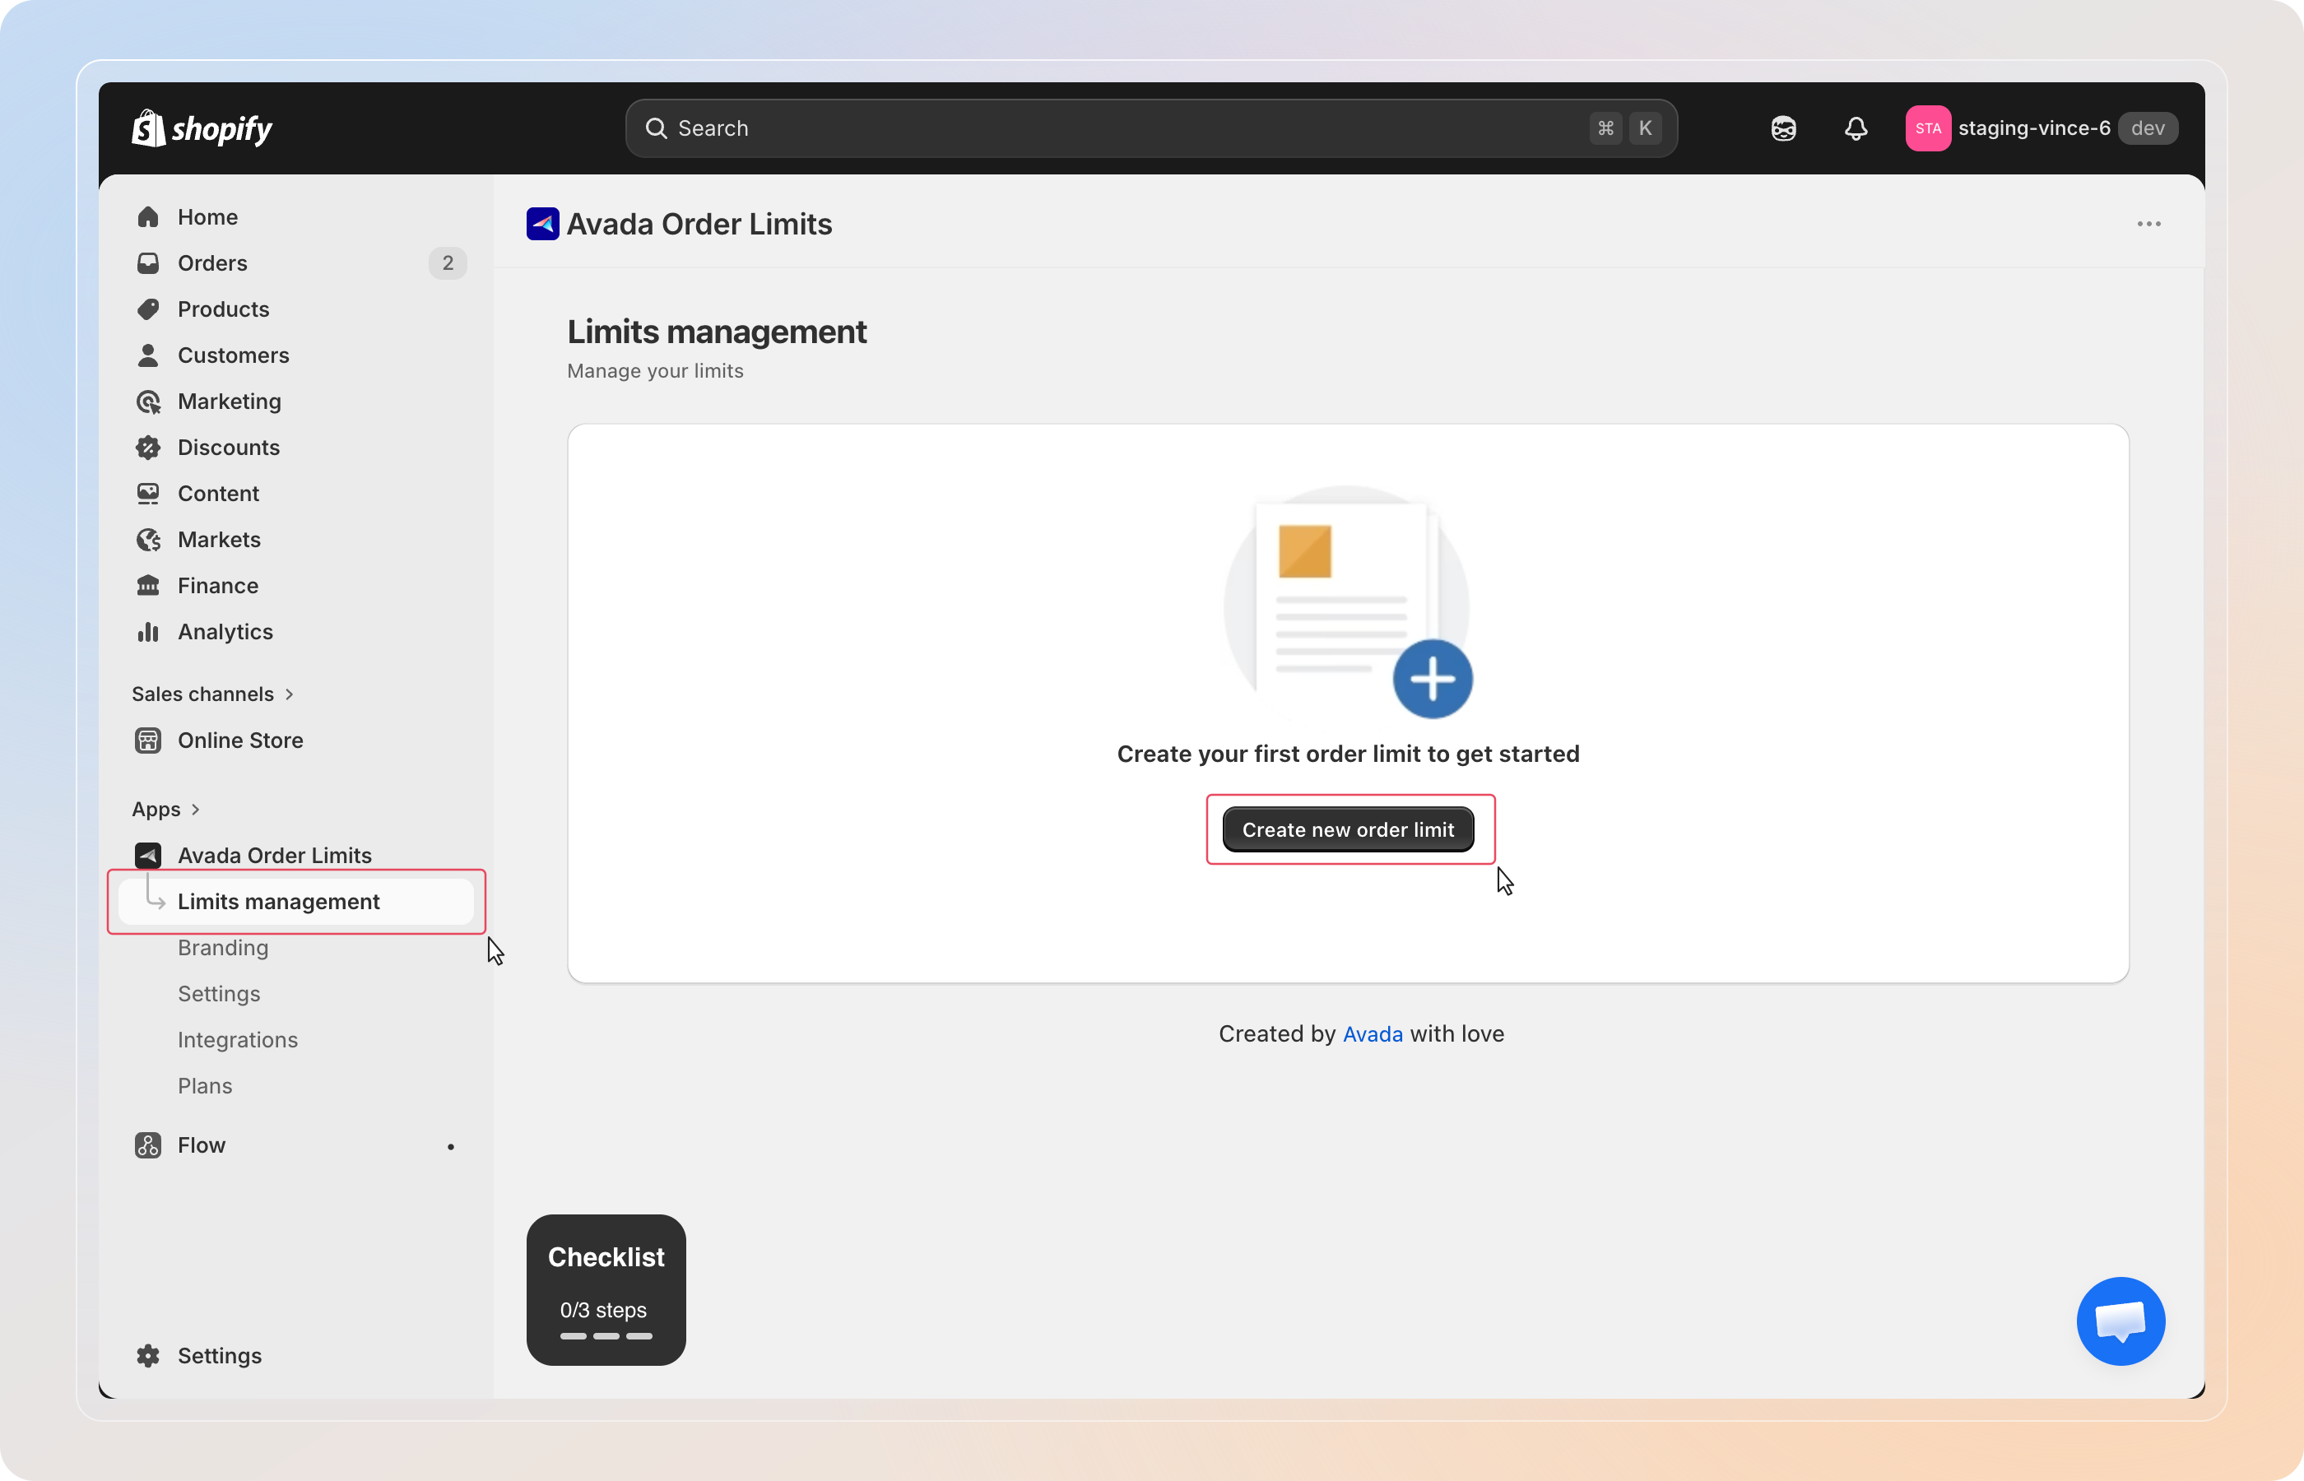
From the left-hand menu of the app, click Limits management to open the list of your rules. Click Create new order limit (or Create new limit, in the top-right, if you already have rules) to open the limit type chooser.
Step 2: Choose the limit type
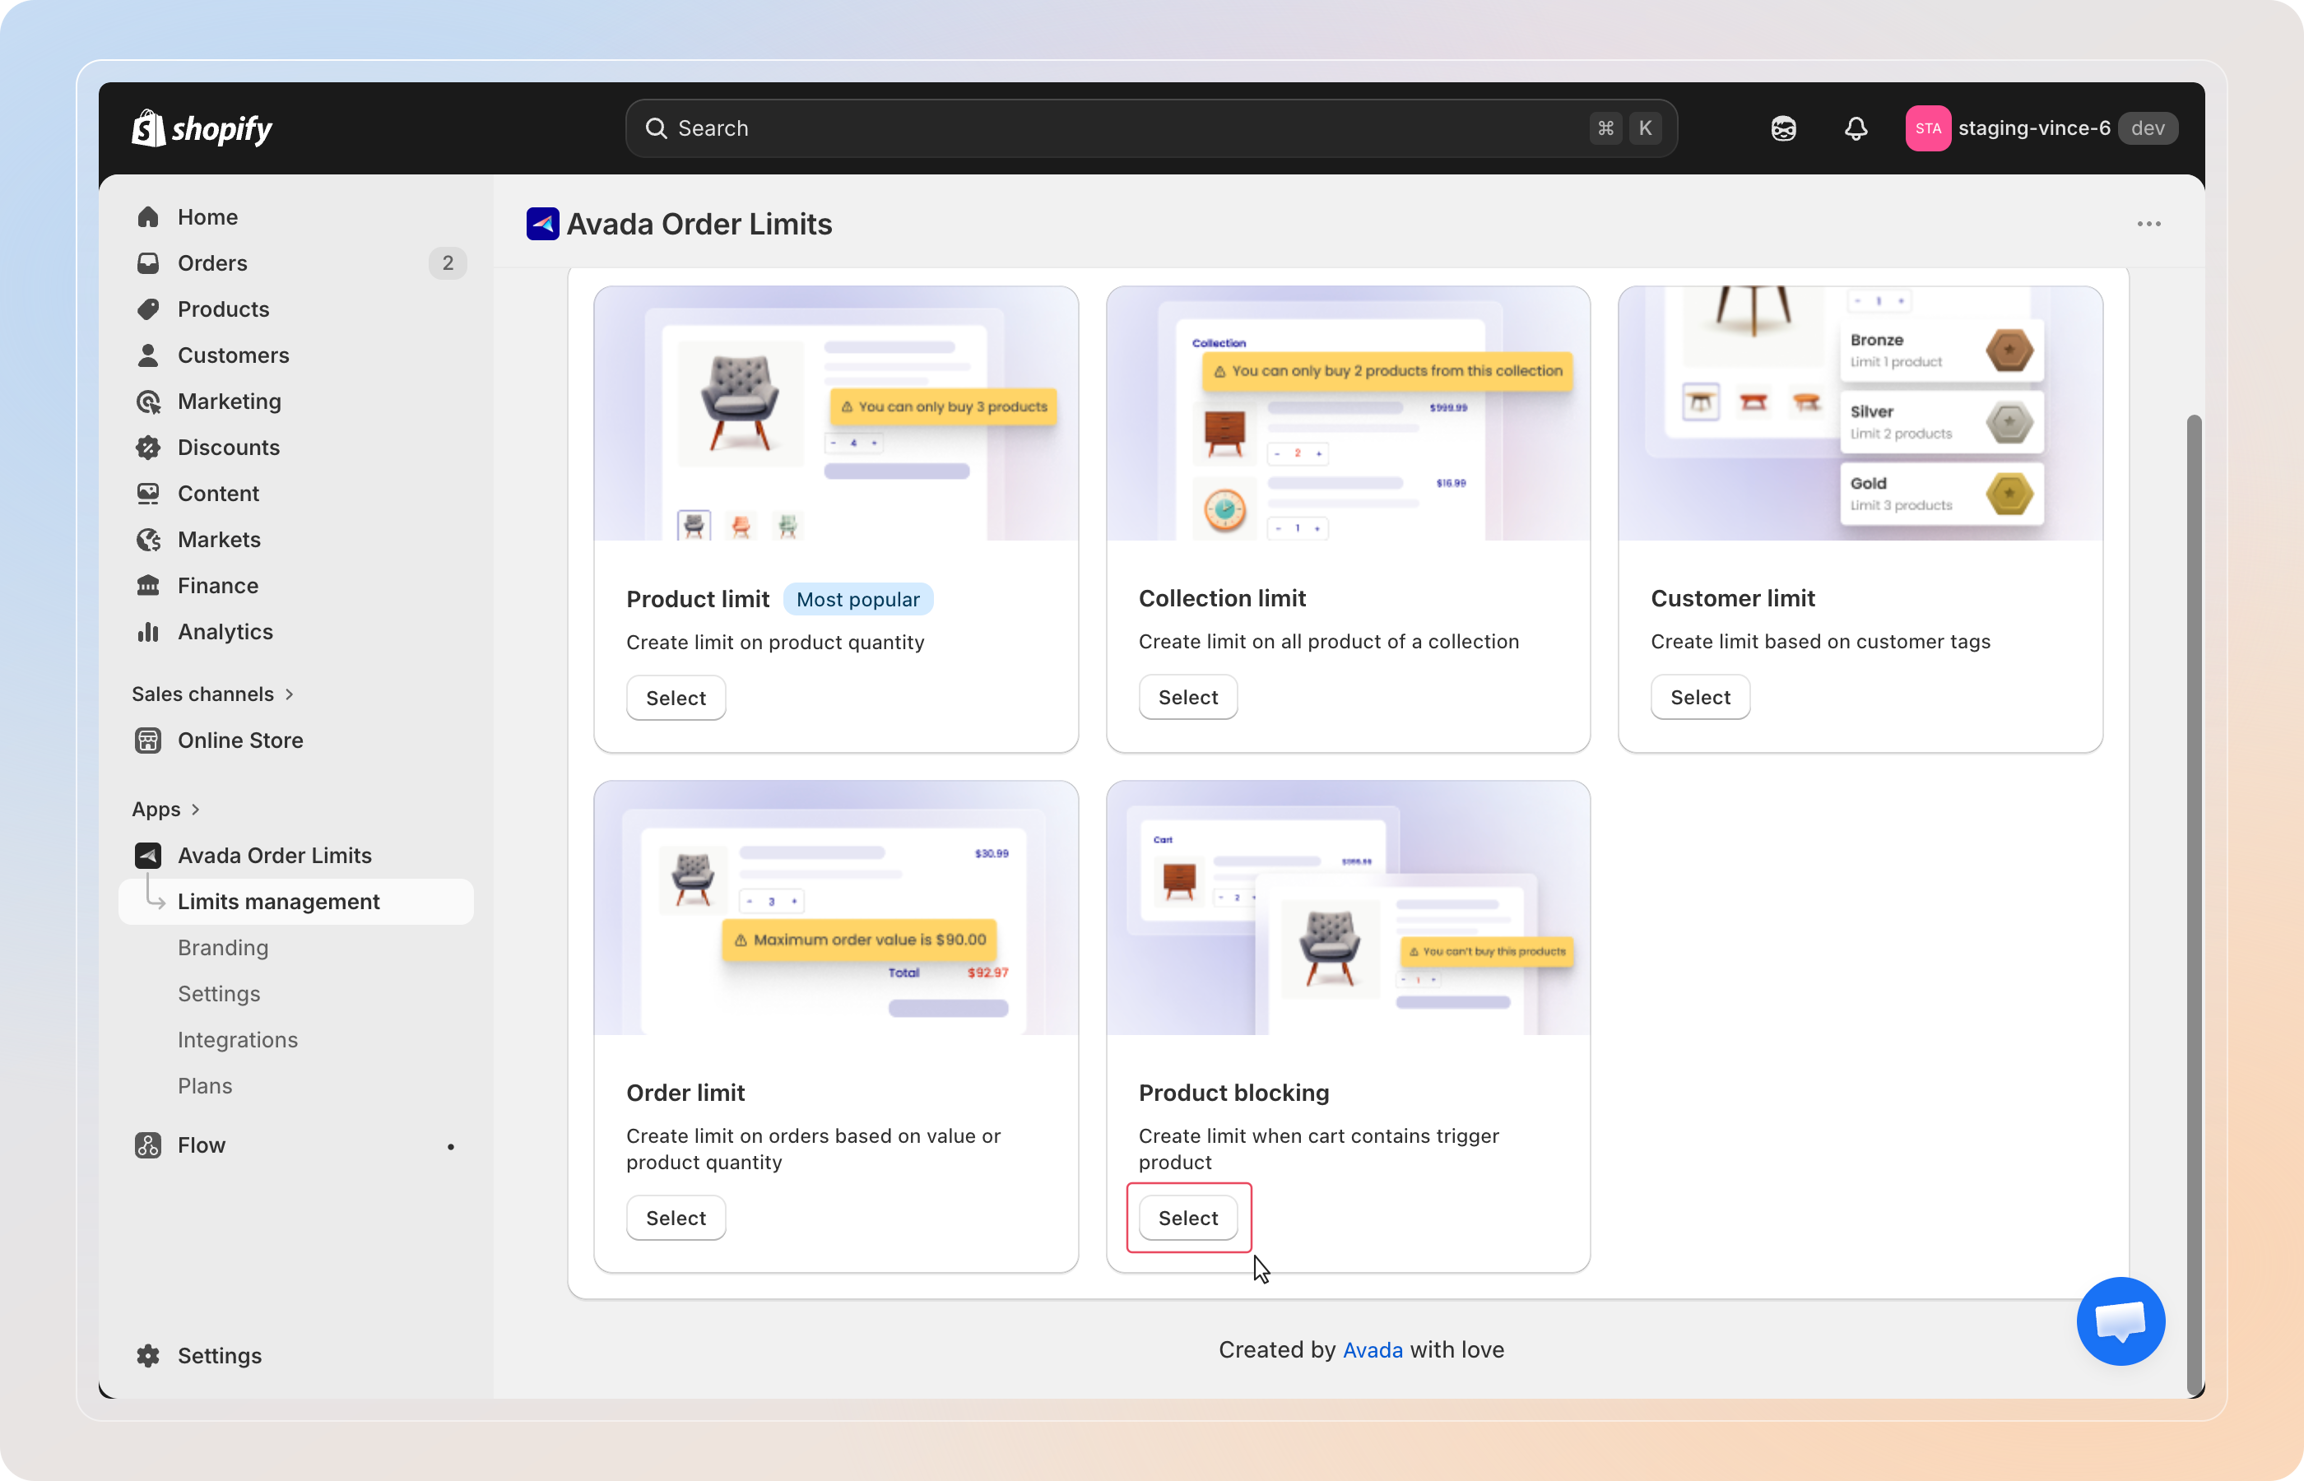
On the limit type chooser, find the Product blocking card and click Select.
Unlike a Product or Customer Limit, a Product Blocking rule keys off the products already in the shopper's cart. When the trigger product is detected (or absent), the rule fires against the targets you choose in Step 5.
Step 3: Name your limit
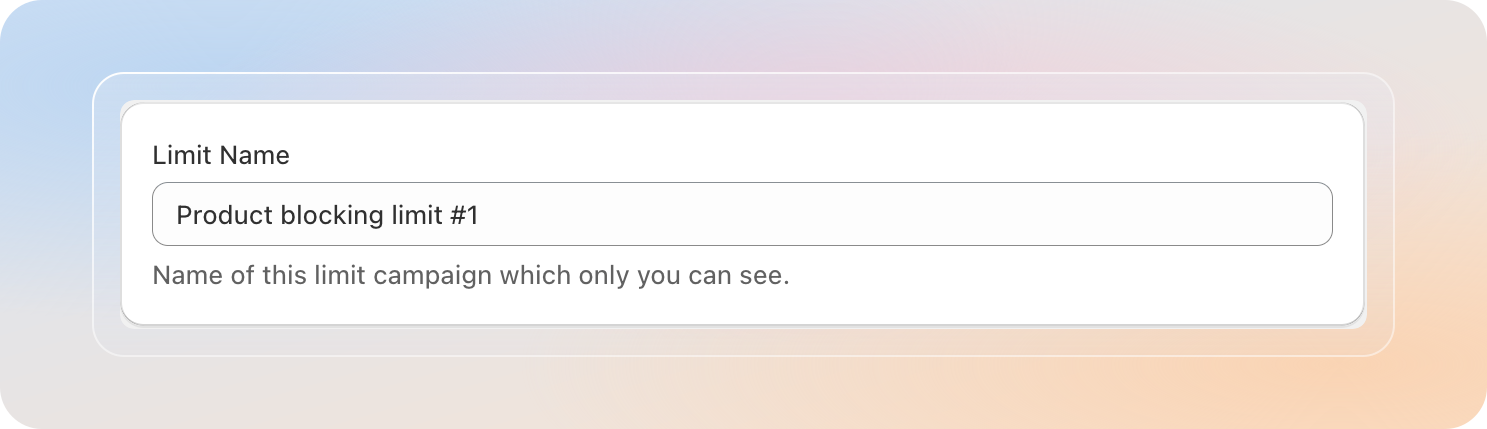
Enter a name in the Limit name field. This name is for internal use only — customers will never see it. Pick something that describes the trigger and target, for example "Sale bundle — locks regular items" or "Wholesale SKU — forces $500 cart".
Step 4: Choose the trigger type, pick the trigger products, and set the trigger condition
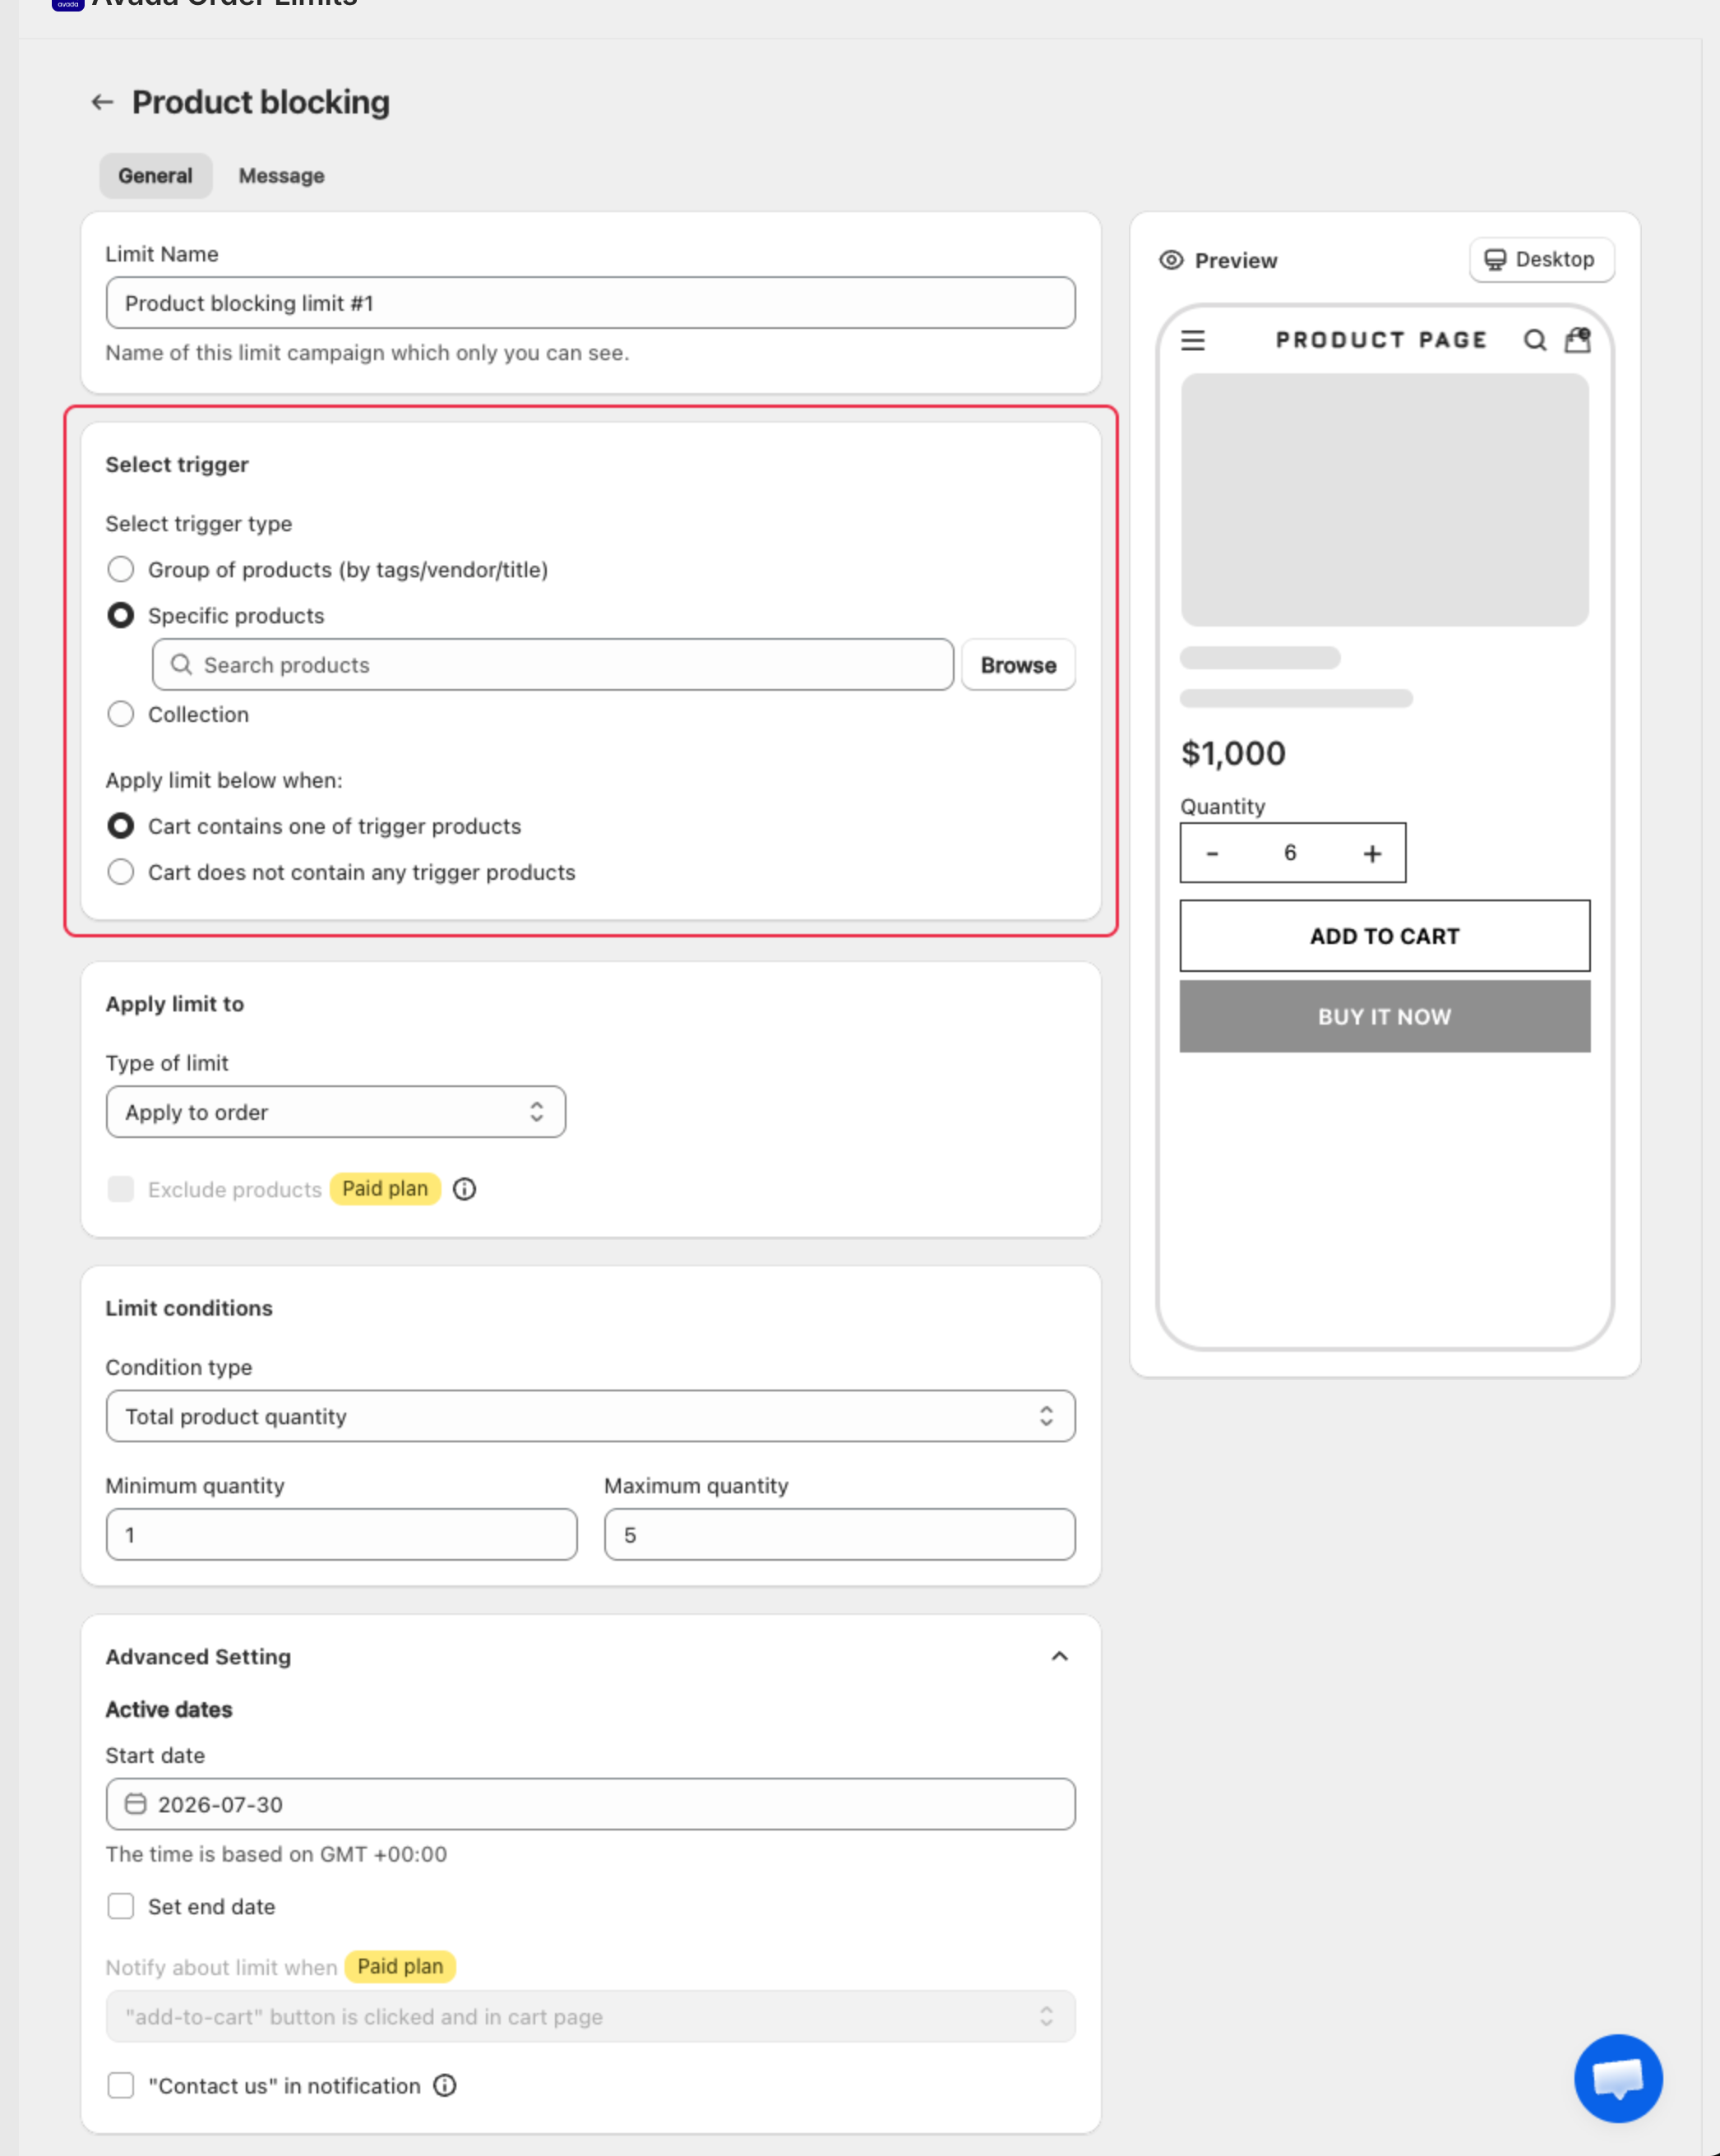
The trigger card now has three parts:
Pick the trigger type
Under Select trigger type, choose how the trigger products are defined:
- Specific products — pick individual products one by one, same as before. Click Browse to open the product picker, tick the products (and optional variants) that should fire the rule, then click Select. You can edit the list any time by clicking Edit under the selected count.
- Group of products (by tags/vendor/title) — match a whole group of products at once instead of ticking them one by one. Click Add condition, choose the field to match (Tags, Vendor, or Title), the operator, and the value. Add more conditions if needed, then choose All conditions (a product must match every condition) or Any conditions (matching one condition is enough) to decide how the conditions combine.
- Collection — pick a single collection; every product inside that collection counts as a trigger product.
Pick when the rule applies
Under Apply limit below when:, pick one:
- Cart contains one of trigger products — fire the rule the moment any trigger product is in the cart.
- Cart does not contain any trigger products — fire the rule whenever the trigger products are absent. Useful for "you must add this item to check out".
Step 5: Pick the limit target (Type of limit)
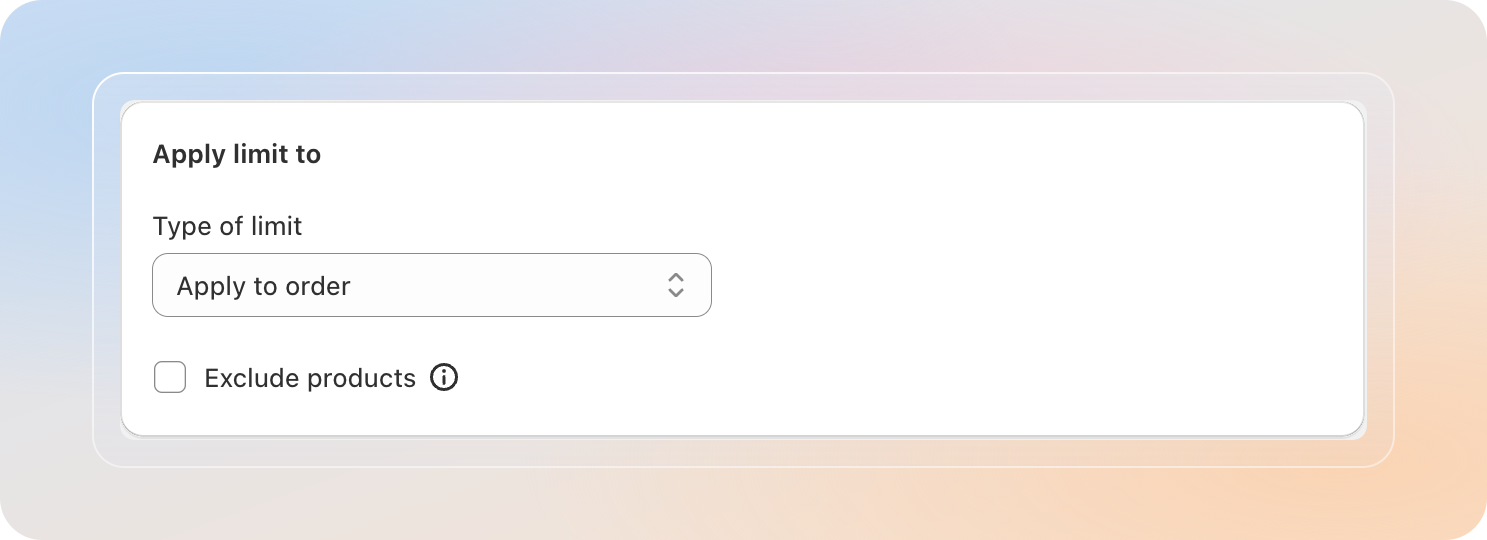
Under Apply limit to, use the Type of limit dropdown to choose what the cap evaluates against once the trigger fires:
| Type of limit | What gets capped |
|---|---|
| Apply to order | The full cart contents (excluding the trigger products themselves). |
| Apply to collection | Items from a chosen collection. You'll be prompted to pick the collection right after. |
| Apply to product | Items from a hand-picked product list. |
Trigger products are automatically excluded from whichever target you pick — they are the switch, not the thing being capped. This applies no matter which trigger type you picked in Step 4.
Step 6: Set the limit conditions
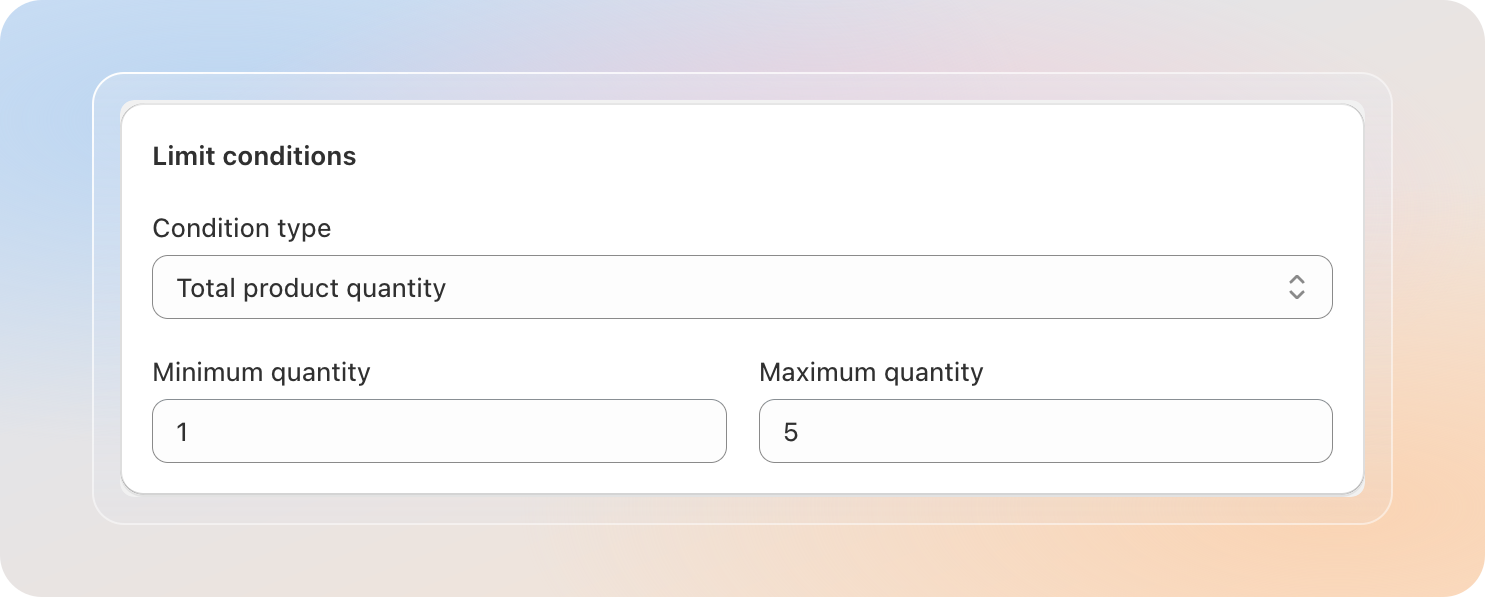
Open the Limit conditions card and pick the Condition type for the cap. The available types match the Type of limit you picked in Step 5:
| Type of limit | Available condition types |
|---|---|
| Order | Total product quantity, Total product value, Total product weight |
| Collection | Total product quantity, Total product value |
| Product | Total product quantity |
Then fill in Minimum and Maximum values for the chosen condition.
Leave the maximum field blank to set no upper limit. Set maximum = 0 to block the affected products from being purchased while the trigger is in the cart.
Step 7: Configure Advanced Setting
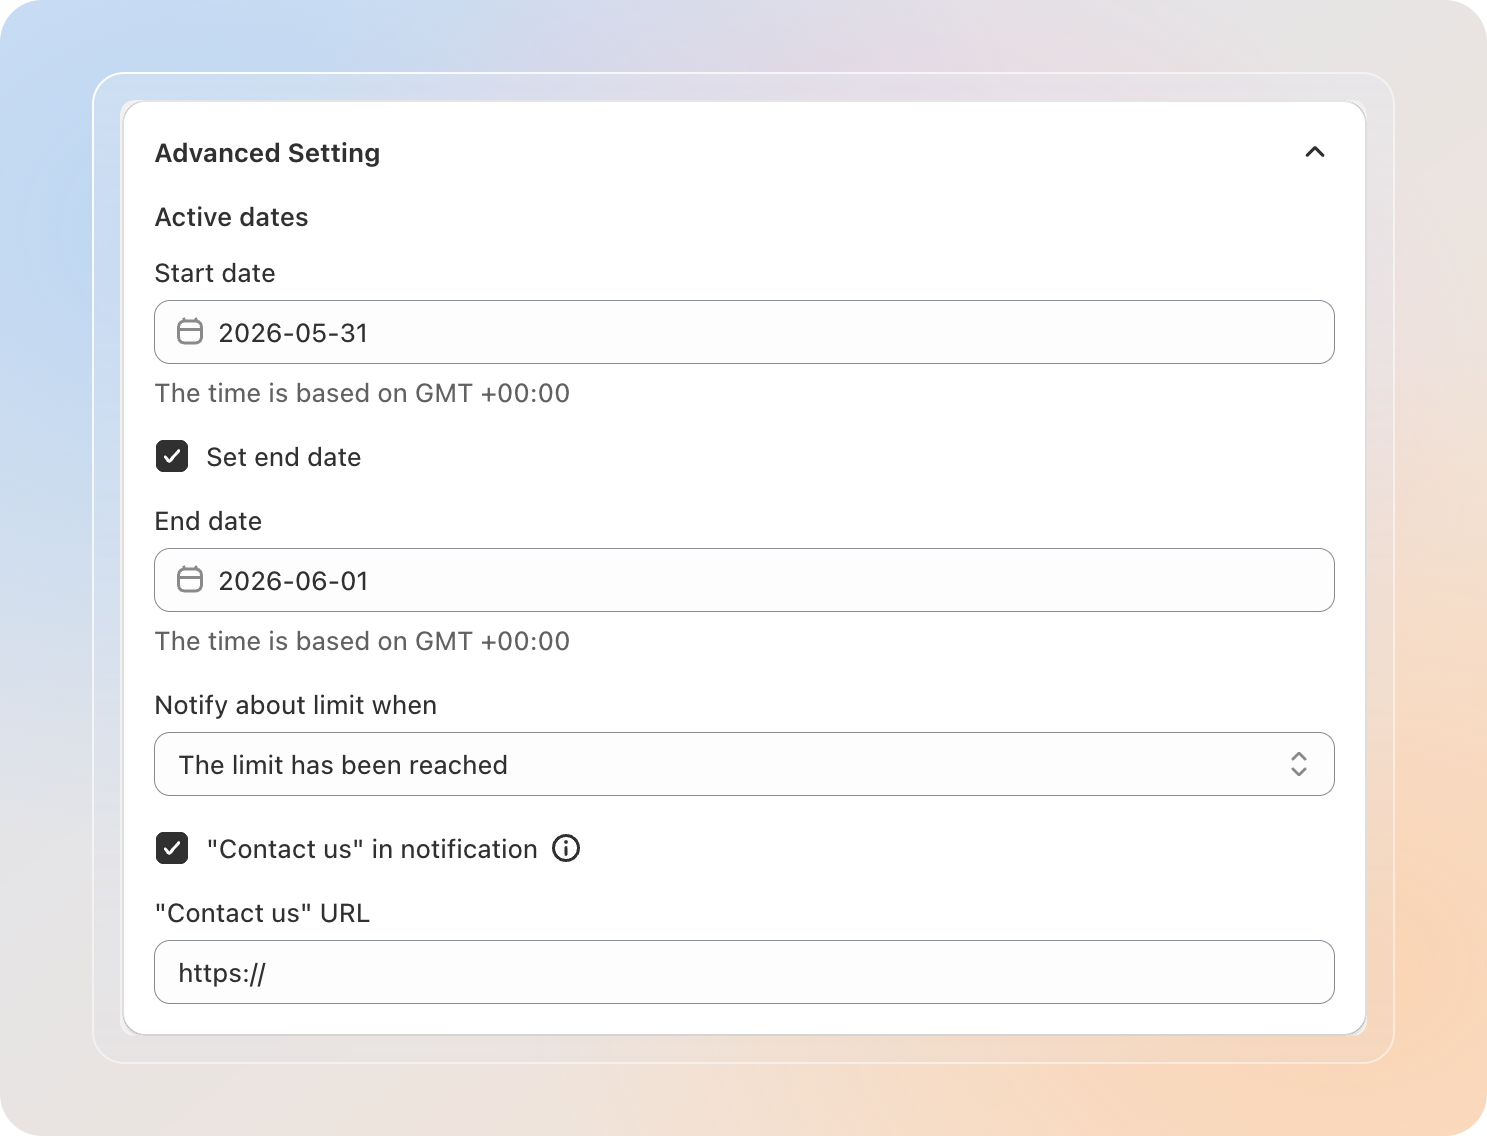
Expand the Advanced Setting card to control when the rule is active, how notifications behave, and the "Contact us" affordance.
Active dates
- Start date — the date (GMT +00:00) the rule becomes active. Required.
- Set end date — tick this to add an end date. Leave unchecked for an indefinite rule.
Notify about limit when
Pro plan: Notify about limit when is available on Pro and above. On Free, the dropdown is locked to the default option.
- The limit has been reached — only show the message after the limit has been hit.
- "add-to-cart" button is clicked and in cart page — show whenever the customer adds to cart or changes a cart line in a way that would break the limit.
- No notification — silent mode. The Checkout button is disabled when the limit is hit, but no message is shown.
Limit customer re-purchase does not apply to Product Blocking rules and is intentionally hidden for this limit type.
"Contact us" in notification
Tick "Contact us" in notification to add a Contact us button to the limit message. When enabled, paste the destination link in the "Contact us" URL field.
Step 8: Customize the message and save
Switch to the Message tab to tailor the limit notification text and add translations.
Available variables for Product Blocking:
{{minimum_product_quantity}}/{{maximum_product_quantity}}{{minimum_total_product_value}}/{{maximum_total_product_value}}{{minimum_product_weight}}/{{maximum_product_weight}}{{multiple}}— current multiple value{{product_title}}— title of the product that triggered the limit{{weight_unit}}— the shop's weight unit{Button text}— for the Contact us button copy
The app shows only the variables that match your chosen condition type.
For the full translation walkthrough, see Customize and translate limit message.
When everything looks right, click Save. The rule goes live immediately on the start date.
Tip: Open the storefront in an incognito tab and add only the trigger product first — confirm the warning fires on the target items as expected. Then remove the trigger and re-verify the cart can clear checkout.
Tips
- Trigger is the switch, not the target. The trigger product is never the thing being capped — the targets you pick in Step 5 are. Don't put the same SKU in both lists.
- Pick the trigger type that matches how you sell. Use Specific products for a short, stable list; Group of products when the trigger list is defined by a shared tag/vendor/title pattern (so new matching products are picked up automatically); Collection when you already maintain a collection for the trigger items.
- Pair with date windows for flash promotions. A start/end date scoped Product Blocking rule is a clean way to run "buy this special edition, max 1 of these others" promotions.
- Mind the trigger condition. Cart does not contain flips the logic — every order is checked, and the cap kicks in unless the trigger product is added. Use sparingly.
- Test both states. Place a test order both with and without the trigger product in the cart to confirm the rule behaves as expected.