Create Collection Limit
Requires: Free plan (notification timing and re-purchase rules require Paid plan)
Step 1: Open Limits management and create a new limit
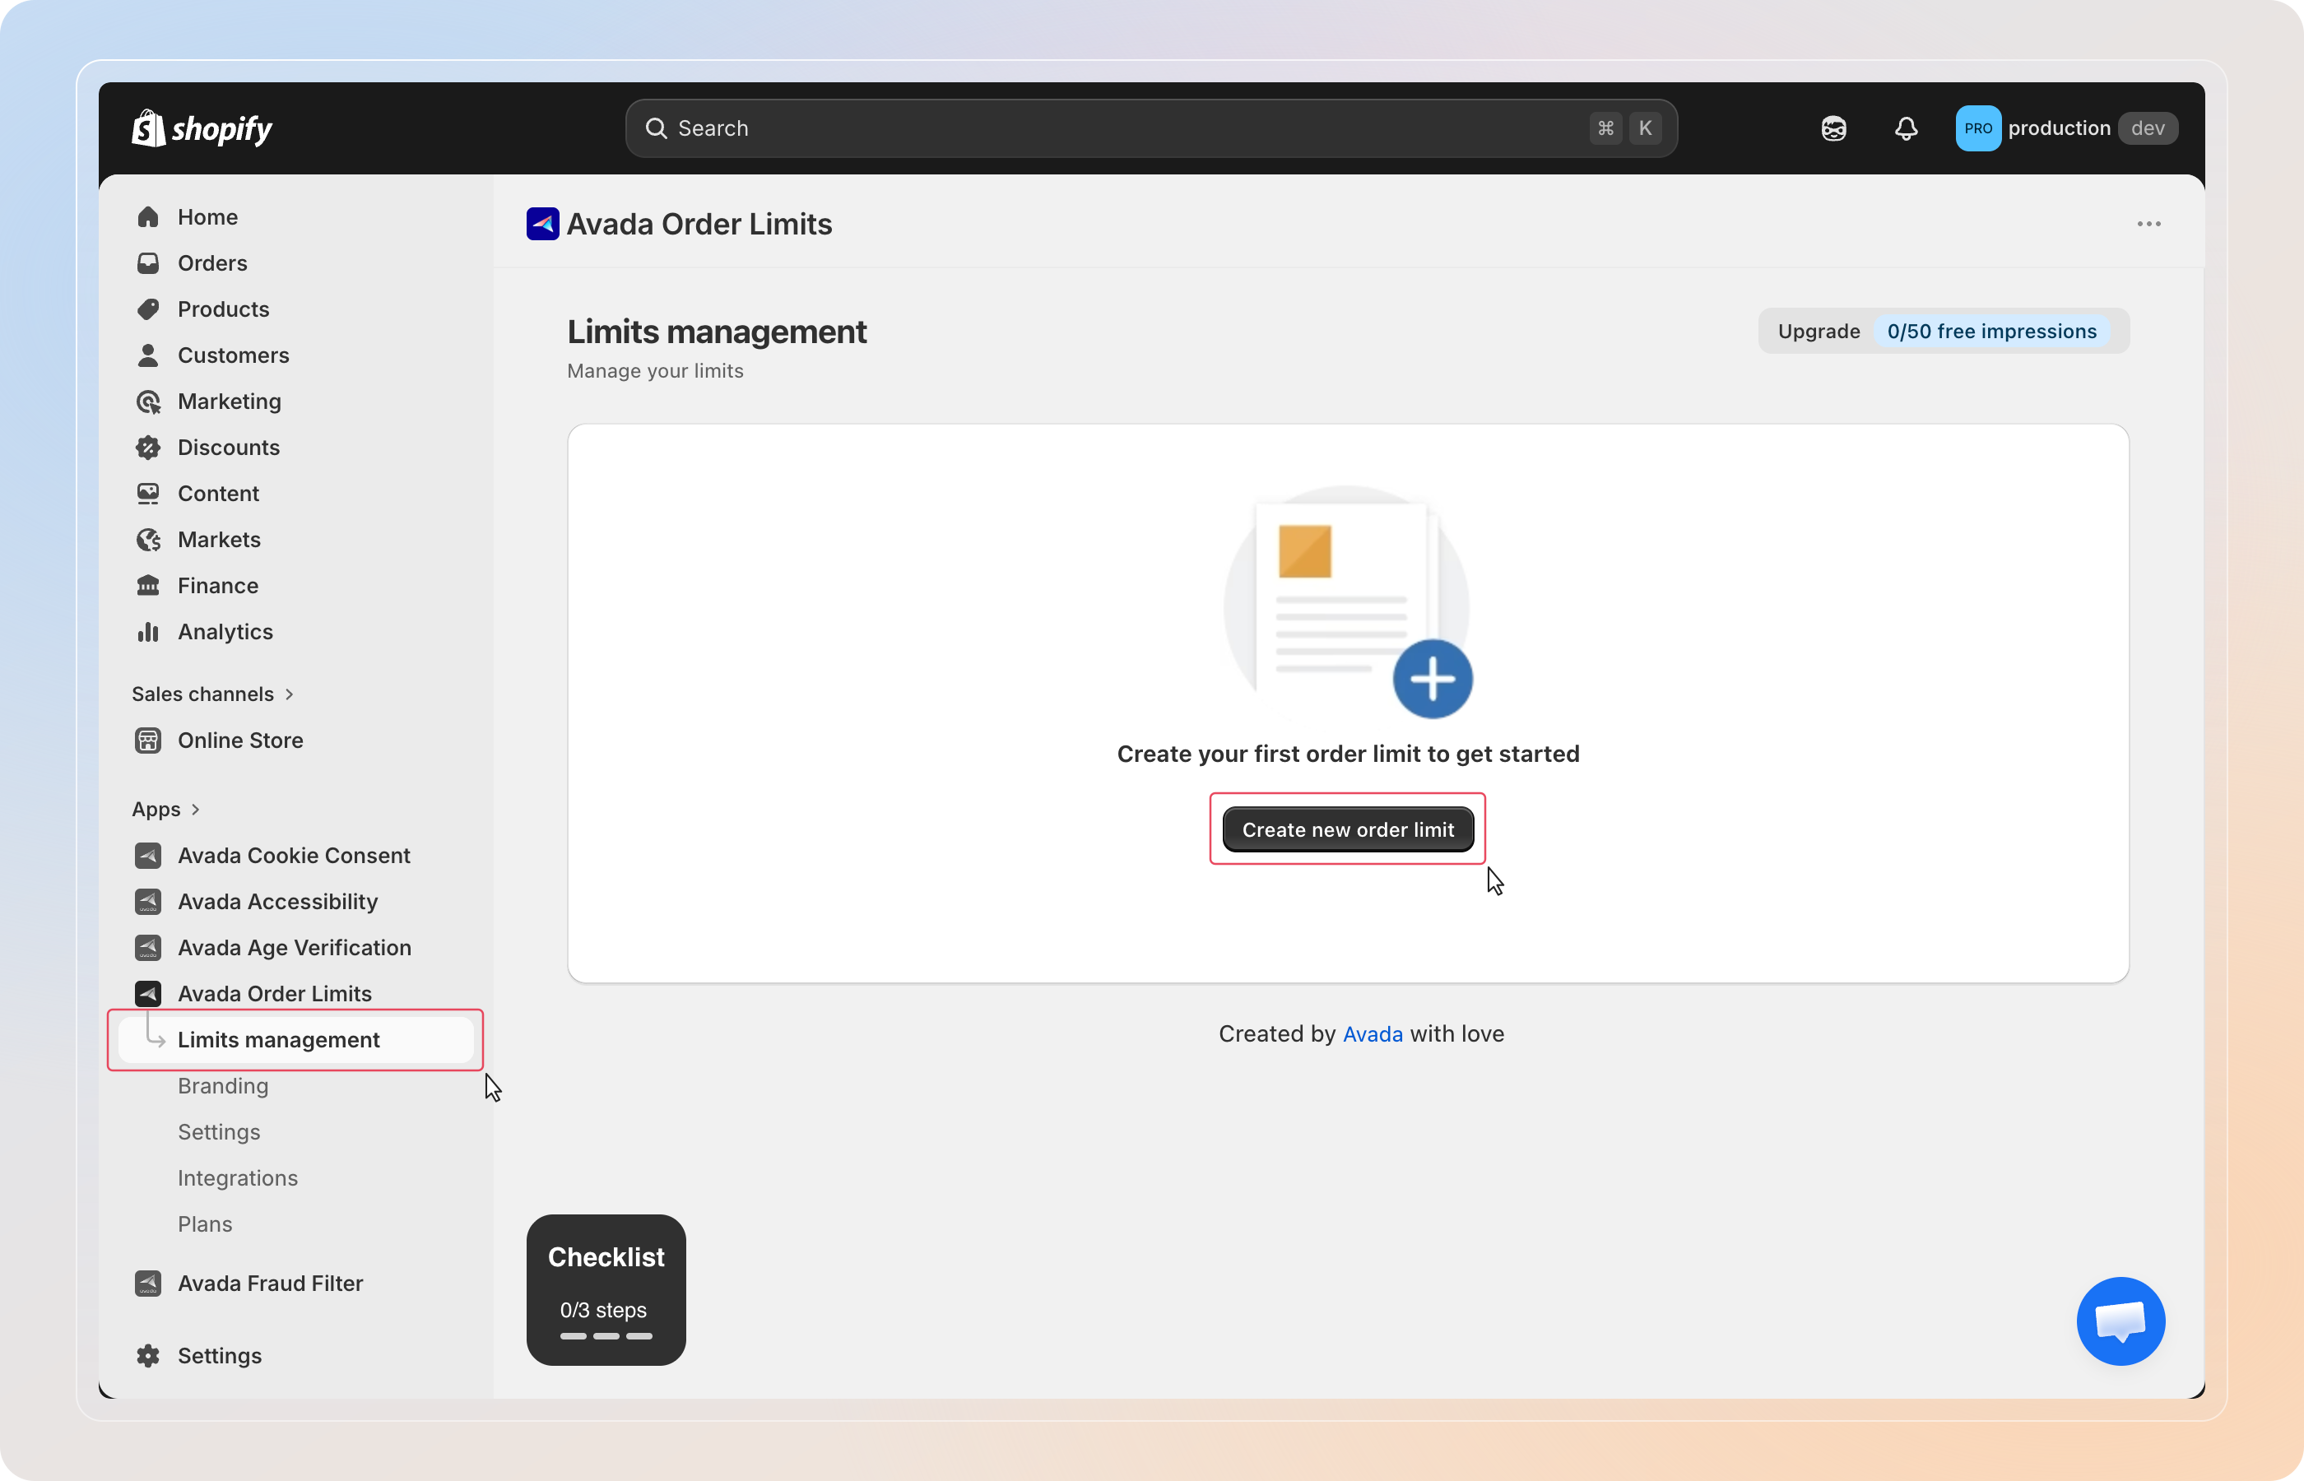
From the left-hand menu of the app, click Limits management to open the list of your rules. Click Create new order limit (or Create new limit, in the top-right, if you already have rules) to open the limit type chooser.
Step 2: Choose the limit type
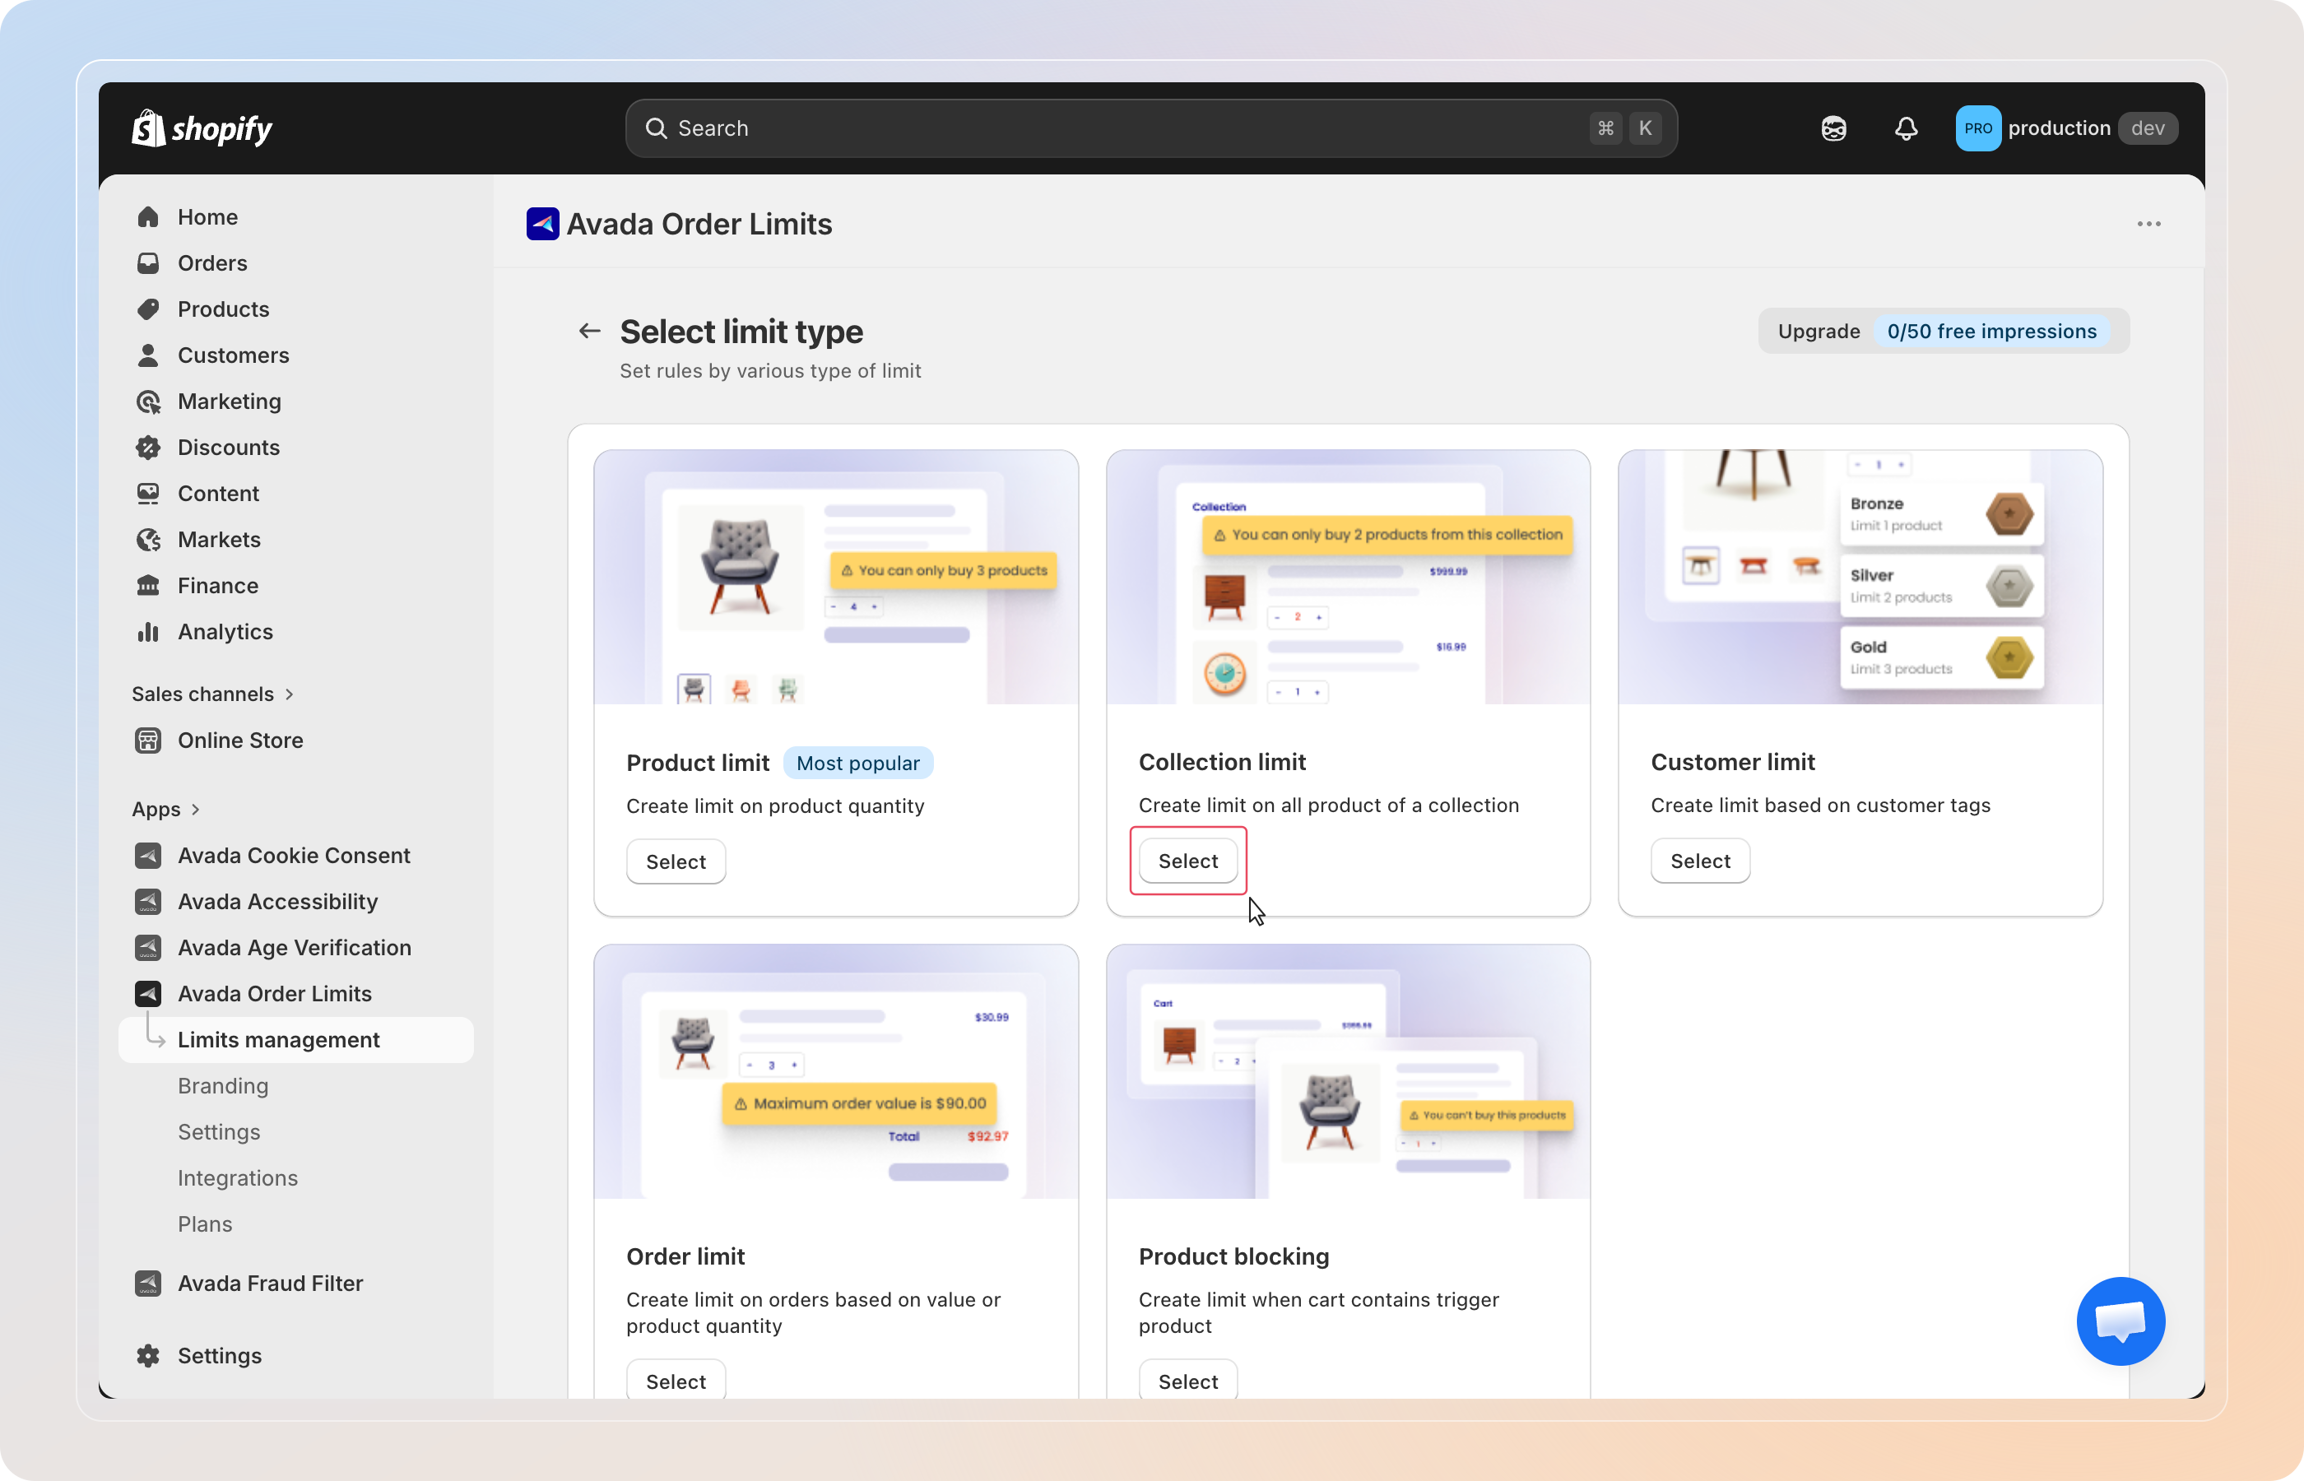
On the limit type chooser, find the Collection limit card and click Select.
Each Collection limit is independent — you can run several at once across different collections, each with its own conditions and date window.
Step 3: Name your limit
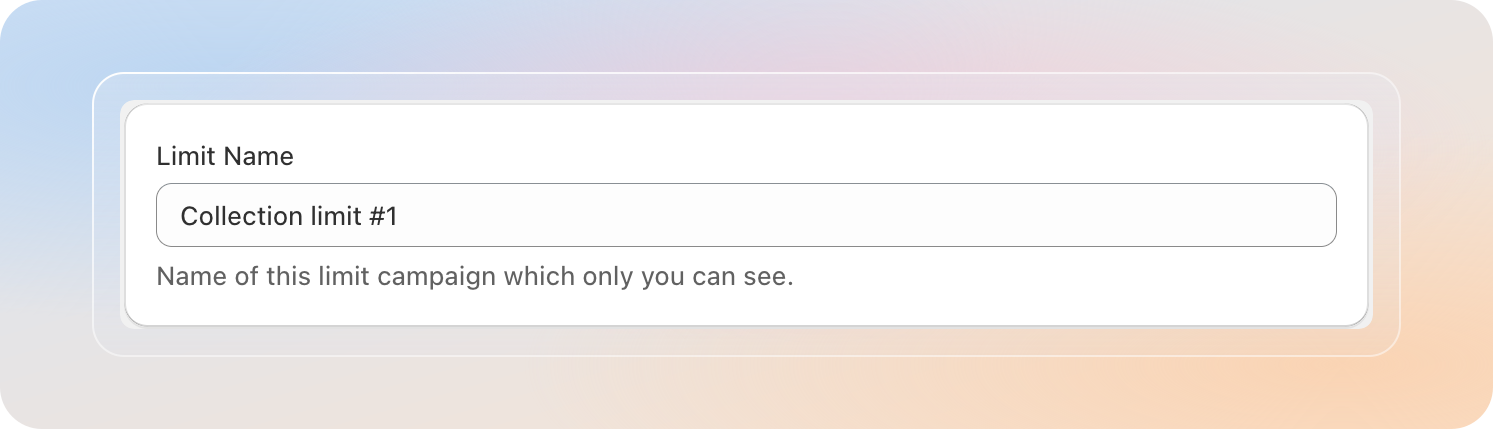
In the General card, enter a name in the Limit Name field. This name is for internal use only — customers will never see it. Use something descriptive like "Black Friday — max 3 from Sneakers collection" so you can audit your rules later.
Step 4: Select the collection to limit
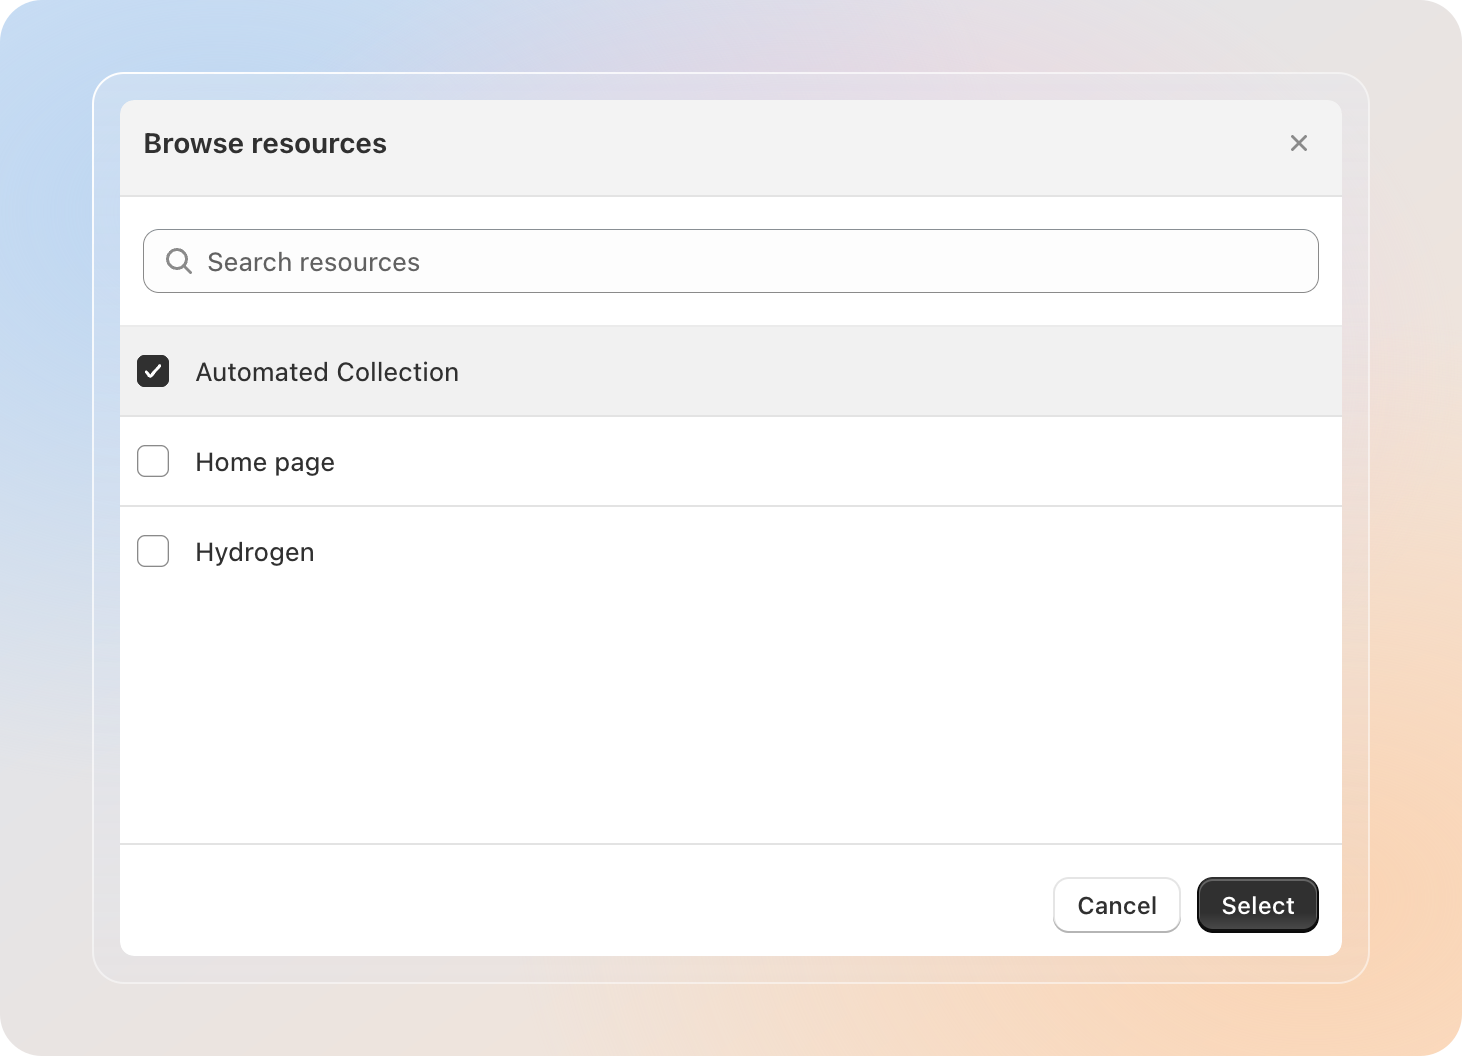
Under Select collections to limit, click the Select collection button to open the collection picker.
- Search for a collection by name.
- Tick the collection(s) you want to limit.
- Click Select to confirm.
You can pick more than one collection — the same min/max rule applies across all of them.
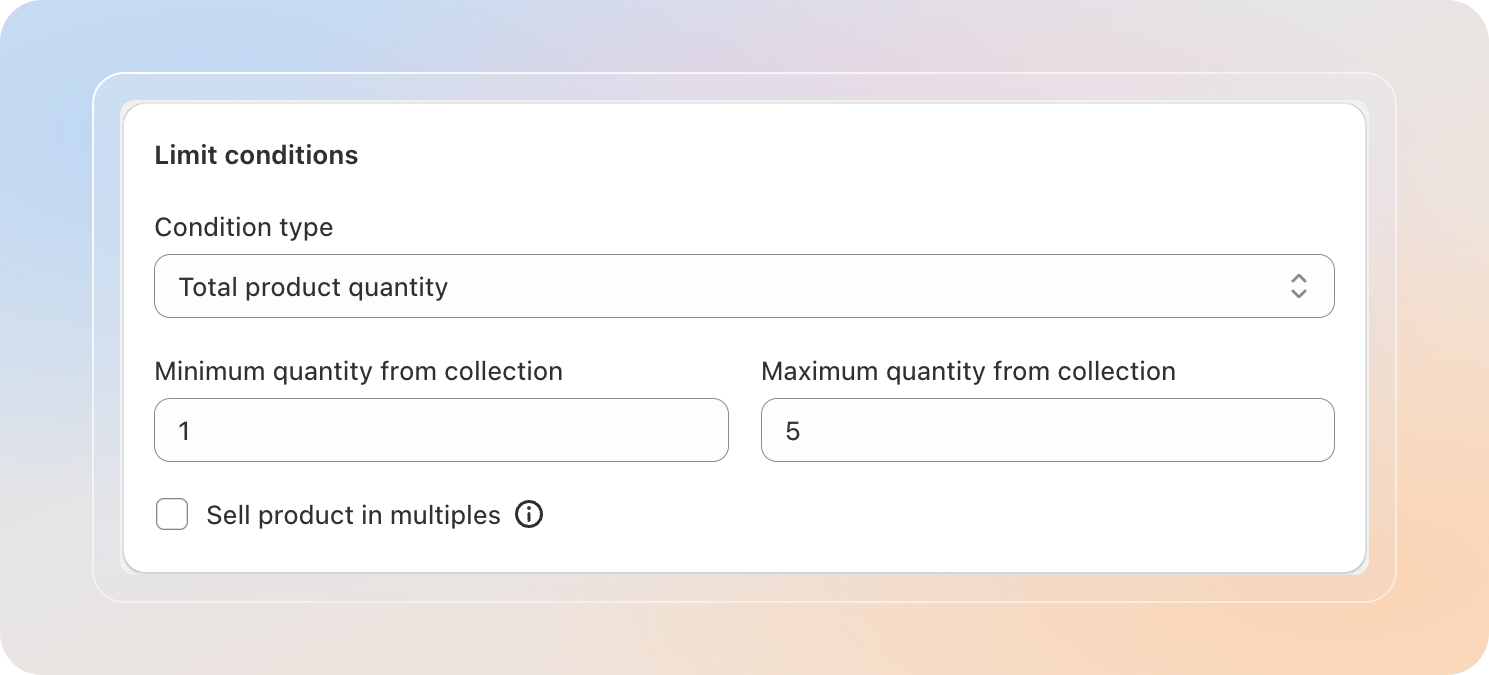
Step 5: Set the limit conditions
Open the Limit conditions card and choose the Condition type that matches what you want to cap:
| Condition type | What it caps |
|---|---|
| Total product quantity | Total number of units from the selected collection in the cart. |
| Total product value | Money value of items from the selected collection. Currency follows your store. |
Then fill in the min/max fields:
- Minimum quantity from collection / Maximum quantity from collection
- Minimum value from collection / Maximum value from collection
Leave the maximum field blank to set no upper limit. Set maximum = 0 to block customers from purchasing any product in the collection.
Sell product in multiples (Total product quantity only)
Tick Sell product in multiples to force purchases in fixed bundle sizes (e.g., pairs, six-packs). When enabled, you also pick where the multiple applies via the Apply multiple to dropdown:
- Collection — total quantity from the collection must be a multiple.
- Each product — each product in the collection must be added in multiples.
- Each variant — each variant must be added in multiples.
Step 6: Configure Advanced Settings
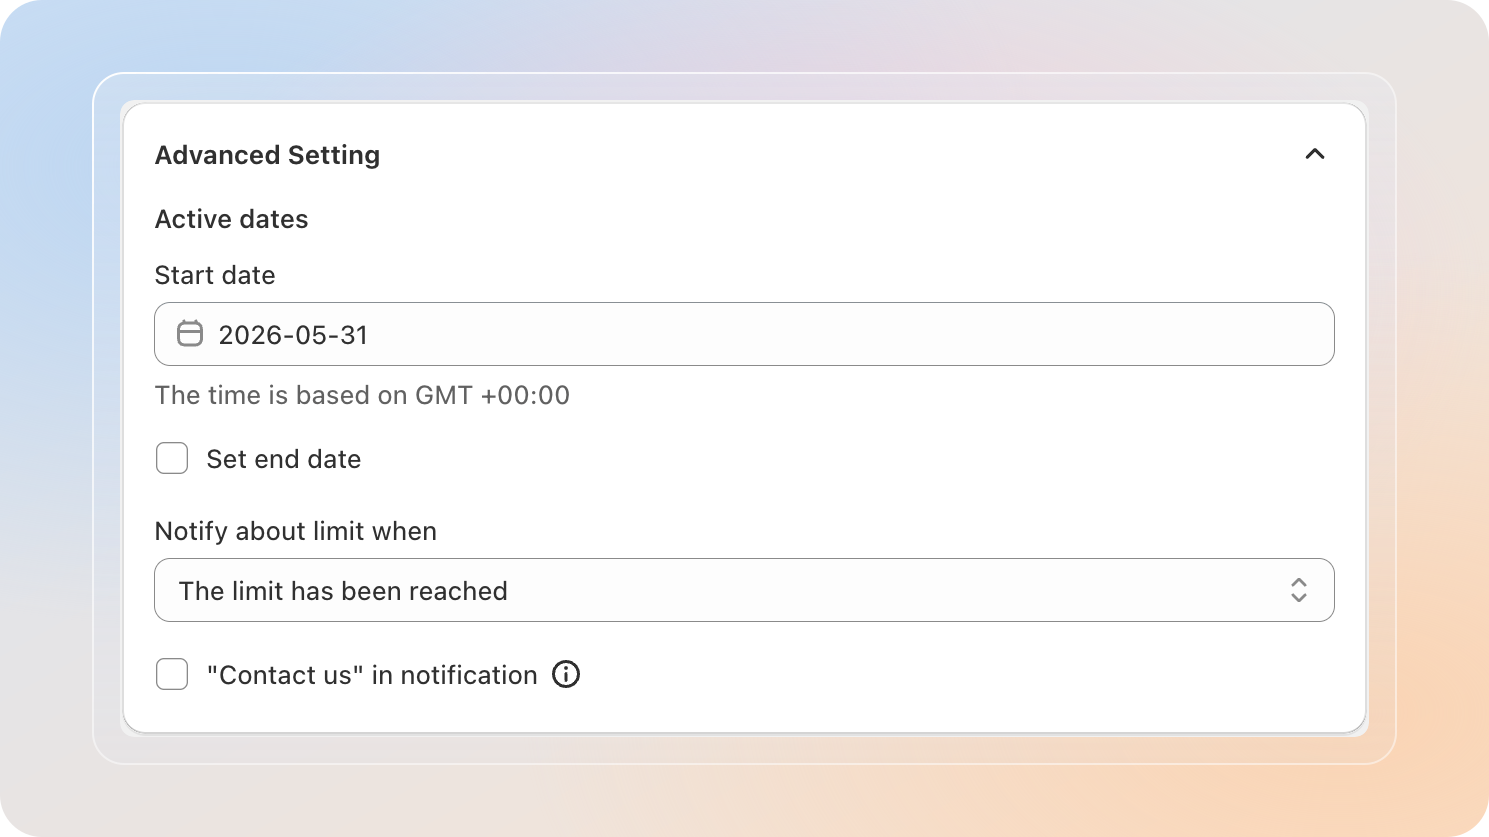
Expand the Advanced Setting card to control when the limit is active, how the notification behaves, and whether re-purchase rules apply.
Active dates
- Start date — the date (GMT +00:00) the limit becomes active. Required.
- Set end date — tick this checkbox to add an end date. The limit stops applying after the end date. Leave it unchecked for an indefinite rule.
Notify about limit when
Pro plan: Notify about limit when is available on Pro and above. On Free, this dropdown is locked to the default option.
Pick when the on-storefront notification should appear:
- The limit has been reached — only show the message once the limit is hit.
- "add-to-cart" button is clicked and in cart page — show whenever the customer adds to cart or changes the cart in a way that would break the limit.
- No notification — silent mode. The Checkout button is disabled when the limit is hit, but no message is shown.
Limit customer re-purchase
Paid plan: Limit customer re-purchase is available on Paid plan. On Free, this dropdown is locked to No re-purchase limit.
Cap how often a single customer can re-purchase from the collection over time:
- Once per lifetime
- Once per year
- Once per month
- No re-purchase limit
- Custom time — set your own interval in hours, days, months, or years.
For the full breakdown of each option, see the Re-purchase limit guide.
"Contact us" in notification
Tick "Contact us" in notification to add a Contact us button to the limit message. When enabled, paste the destination link (live chat URL, contact form, or social channel) in the "Contact us" URL field. The button text itself is edited in the Message tab.
Step 7: Customize the message and save
Switch to the Message tab to tailor the limit notification text and add translations. The default language card sits at the top; below it you can add more languages via Add supported language.
Use the available variables shown under Note: Here are a few variables you can use to inject the live limit values into your copy. For a Collection Limit, the available variables are:
{{minimum_product_quantity}}/{{maximum_product_quantity}}— minimum / maximum product quantity{{minimum_total_product_value}}/{{maximum_total_product_value}}— minimum / maximum total value{{minimum_product_weight}}/{{maximum_product_weight}}— minimum / maximum product weight{{multiple}}— current multiple value{{skip_value}}— quantity value excluded from the multiple rule{{weight_unit}}— the shop's weight unit (lb, kg, g, oz){Button text}— for the Contact us button copy
The app shows only the variables that match your chosen condition type.
For the full translation walkthrough (adding languages, toggling them on, setting a default), see Customize and translate limit message.
When everything looks right, click Save at the top of the page. The limit goes live on the start date you set.
Tip: Open the collection page in an incognito tab and try to add more than the allowed quantity. Confirm the limit triggers and the message appears as expected.
Tips
- One collection, one rule. Avoid stacking multiple Collection limits on the same collection — the stricter rule usually wins and that's rarely what you want.
- Add products to a Shopify collection, not the limit. The limit auto-applies to every product in the collection. Add or remove products in Shopify and the rule follows.
- Re-purchase needs login. The re-purchase rule depends on a logged-in customer. In Shopify Admin → Settings → Checkout, switch customer accounts on so the limit can identify repeat buyers.
- Test with a real cart. Before going live, add the maximum quantity + 1 to a test cart and confirm the message wording and Checkout button behavior.