Create / Edit Appointment
Overview
The Create Appointment feature allows you to add bookings directly from the admin panel. This is useful for:
- Phone reservations
- Walk-in customers
- Special or custom time arrangements
- Blocking time for internal use
How to Create an Appointment
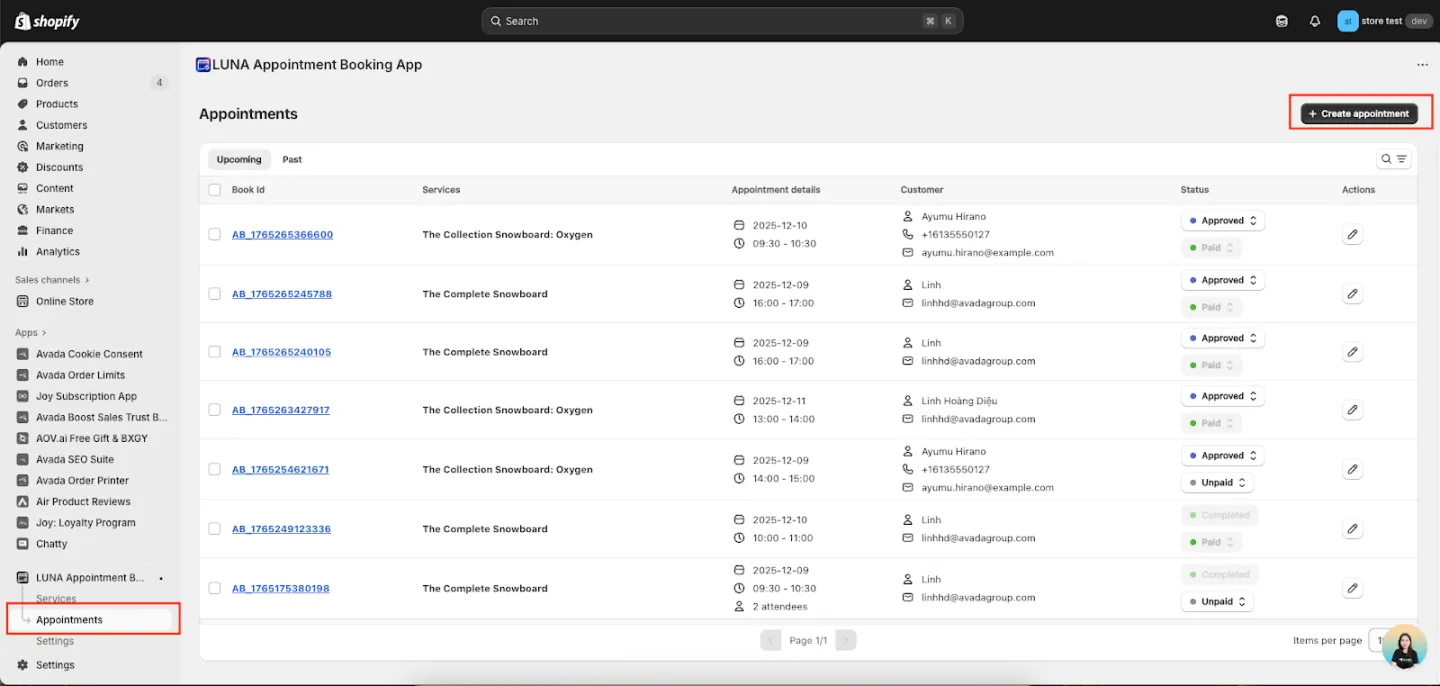
Step 1: Start Creating
From the Appointments page, click Create appointment in the top-right corner.
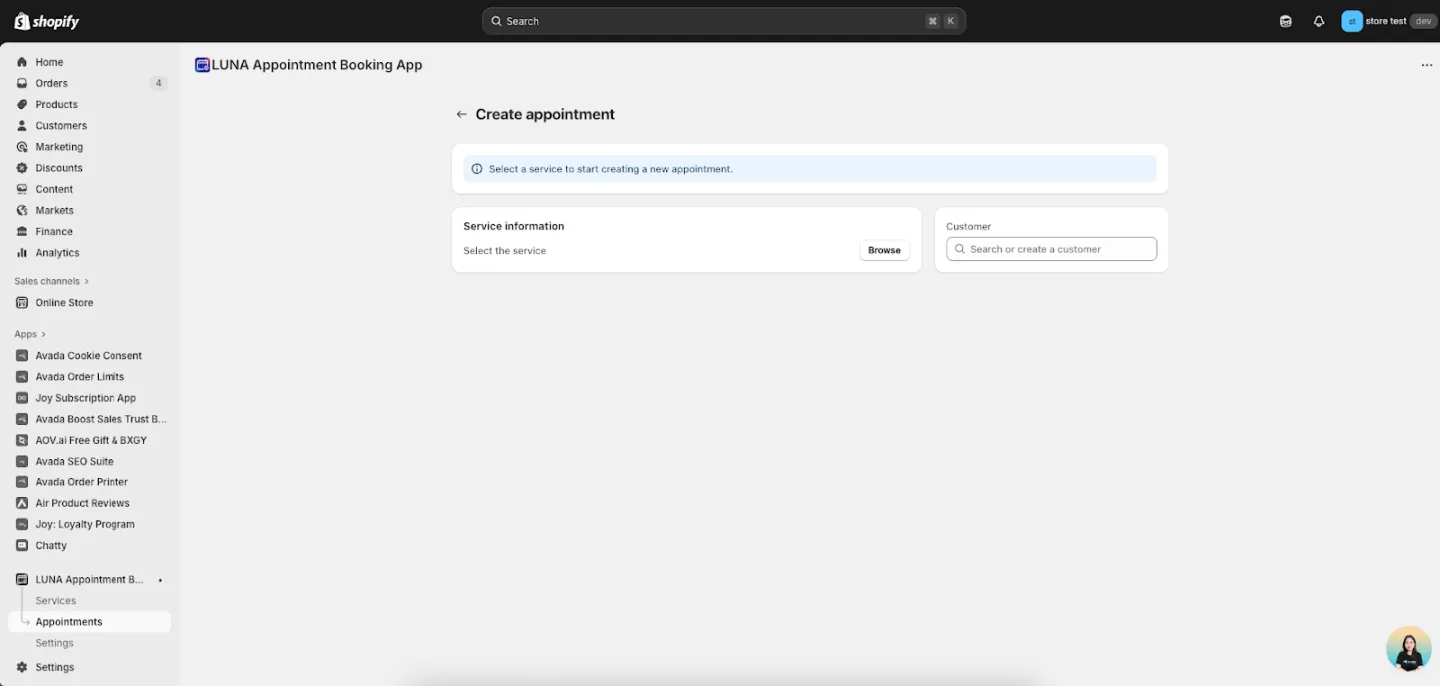
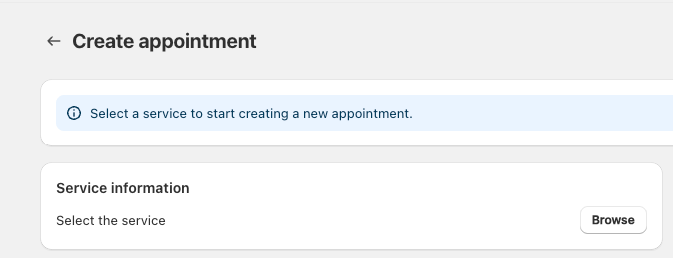
Step 2: Select a Service
Under Service Information, click Browse.
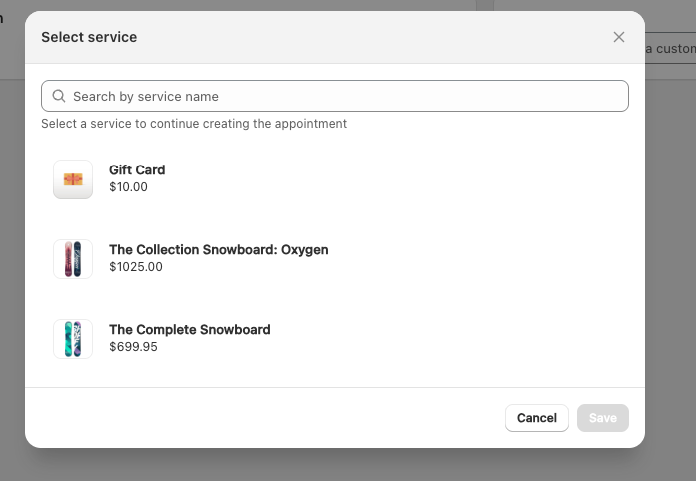
A Select Service modal will appear showing:
- Search bar
- Product image
- Service name
- Price
To select a service:
- Search or scroll to find the service
- Click the service
- Click Save
The modal will close and the selected service will be applied to the appointment.
Step 3: Set Appointment Information
Click the Edit icon in the Appointment Information section to open the details modal.
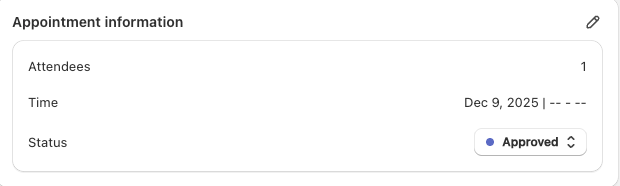
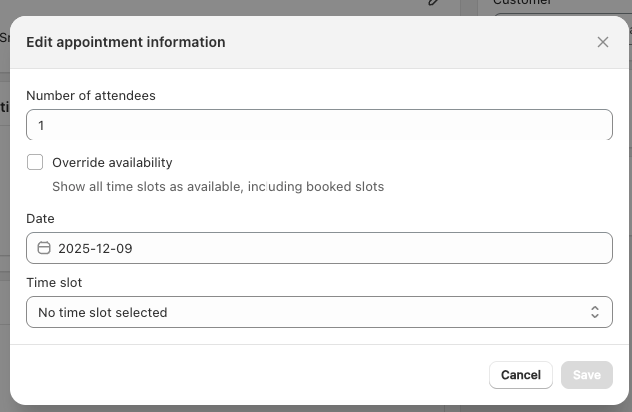
1. Attendees
Enter the number of attendees. This is limited by the service's maximum capacity.
2. Select Date & Time
Click the date field to open the calendar.
Available time options depend on the service's time-slot configuration:
- Preset time slots (default): Based on the service's schedule
- Custom time slot: Manually select any date and time (useful for special cases)
Optional:
Enable Override availability to show all time slots — including those already booked.
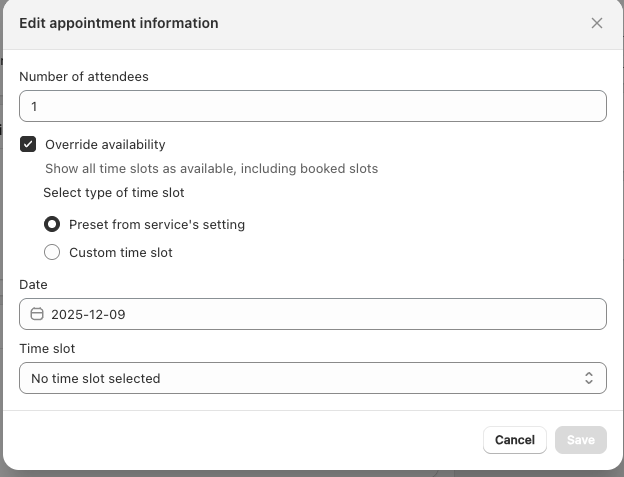
Click Save to confirm the time.
Step 4: Setting the Status
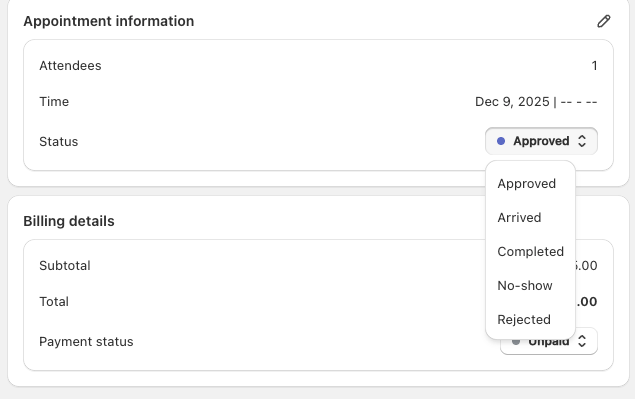
In Appointment Information, open the Status dropdown and choose:
- Approved (default) – Appointment is confirmed
- Arrived – Customer has arrived; will automatically switch to Completed when the appointment ends
- Completed – Appointment is finished
- No-show – Customer did not arrive
- Rejected – Appointment was canceled by the merchant
- Cannot be changed afterward
Step 5: Billing Details

Set the payment status:
- Unpaid (default): Customer did not book through Shopify checkout
- Paid: Customer completed payment through Shopify checkout
Step 6: Customer Information
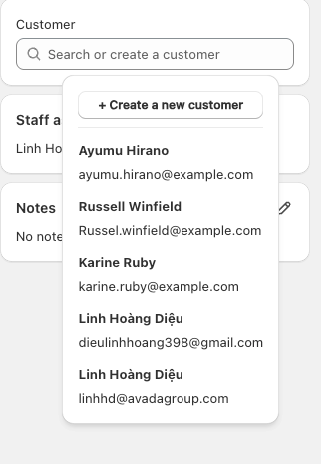
Enter customer details by:
- Selecting an existing customer from your list, or
- Clicking Create a new customer to add a new one
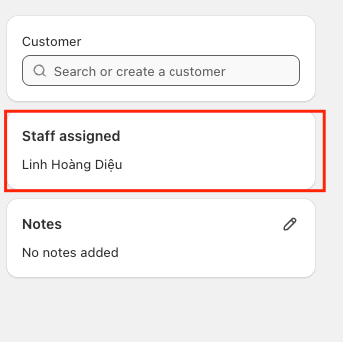
Step 7: Staff Assigned
This shows the staff member assigned to the appointment. This field is not editable for manual appointments.
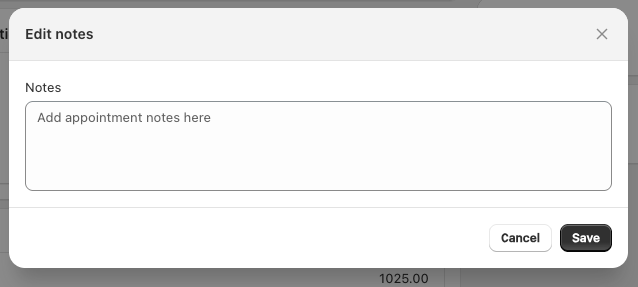
Step 8: Notes (Optional)
Add any additional notes such as:
- Customer preferences
- Special instructions
- Internal reminders
Step 9: Save Appointment
Click Save to complete the process.
Your new appointment will immediately appear in the Appointments list.
