General setting
How to Access
- Go to Services
- Click Create service (or the pencil icon on an existing service)
- Pick a service type — see Select Service Type
- You land on the General settings tab by default
Unsaved changes show a save bar at the bottom with Save and Discard buttons.
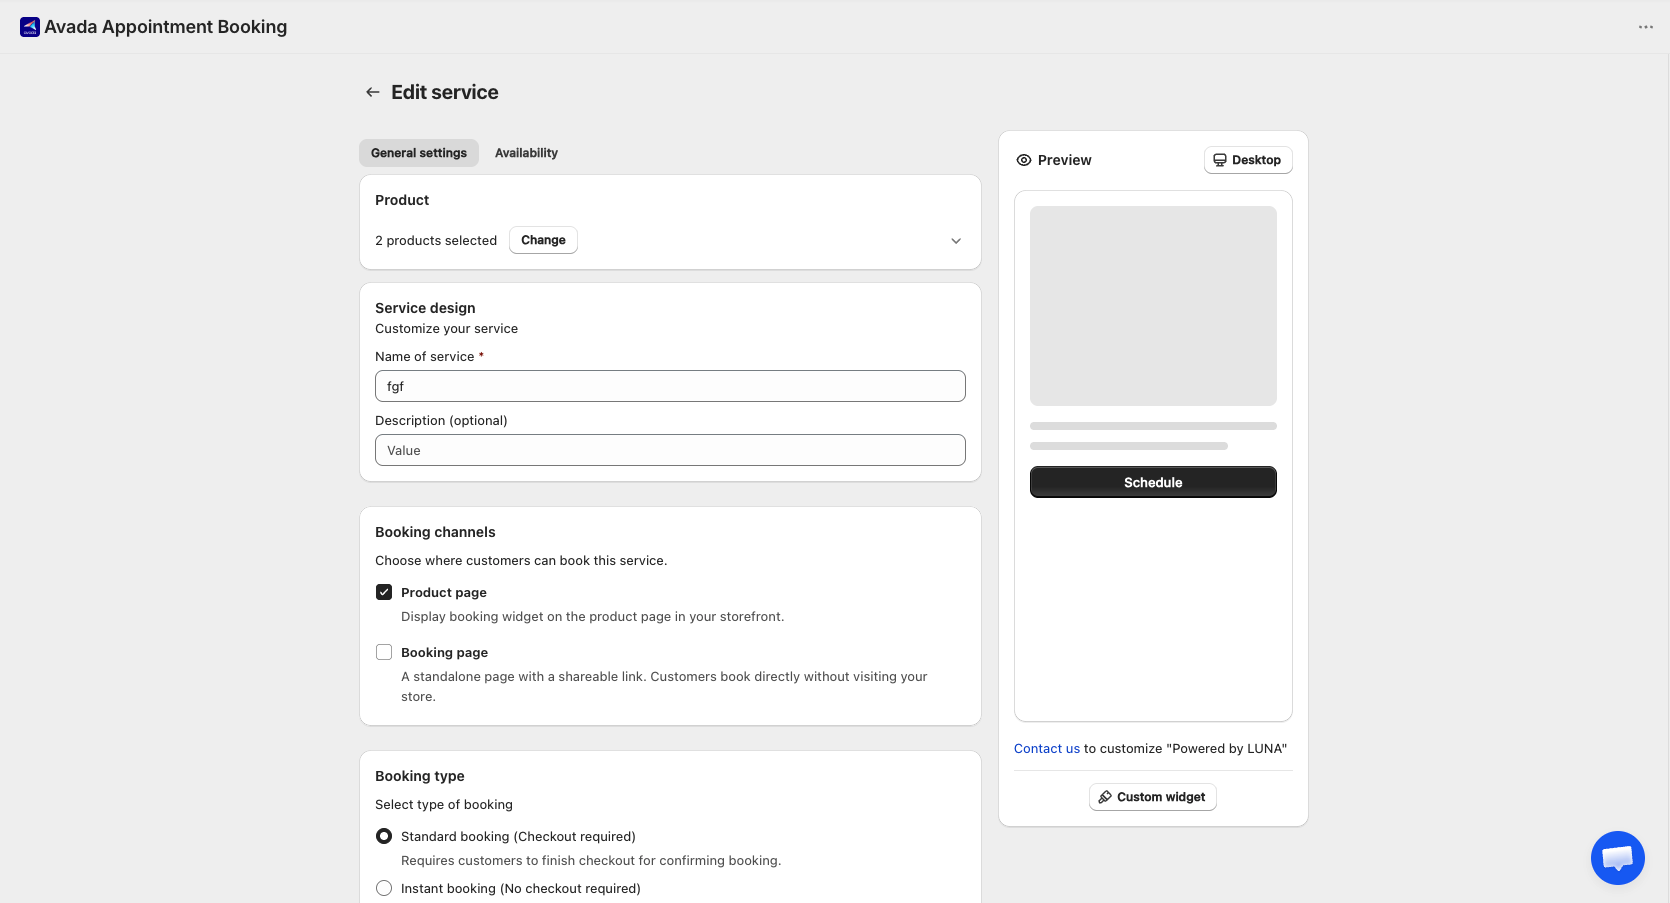
Page Structure
The tab is split into four cards:
- Product
- Service design
- Booking type
- Meeting location
1. Product
A service must be linked to a Shopify product. This is how customers pay — the product's price becomes the booking price.
Each product (or variant) can only be used for one service.
Selecting a Product
- Click Select product on the banner
- The Select a product modal opens
- Browse by All products or by Collections (tabs at the top)
- Use the search box to find a product by name
- Tick the products or variants you want
- Click Select product (or Select collection)
Notes:
- Products already used by another service are hidden
- Products with zero inventory still appear but are disabled
- You can tick Select all to pick every variant of a product, or every product in a collection, at once
- If you select multiple variants, they share the same service configuration. To configure variants differently, create a separate service for each
After Selecting
The card shows the product thumbnail, name, price, and variant. Click Change to swap to another product.
Change is hidden once the service has at least one appointment — to protect existing bookings from losing their linked product.
Product Not Found
If the linked product is deleted from Shopify later, a warning banner appears: "Product not found." Click Select product to link a new one.
2. Service Design
This is what customers see when browsing.
| Field | Required | Notes |
|---|---|---|
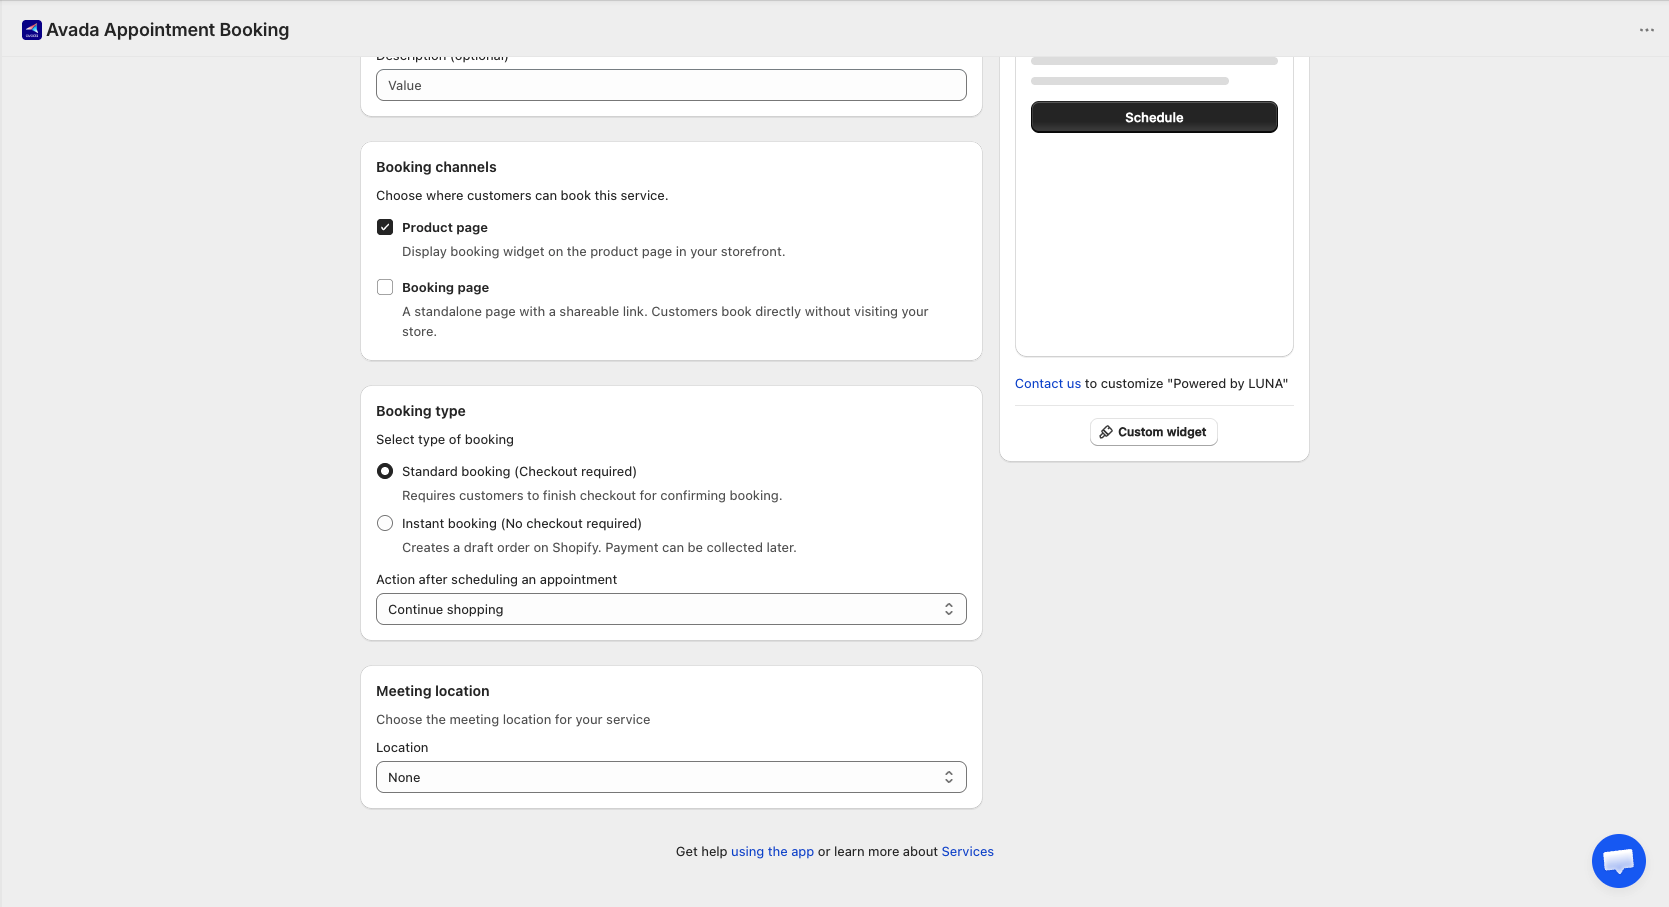
| Name of service | Yes | Shown to customers on the product page and confirmation emails |
| Description | No | Optional extra context — shown near the name |
3. Booking Channel
3.1 What are Booking Channels?
Each service has 2 distribution channels for customer bookings. You can toggle each channel independently:
| Channel | Description | Best for |
|---|---|---|
| 🏪 Product page | Booking widget embedded on your Shopify product page | Customers browsing your store |
| 🔗 Booking page | Standalone booking page with shareable link | Customers booking via email or social media |
⚠️ At least 1 channel must be enabled. If both are off, you can't save the service.
3.2 When to use each channel
- Product page only (default): service tied to a specific Shopify product
- Booking page only: running social media campaigns with shareable links
- Both: maximum flexibility — store traffic + direct links for VIP customers
3.3 How to set up
- Go to Services → select a service → Edit (or + Add service)
- Scroll to the bottom of the General settings tab → find the Booking channels card
- Check the channel(s) you want to enable
- Click Save
3.4 Booking page — Key details
URL format: {store-domain}/apps/booking/{service-slug}
- Slug is auto-generated from the service name. Duplicates get
-1,-2suffixes - URL never changes even if you rename the service → safe for shared links
- Use Copy to copy the link and Preview to test it
Booking page ALWAYS uses Instant booking:
- Customers confirm bookings directly on the page — no Shopify checkout
- A Draft Order is auto-created in Shopify for tracking
- Default status: Unpaid → you collect payment manually and mark as Paid, or send an invoice via the draft order
Branding: automatically uses your Settings → Branding (colors, fonts, watermark)
3.5 Default payment status by source
| Source | Booking type | Payment |
|---|---|---|
| 🏪 Product page | Standard | Paid |
| 🏪 Product page | Instant | Unpaid |
| 🔗 Booking page | Always Instant | Unpaid |
| 📝 Manual (admin-created) | — | Unpaid |
Default for new services: Product page ✅ ON · Booking page ❌ OFF
3.6 What happens to existing appointments when you disable a channel?
✅ Existing appointments are always preserved in both cases:
- Disable Product page: widget disappears from your store. To hide the product entirely, set Product status to Draft in Shopify
- Disable Booking page: URL stops working ("This booking page is unavailable"). Re-enable anytime → URL works again with the same slug
3.7 Track booking sources
Every appointment has a Source column showing where it came from:
- 🏪 Product page · 🔗 Booking page · 📝 Manual
You can filter the appointment list by Source to see which channel performs best.
3.8 Share Link Modal
Go to Service Management → service action menu → Share link (only visible when Booking page is ON). The modal shows: service info, Booking page URL + Product page URL (both with Copy buttons), Preview button, and a warning if the service is Inactive.
3.9 Quick comparison
| 🏪 Product page | 🔗 Booking page | |
|---|---|---|
| Customer entry point | Store → product page | Direct link |
| Booking type | Standard or Instant | Always Instant |
| Checkout flow | Standard: Yes / Instant: No | Never |
| Order created | Standard: Order / Instant: Draft | Always Draft Order |
| Default payment | Standard: Paid / Instant: Unpaid | Unpaid |
| Branding | Shopify theme | App branding settings |
4. Booking Type
Choose how a booking is confirmed.
Standard booking (Checkout required)
Customer must complete Shopify checkout to confirm the booking. This is the default and works like any other Shopify purchase.
Redirect after booking — pick where the customer goes after selecting a slot:
- Continue shopping (default)
- Go to cart page
- Go to checkout page
- Go to custom URL — enter a full URL (e.g., a thank-you page). Save is blocked until the URL is filled
Instant booking (No checkout required)
Customer confirms the booking directly on the page — no Shopify checkout. A draft order is created in Shopify so you can charge them later.
Best for: free consultations, deposits paid offline, or any flow where you don't need the customer to pay upfront.
Redirect options don't apply to Instant booking — the customer sees a confirmation screen instead.
5. Meeting Location
Tell customers where the service happens. The location is shown in the confirmation email and calendar invite.
Pick one from the dropdown:
| Option | Use when |
|---|---|
| None | The service doesn't need a location (e.g., digital delivery) |
| Google Meet | Online meeting via Google Meet |
| Phone call | You'll call the customer at a number you enter |
| Custom | Free text — any other location or instructions |
Online Meetings (Google Meet)
The platform has two modes:
Connected — The system generates a unique meeting link for every booking, sent automatically in the Appointment scheduled email. Connect your account in app settings.
Not connected — You enter a single meeting link manually. The same link is used for every appointment of this service. A warning banner appears reminding you to connect your account.
Phone Call
Enter the phone number customers should call (or that you'll call). The number is sent in the Appointment scheduled email.
Custom
Enter any text — an address, joining instructions, a private link. Used as-is for every appointment.
Connecting an integration account (Google / Zoom / Teams) is strongly recommended. Reusing a single meeting link across all appointments means customers could accidentally join someone else's session.
Saving
The service isn't fully set up until you also configure the Availability tab — staff, capacity, and time slots. Save is allowed once all required fields on General settings are filled, but customers won't be able to book until Availability is configured too.
Important Rules
- One product/variant can only be used for one service
- The Change product button disappears once the service has appointments
- If you pick an online meeting platform without connecting the account, you must provide a manual link — otherwise customers won't know where to join
- The redirect URL for "Go to custom URL" is required and validated before save