Getting started
Get your Shopify products ready for Google Shopping, Facebook and Instagram in a few minutes, with a short setup wizard.
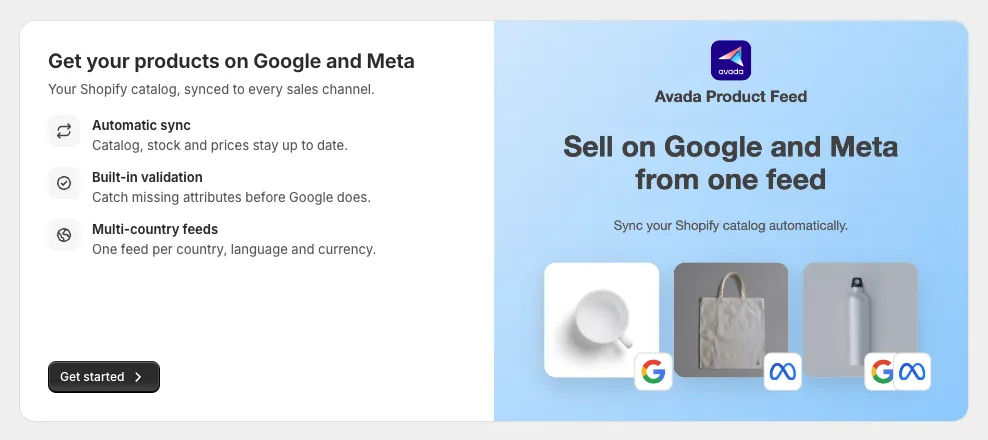
Here are 4 steps to go live. The wizard walks you through them in order, starting with the Get your products on Google and Meta screen. Click Get started to begin.
Before you start
The app starts loading your Shopify catalog as soon as you install it. Your products are ready by the time you create your first feed.
You need one of these accounts:
- A Google Merchant Center account, to list products on Google. Merchant Center is Google's account where your product listings live.
- A Meta Business portfolio, to list products on Facebook and Instagram.
1. Choose where to list your products
Pick the channel where your shoppers are, so your products show up there first.
- On Choose where to list your products, pick Google or Meta Catalog.
- Click Continue.
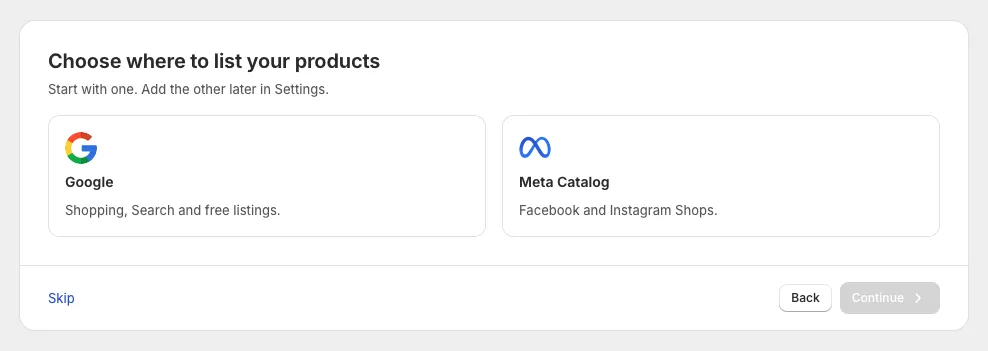
To add the second channel later, go to Settings.
2. Connect your account
Connecting lets the app send your products to your own account, and bring back whether they were approved.
- Google: click Connect Google account and sign in with Google. Pick your account in the Merchant Center account list, then click Continue.
- Meta: click Connect Meta account and sign in with Facebook. Pick your portfolio in the Business portfolio list, then click Continue.
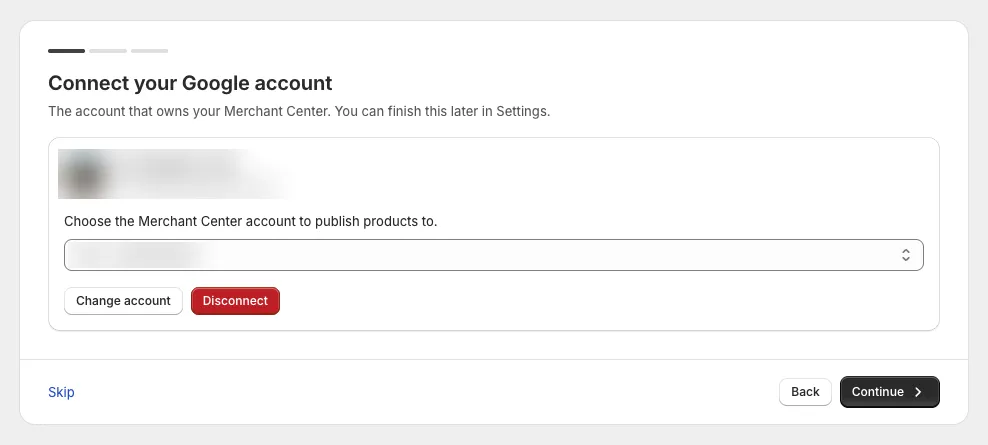
Not ready yet? The main button reads Skip for now until your account is connected. Click it and connect later in Settings.
3. Verify your website (Google only)
Google only shows products from a website you have verified and claimed in Merchant Center. Checking it now saves you from products being disapproved later.
- On Verify your Merchant Center website, check that your website shows as verified and claimed for your store.
- If it does not, click Business info to fix it in Merchant Center. Then come back and click Recheck.
- Click Continue when you are done.
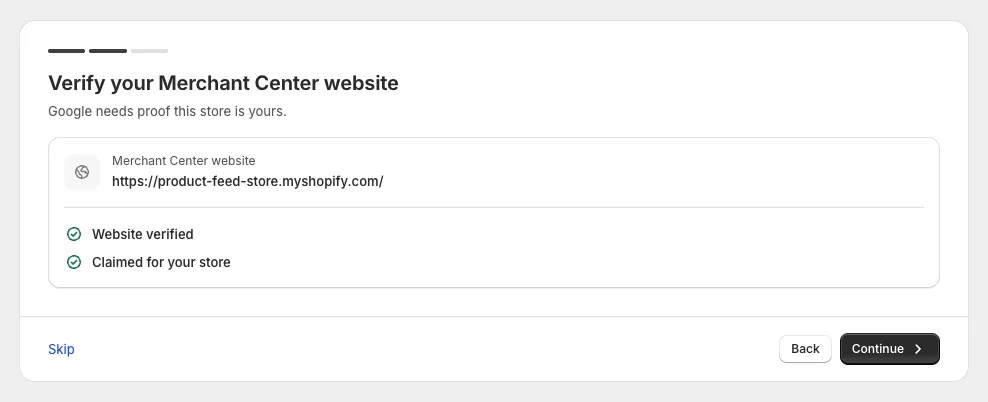
If your website is still not verified, the app asks you to confirm. Click Continue anyway to finish setup now and fix it later. Until then, Google may disapprove your products.
If Google is not connected yet, this step shows Skip for now instead.
4. Create your first feed
A feed is the list of products the app sends to Google or Meta for one market. Once it syncs, your products can start showing to shoppers.
On You're ready to go, choose one:
- Create your first feed: click Set up feed to build a feed right away.
- Explore the app: click Go to dashboard to look around first. The Setup guide on the Dashboard has a Create feed button for later.
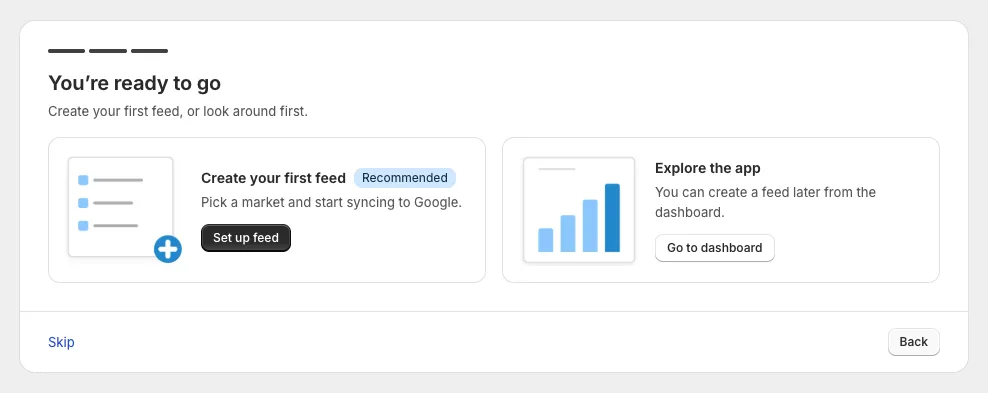
To leave the wizard at any point, click Skip at the bottom left. It takes you to the Dashboard. You can connect accounts later in Settings.
What's next
- Dashboard: see which products are showing and what to fix first.
- Catalog sync: turn on automatic sync so your feeds stay up to date.
Still have questions?
Chat with us from the app, any time.