Dashboard
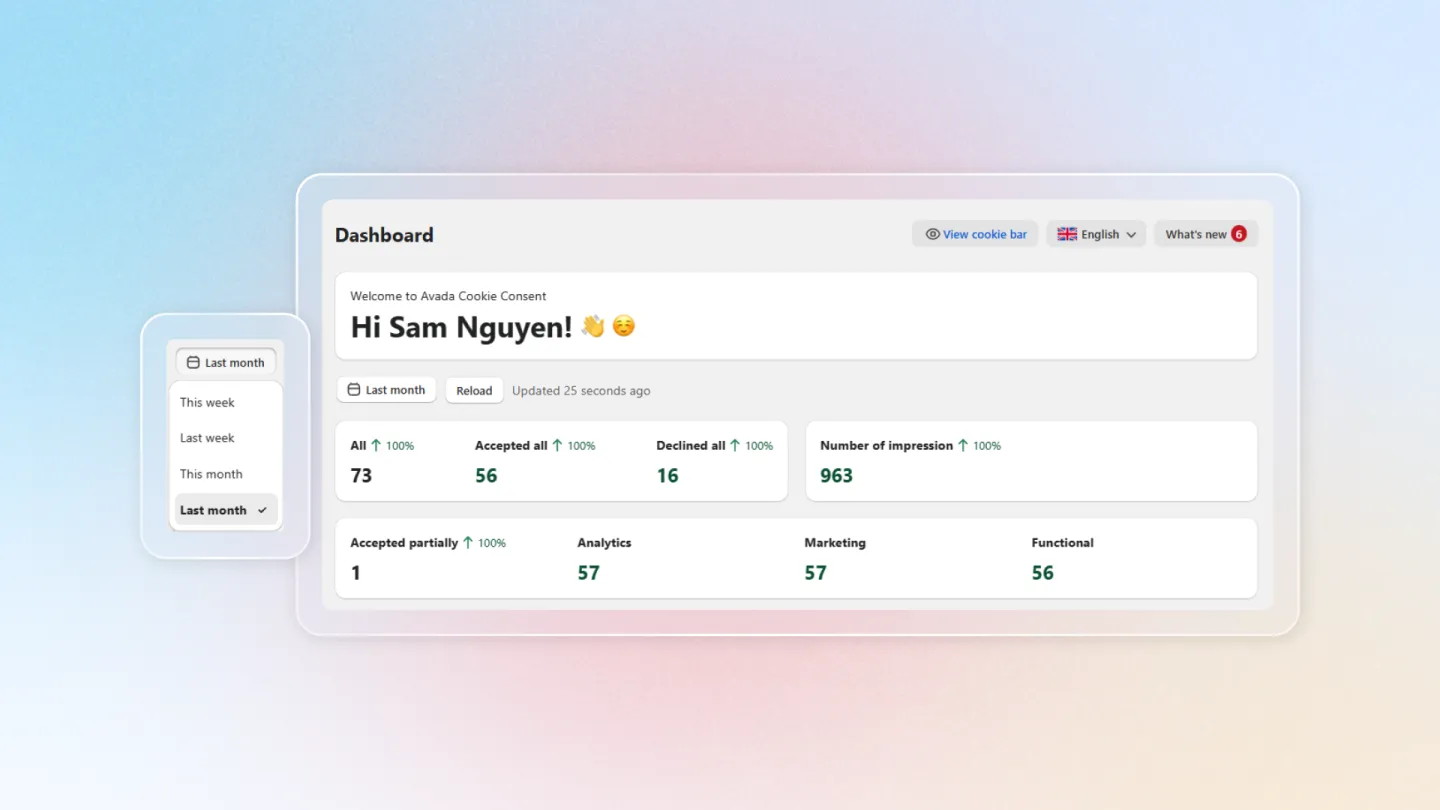
The Dashboard gives you a quick overview of how visitors interact with your cookie consent banner. You can monitor consent activity, track key metrics, and access essential setup tools from one place.
Dashboard Tabs
The dashboard displays consent data across the following tabs:
| Tab | Description |
|---|---|
| All | Total number of visitors who saw the cookie banner |
| Accepted all | Visitors who accepted all cookie categories |
| Declined all | Visitors who declined all cookies |
| Impressions | Total banner impressions across your store |
| Accepted partially | Visitors who accepted some cookie categories but not all |
| Analytics | Visitors who consented to analytics cookies |
| Marketing | Visitors who consented to marketing cookies |
| Functional | Visitors who consented to functional cookies |
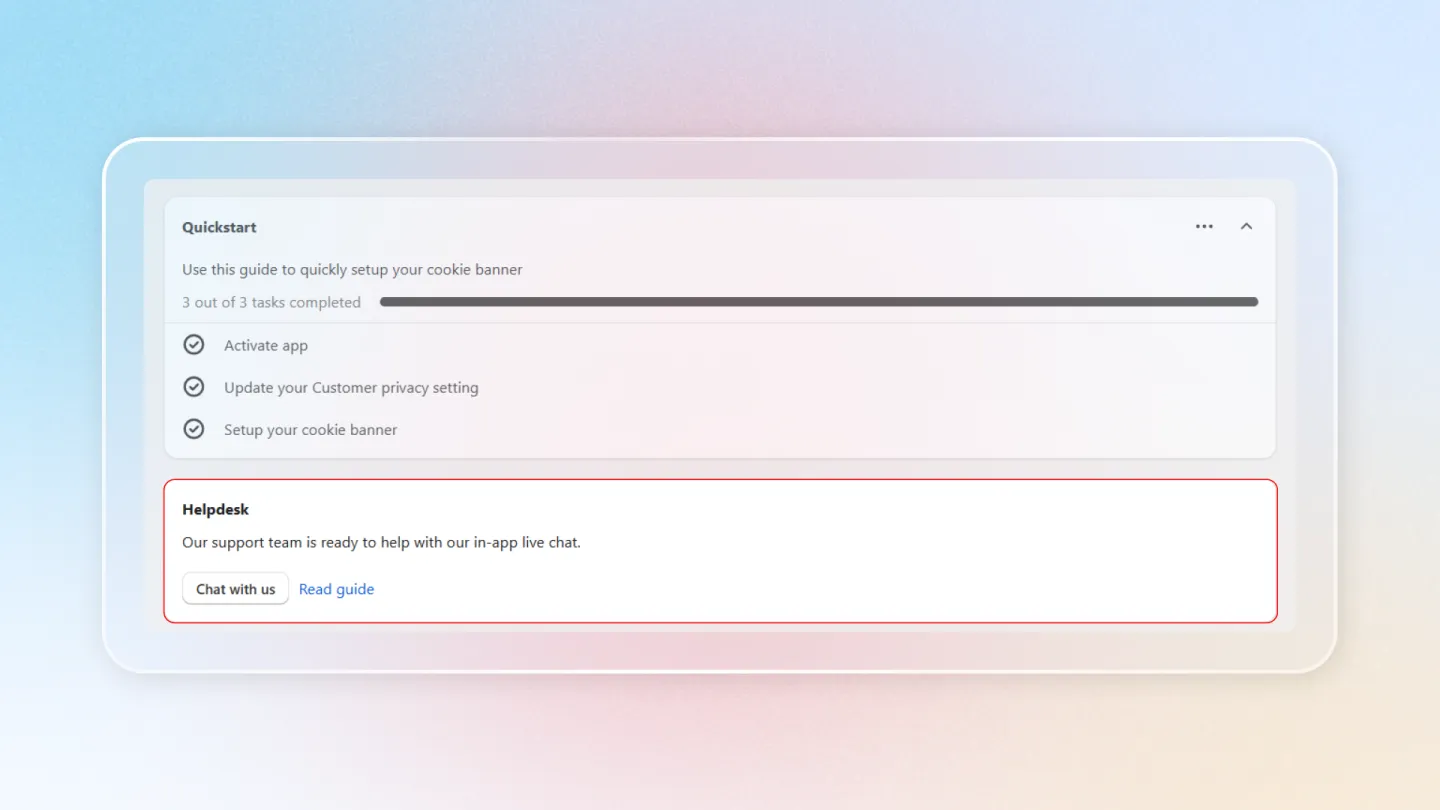
Quickstart Guide
The Quickstart section on the dashboard walks you through the essential steps to get your cookie banner up and running.
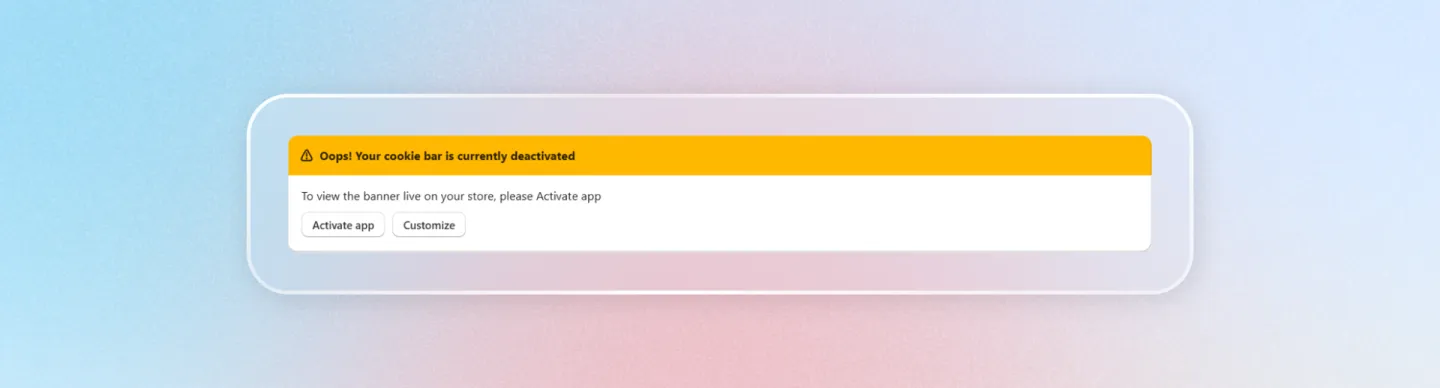
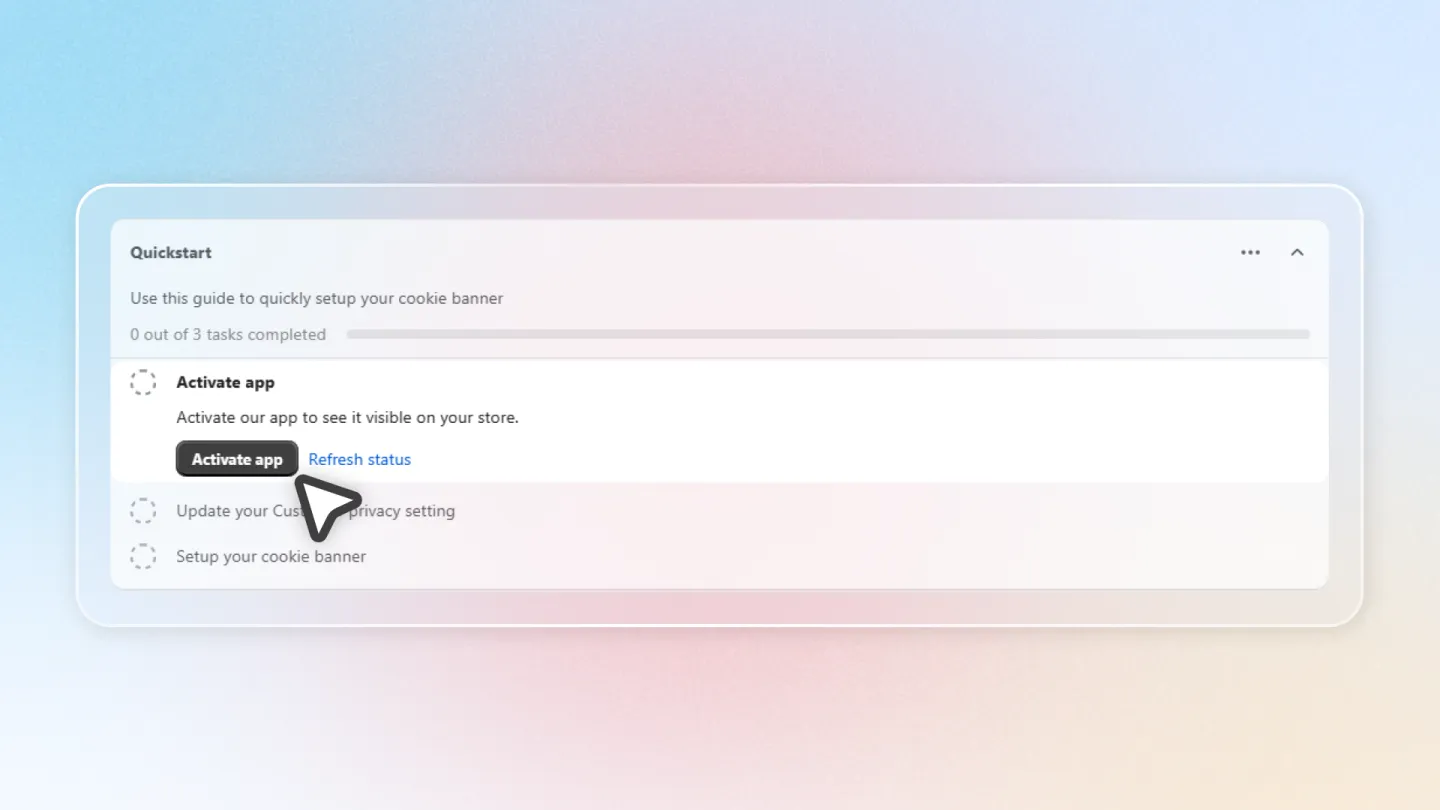
Activate App
Enable the Avada Cookie Consent app on your Shopify store. Toggle the app status to Active to start showing the cookie banner to your visitors.
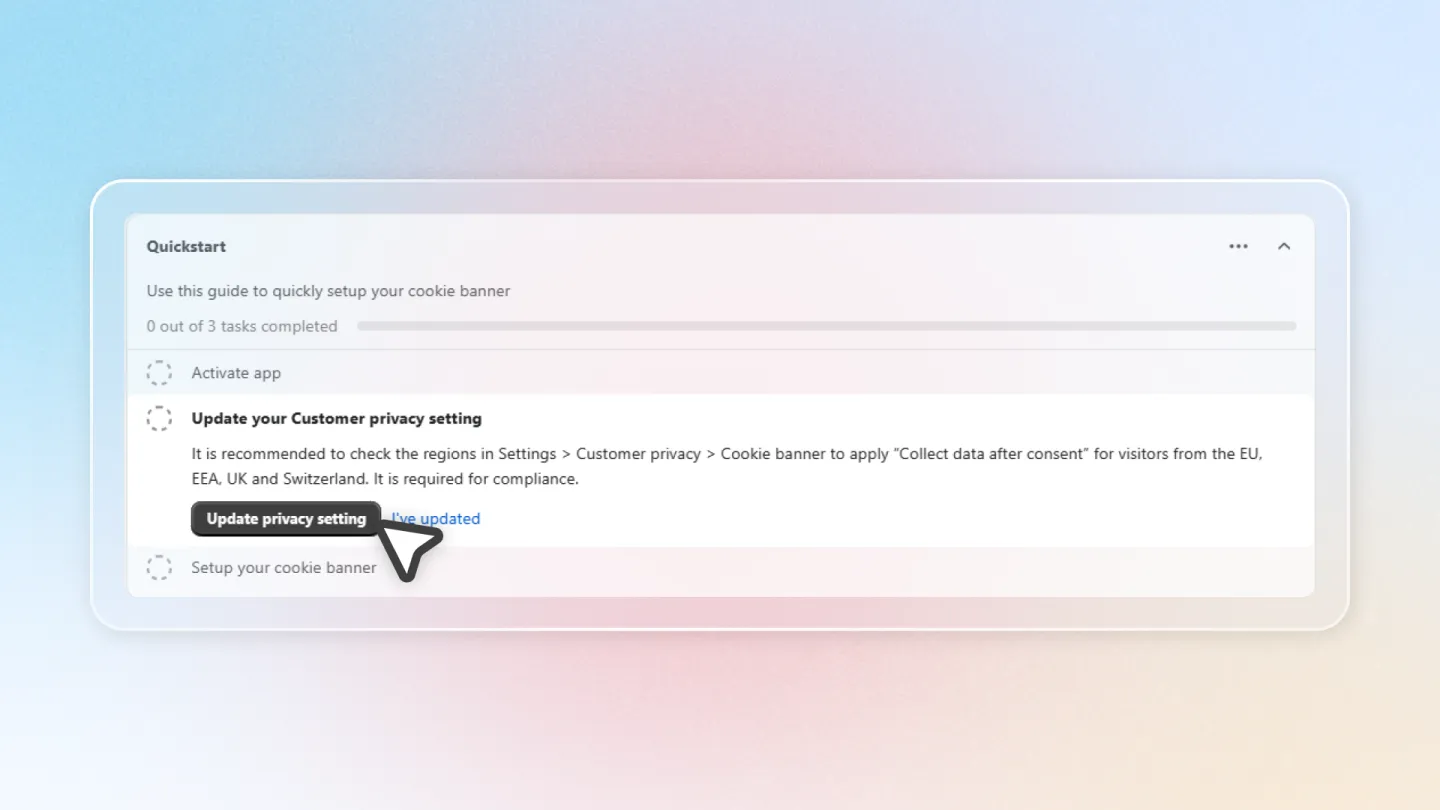
Update Customer Privacy
Navigate to your Shopify Admin Settings > Customer Privacy to configure the privacy settings. Make sure Avada Cookie Consent is set as your cookie consent provider.
Setup Cookie Banner
Customize your cookie banner's appearance, content, and behavior. Choose from available templates, set your compliance region, and configure the consent message.
Helpdesk
Access the Help Center for guides, FAQs, and support resources. You can also contact the support team directly if you need assistance.
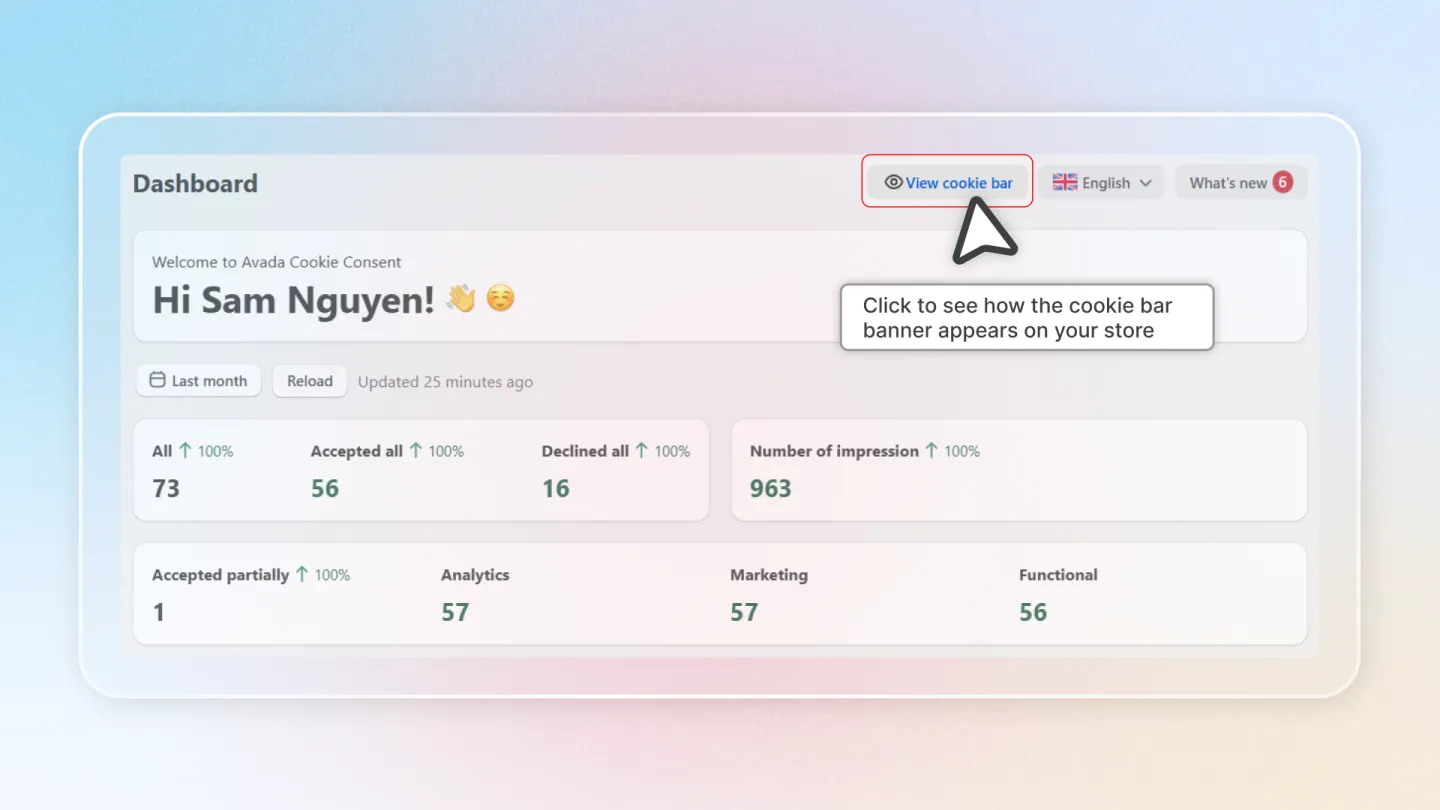
Preview & Management
Preview how your cookie banner looks on desktop and mobile devices. Manage your cookie list and review consent activities from this section.
Complete all five Quickstart steps to ensure your store is fully compliant with privacy regulations.