Integrate with Meta Pixel
The Meta Pixel integration makes your Meta Pixel (formerly Facebook Pixel) respect each visitor's cookie choice. Avada loads the pixel only after the visitor accepts Analytics and Marketing cookies, so Facebook and Instagram do not track visitors who have not given consent.
The Meta Pixel integration is available on the Pro plan and above.
Open the Meta Pixel integration
In the Avada Cookie Consent app, go to Integrations and click Meta Pixel.
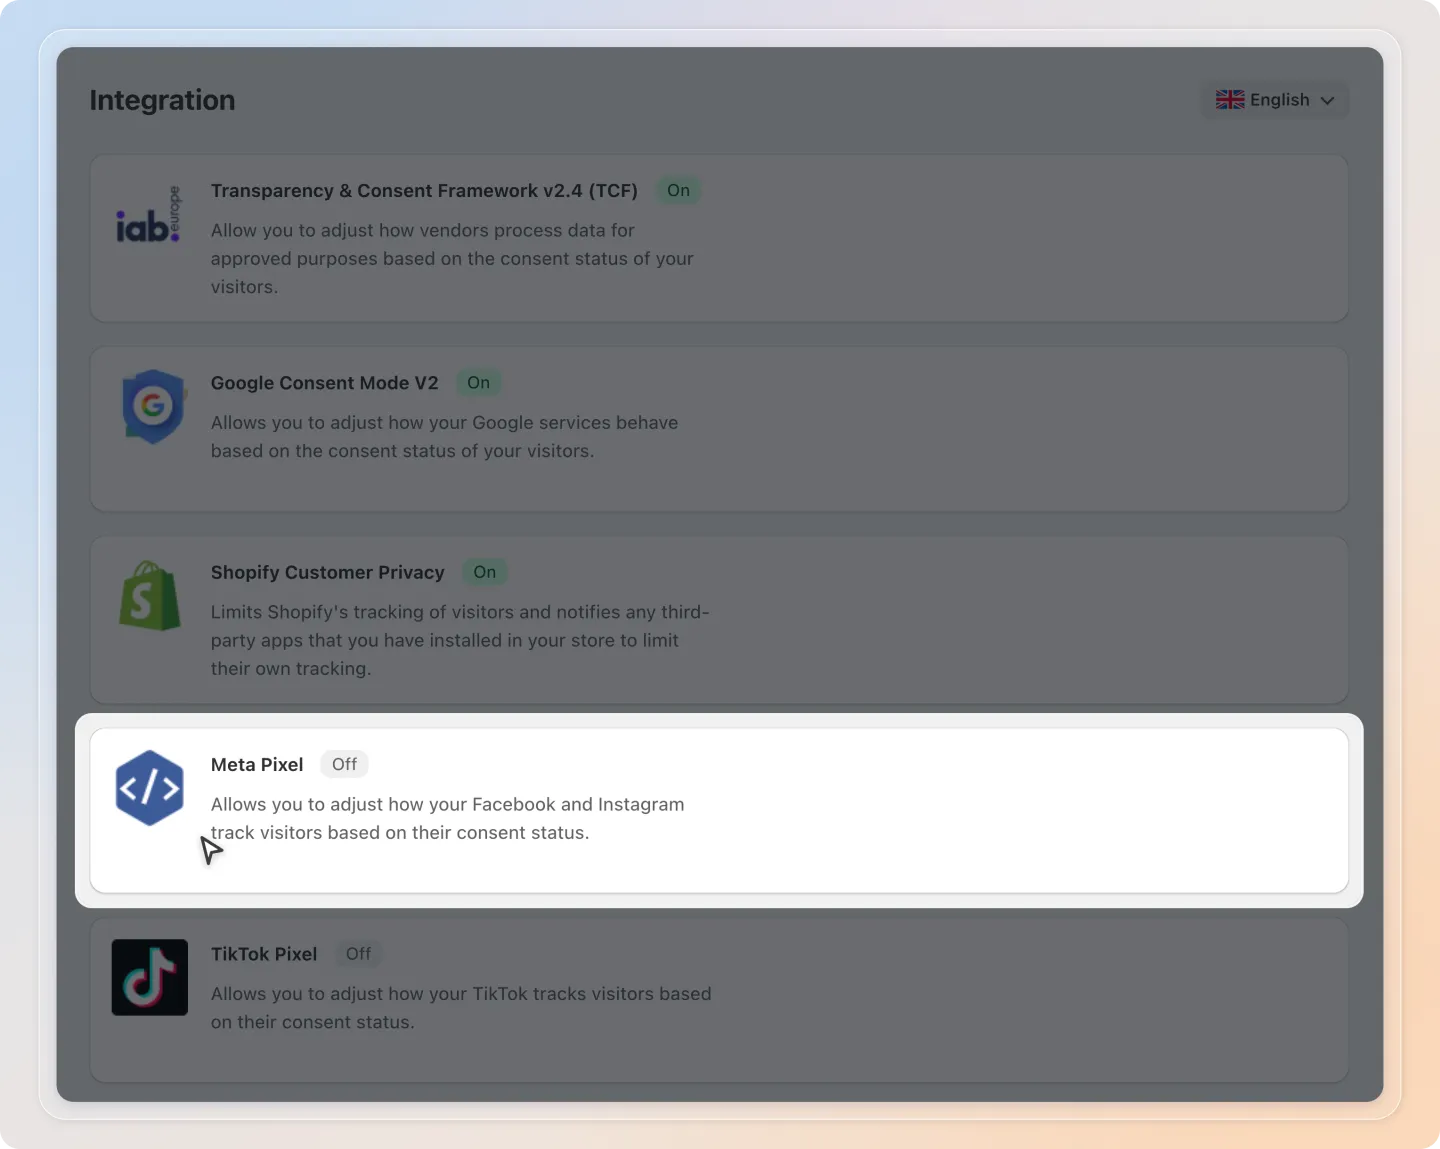
Add your Meta Pixel ID
In Step 1: Set up for integration, enter your Meta Pixel ID in the Your Meta Pixel script field. If you have more than one pixel, separate the IDs with commas. Then click Save in the bar at the top of the page.
You can find your Pixel ID in Meta Events Manager > Data sources. It is a number such as 123456789012345.
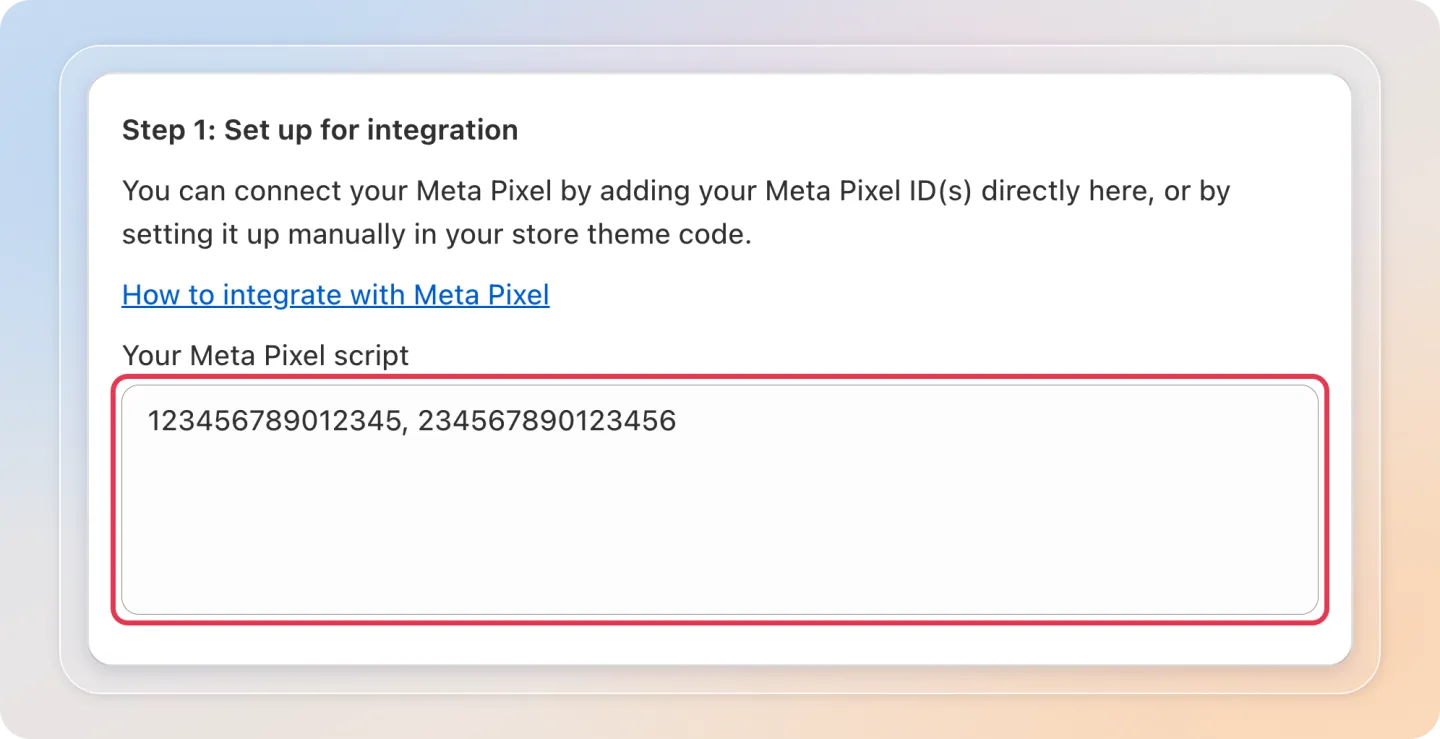
You can also paste your full pixel base code from Meta Events Manager instead of the ID. You can paste it as is, including the <script> tags.
Skip this step if your Meta Pixel is already loaded from your theme.liquid, or if it comes from the Facebook & Instagram sales channel. Do not add the same Pixel ID in more than one place.
Turn on the integration
In Step 2: Integrate with Meta Pixel, click Turn on. The status changes to On.
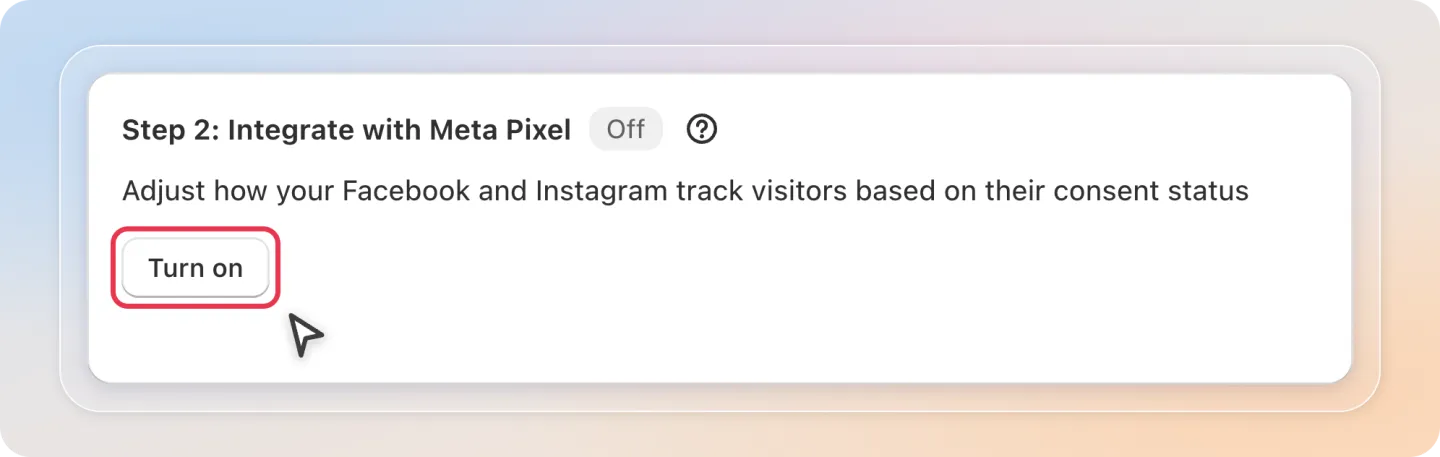
Once turned on, the Meta Pixel fires only after a visitor accepts both Analytics and Marketing cookies. If the visitor rejects them, the pixel does not track that visitor. You can click Turn off at any time to stop the integration.