Integrate with Google Consent Mode
Google Consent Mode V2 lets your Google tags (Google Analytics, Google Ads, Google Tag Manager) adjust how they behave based on each visitor's consent choice. When a visitor has not consented to Analytics or Marketing cookies, Google tags run in a restricted mode and do not store cookies for those purposes.
Google Consent Mode V2 is available on the Pro plan and above.
Open the Google Consent Mode V2 integration
In the Avada Cookie Consent app, go to Integrations and click Google Consent Mode V2.
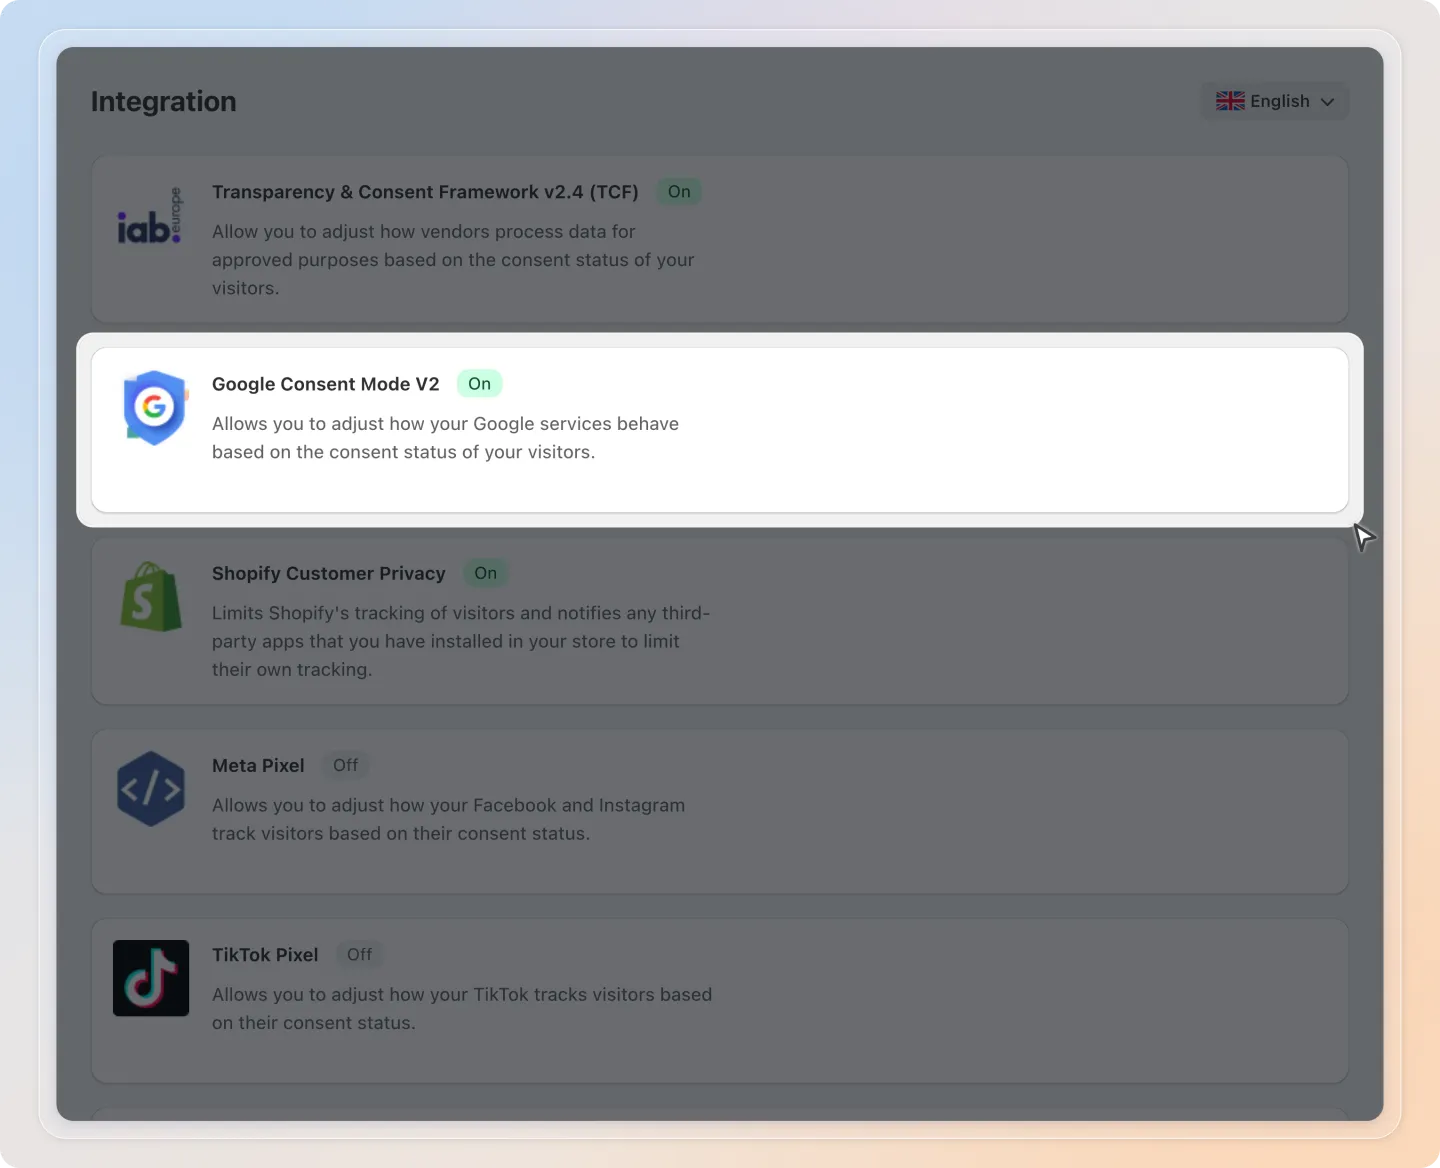
Choose how to set up the integration
In Step 1: Set up for integration, pick the option that matches how Google tags are installed on your store.
| Your situation | Use |
|---|---|
| You have not installed Google tags yet, or you are happy to let Avada load them | Option A |
Google tag (gtag.js) or Google Tag Manager is already added to your theme.liquid | Option B |
Option A: Set up both tracking and Consent Mode through Avada
Enter your IDs and Avada loads your Google tags and sets up Consent Mode for you. No theme code is needed.
- Click Option A: Set up both tracking and Consent Mode through Avada to expand it.
- Enter the IDs you use. If you have more than one ID of the same type, separate them with commas.
- Google Analytics ID (GA4), for example
G-XXXXXXXXXX - Google Ads ID (AW), for example
AW-XXXXXXXXX - Google Tag Manager ID (GTM), for example
GTM-XXXXXXX
- Google Analytics ID (GA4), for example
- Click Save in the bar at the top of the page.
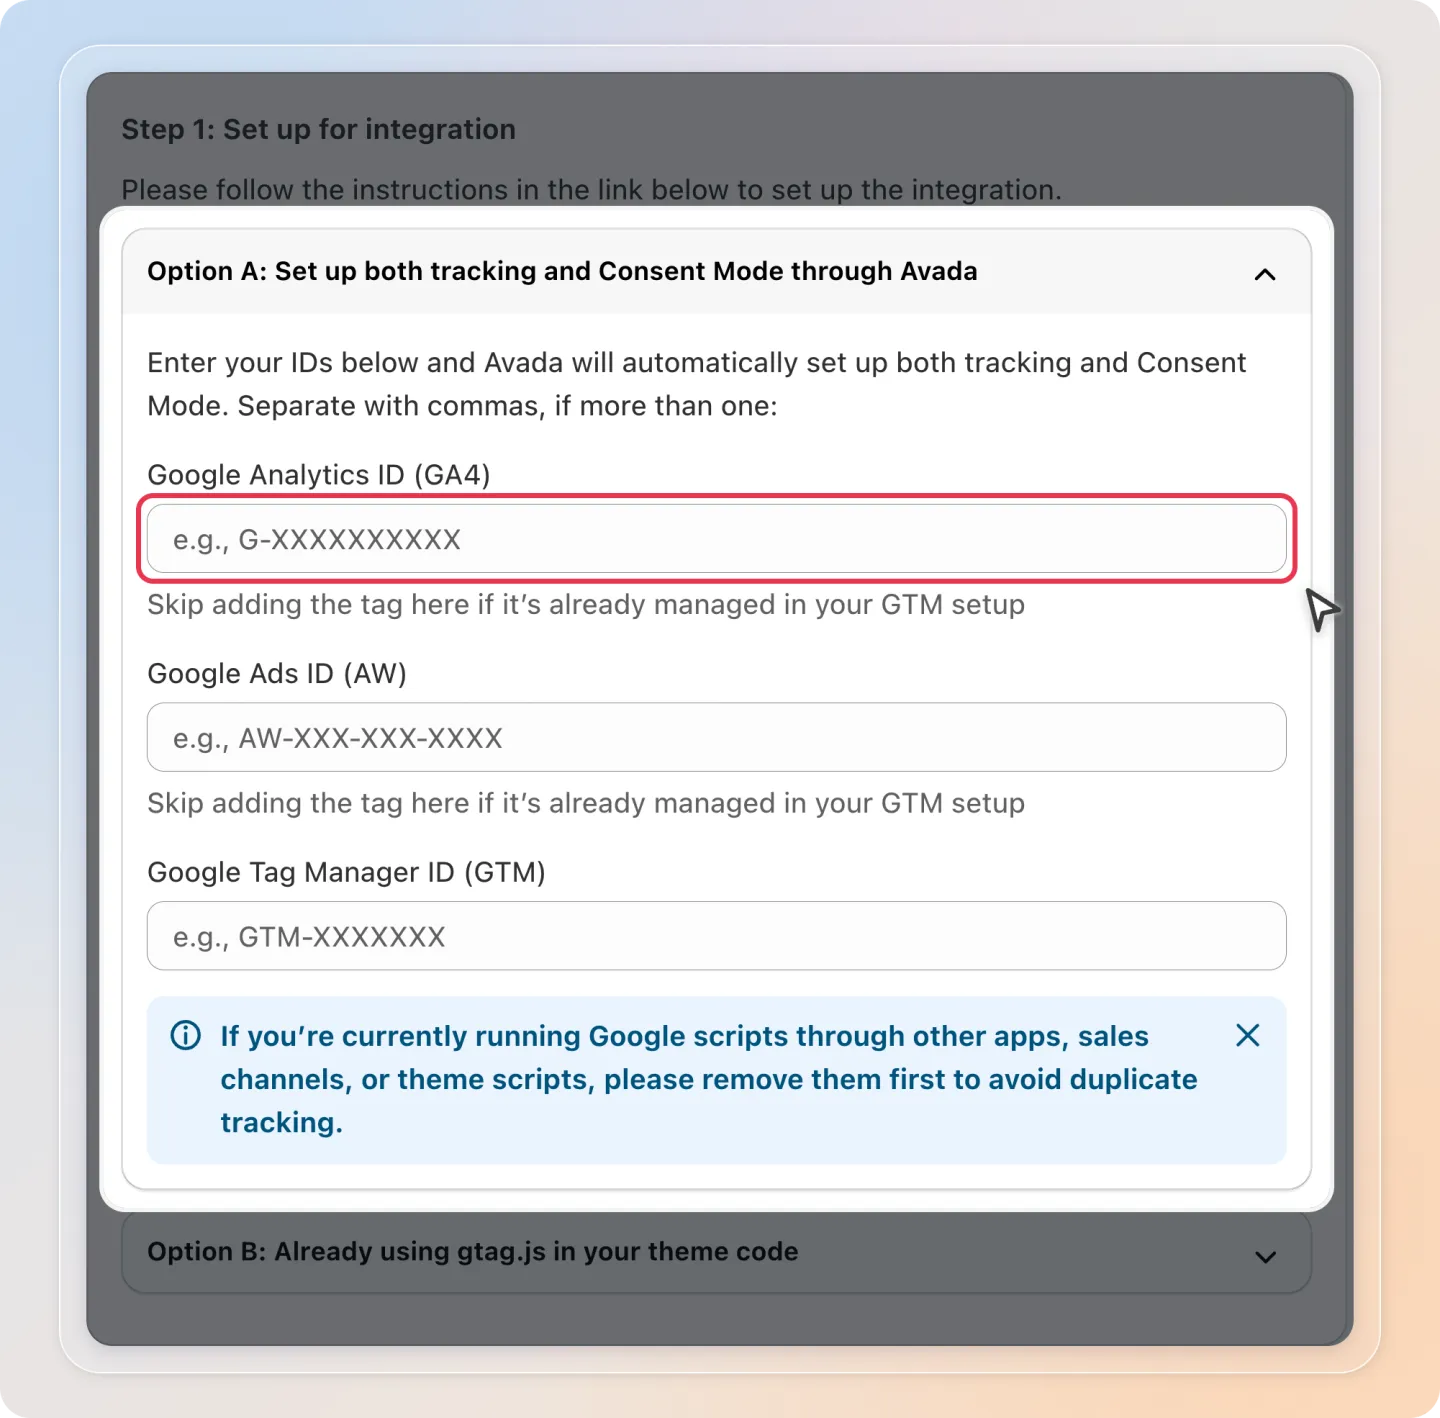
Remove any Google scripts that already run through other apps, sales channels, or your theme code before you use Option A. Otherwise your store sends the same data twice. If your GA4 or Google Ads tag is already managed inside your GTM container, enter only the GTM ID.
Option B: Already using gtag.js in your theme code
Use this option if your Google tag or GTM snippet is already in theme.liquid. You add a small Avada script that sets the default consent state before your Google tags load.
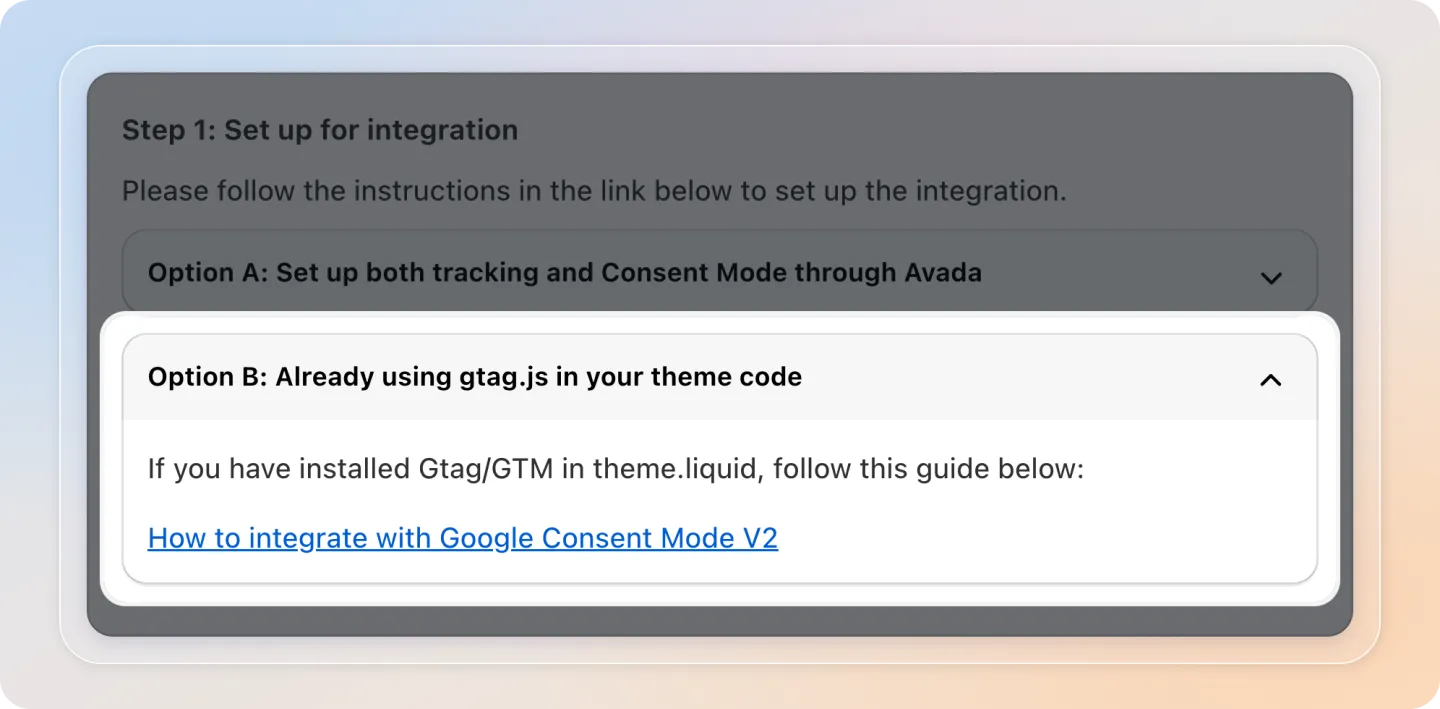
Download the integration file: avada-cookiebar-gcm-integration.js (right-click the link and choose Save link as).
- Go to Shopify Admin > Online Store > Themes. On your current theme, click the ... button, then click Edit code.

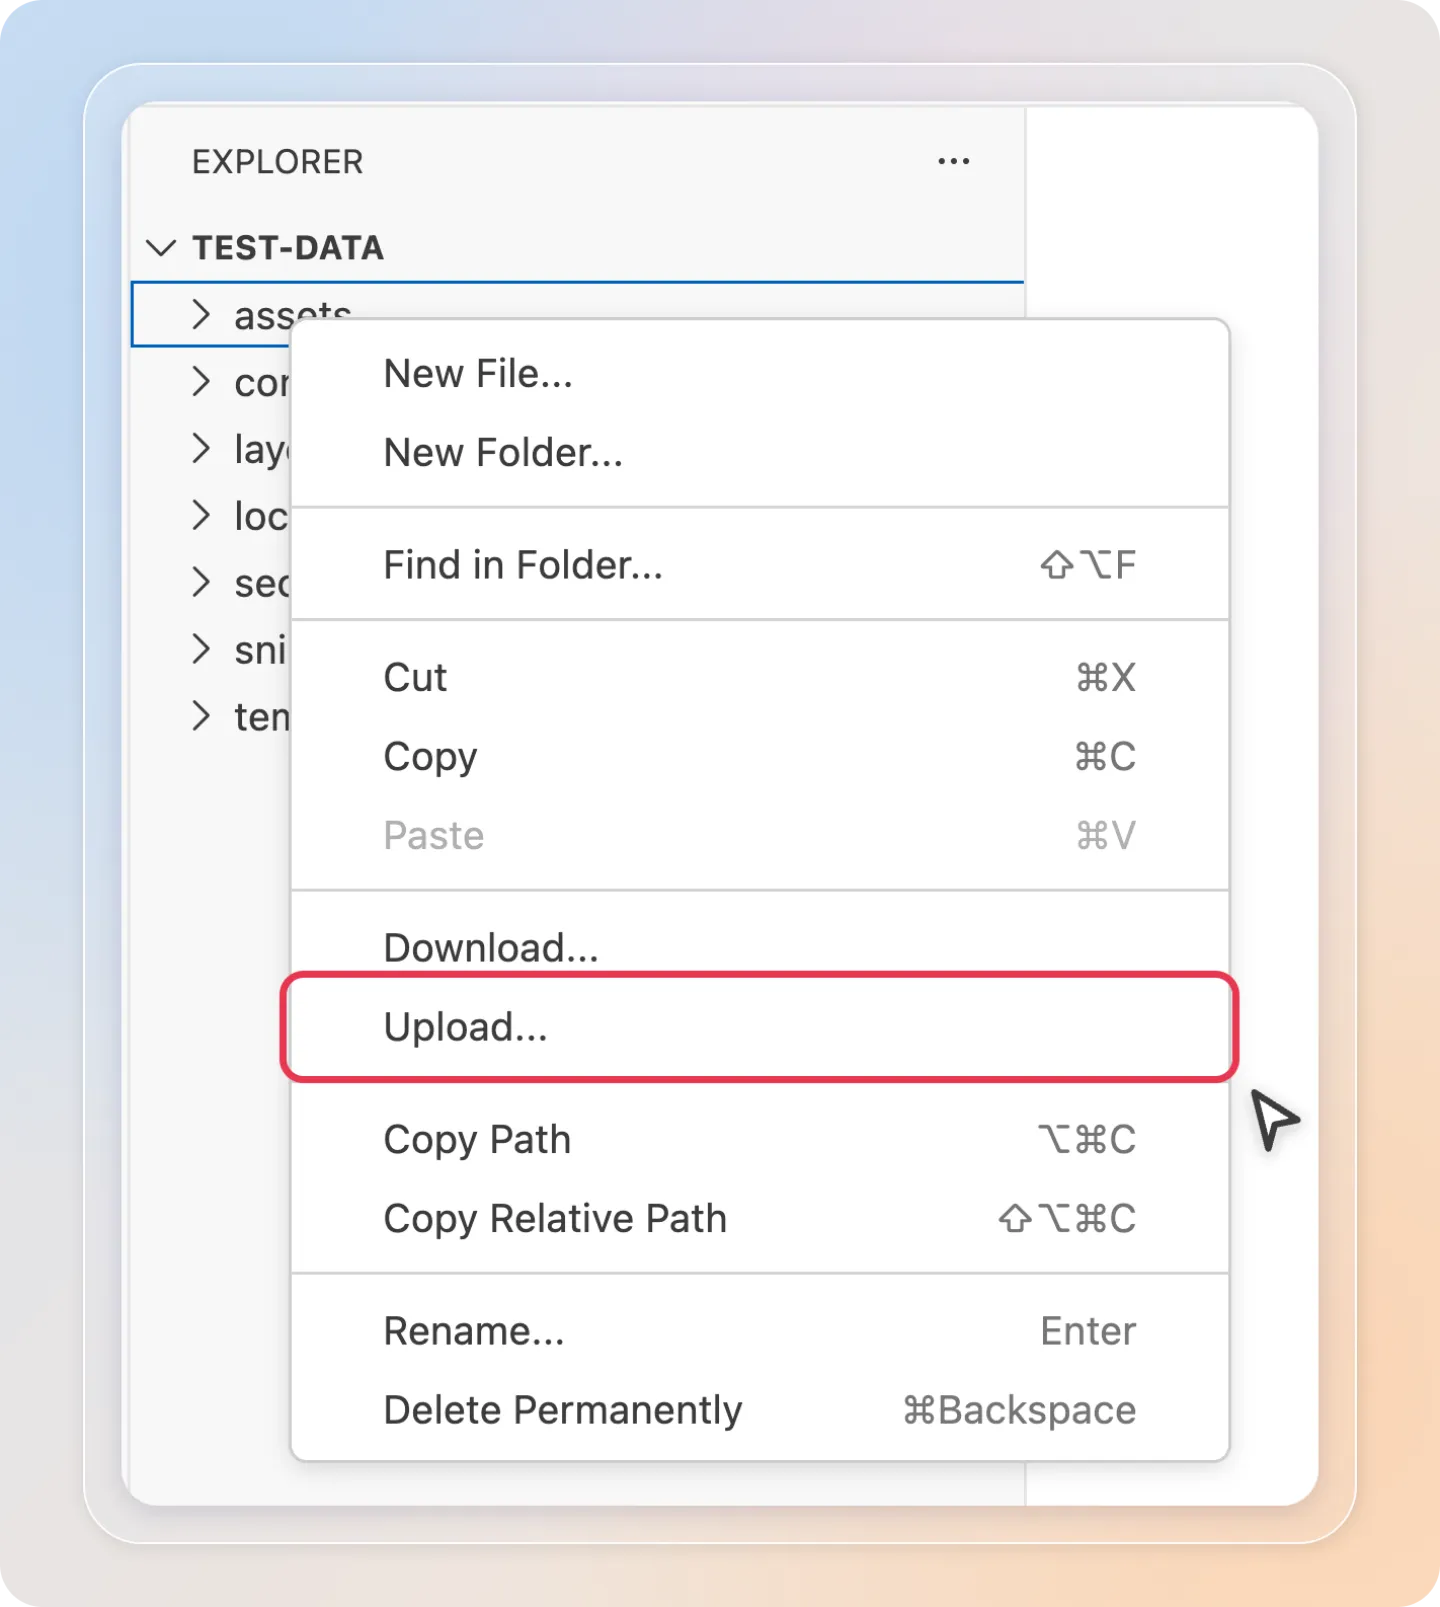
- In the file list, right-click the assets folder, click Upload..., and select the
avada-cookiebar-gcm-integration.jsfile you downloaded.
- Open layout > theme.liquid. Paste the line below inside
<head>, above your Google Tag Manager or gtag.js script, then click Save.
<script src="{{ 'avada-cookiebar-gcm-integration.js' | asset_url }}"></script>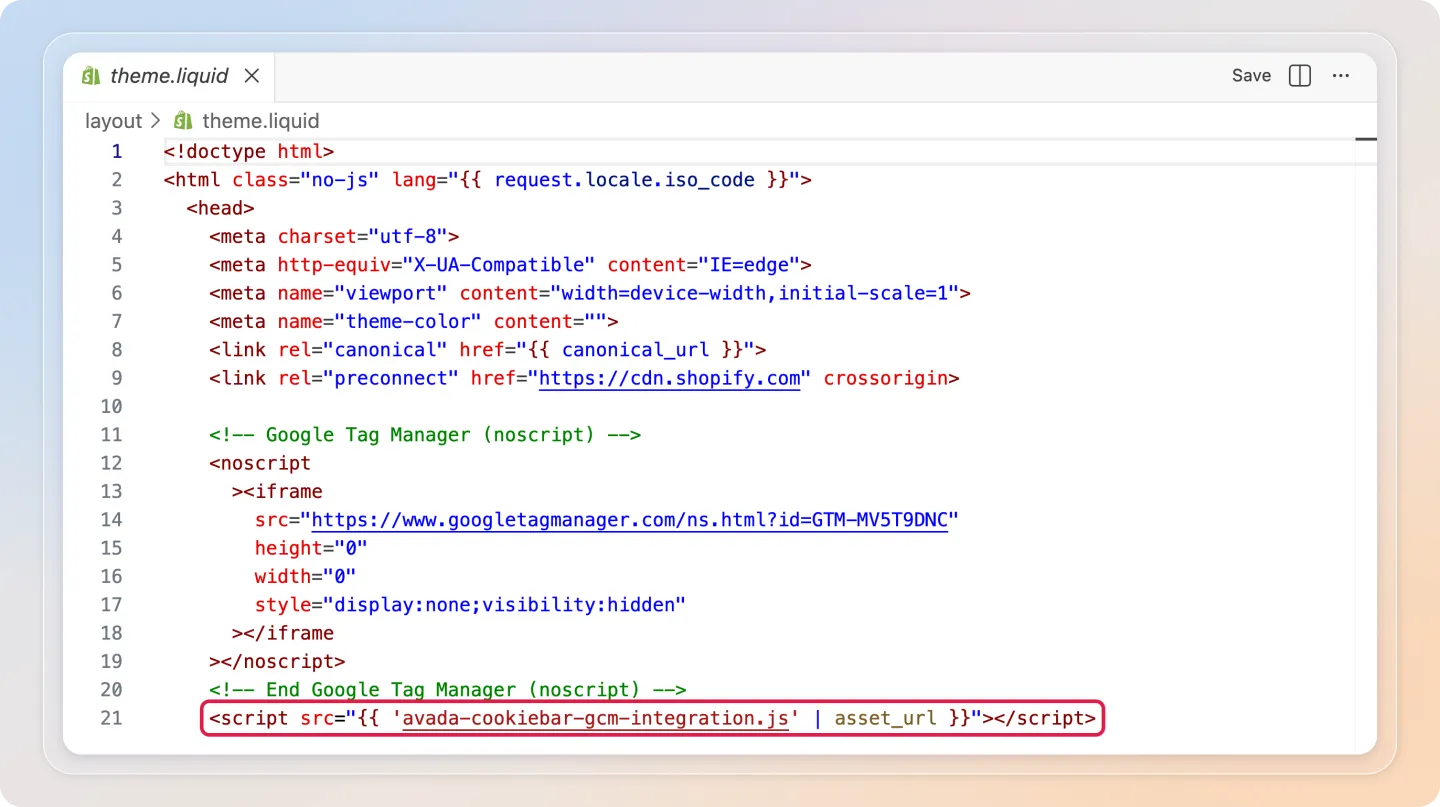
Do not add defer or async to this script tag. The script must run immediately, before your Google tags load, so that Google receives the default consent state first.
Updating from an older version? Delete the old avada-cookiebar-gcm-integration.js from your assets folder, upload the new file, and check that the script tag in theme.liquid matches the line above.
Turn on Google Consent Mode V2
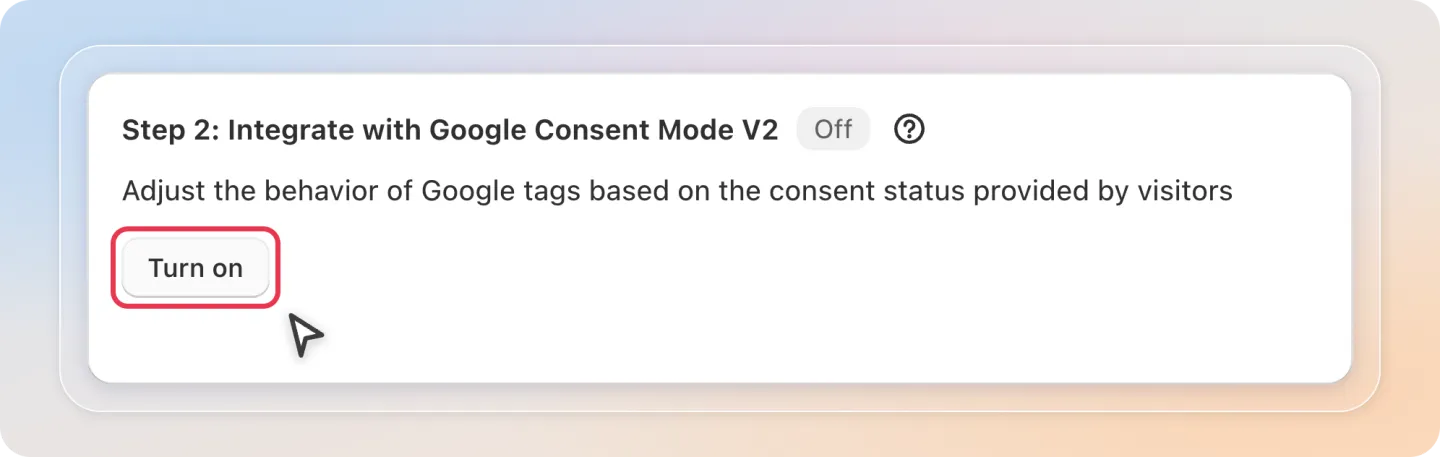
In Step 2: Integrate with Google Consent Mode V2, click Turn on. The status changes to On.
Test the integration
In Step 3, click View guide to follow the step-by-step test in the app. In short:
- Open your storefront and check the consent values in the browser console.
- Accept the cookie banner.
- Check that the values change to
granted.
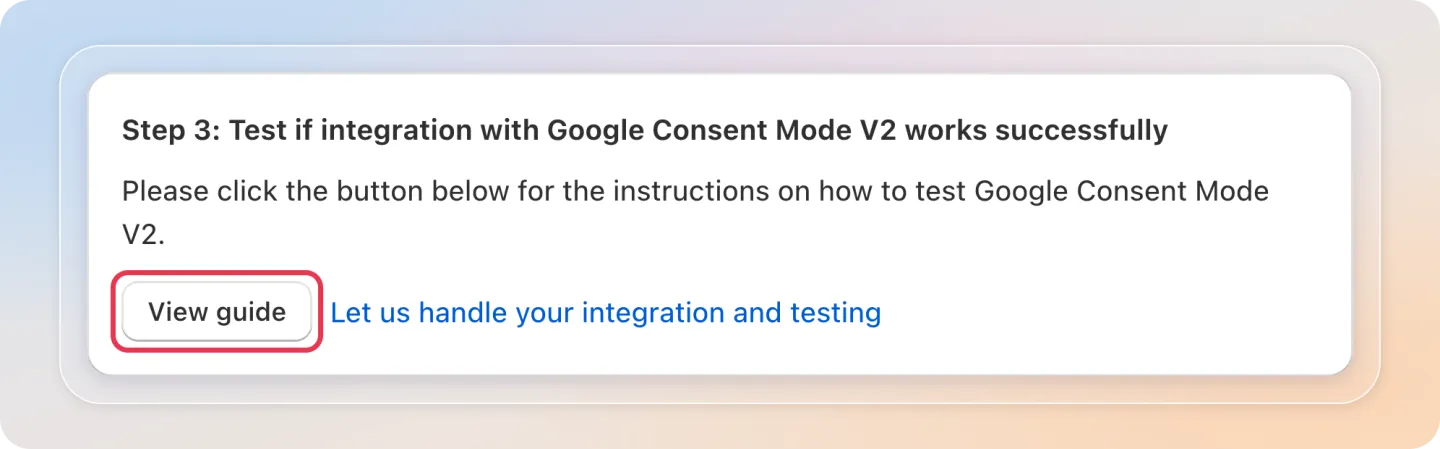
If you prefer, click Let us handle your integration and testing and our support team will set it up and test it for you.
Once turned on, Avada passes each visitor's choice to Google as consent signals. Marketing cookies control ad_storage, ad_user_data and ad_personalization. Analytics cookies control analytics_storage. Functional cookies control functionality_storage and personalization_storage. security_storage is always granted.
Before you uninstall Avada Cookie Consent, remove the integration file and the script tag from your theme so no leftover code stays in theme.liquid.