Quick Start (3 Steps)
The Quickstart card on your dashboard tracks these three steps. Once all three are done, your customers can start editing their orders.
Step 1 — Configure your settings
Open Settings in the sidebar and decide:
- Allowed edit types — which actions you let customers perform: Edit address, Cancel order, Add note. You can enable any combination.
- Edit time window — until when customers can edit. Options: until fulfilled (default) or within X hours / minutes after order.
- Max edits per order — cap how many times a single order can be edited (off by default = unlimited).
- Email notifications — all events (every edit + cancel) or cancel only (default).
Read the full settings guide at Settings → Allowed edit types.
Step 2 — Enable the app
The app is off by default until you flip the master toggle. Open Settings and turn on Enable customer-facing edits. This is the kill-switch — if anything goes wrong you can disable instantly without uninstalling.
Step 3 — Add the widget to your theme
The customer-facing block is a Shopify Theme App Extension. To add it:
- Open your theme editor: Online Store → Themes → Customize.
- From the top dropdown, switch to Order Status Page (under Checkout & system pages in newer themes, or the customer account flow in older themes).
- Click Add block in the main section and pick Edit your order — Avada.
- Save.
Now place a test order on your store and open the order from the confirmation email — you should see the Edit your order card inline:
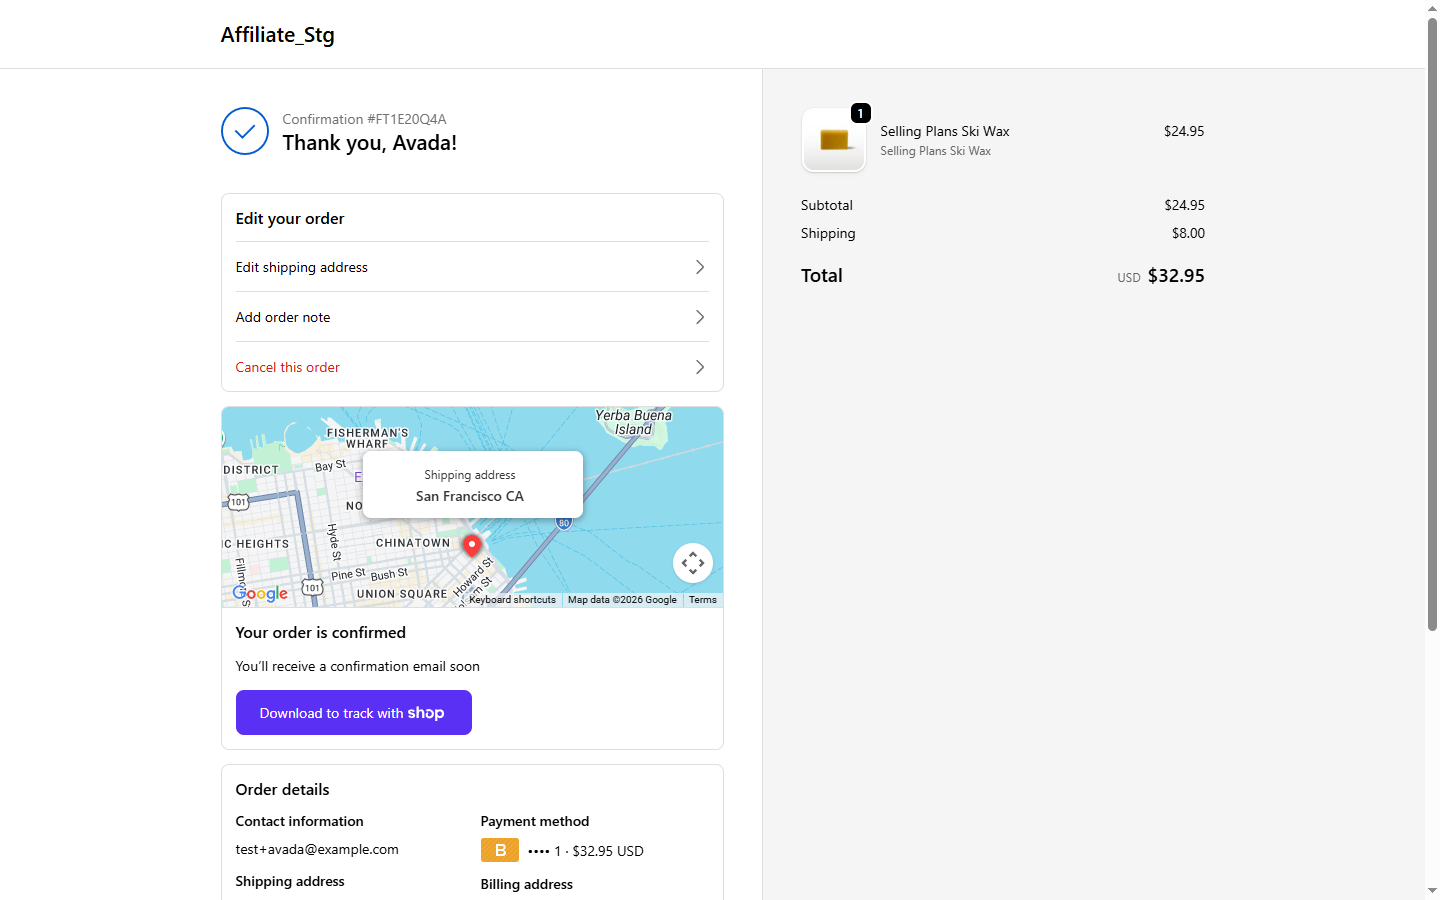
Verify it works
The Quickstart card on your dashboard will show 3 / 3 completed once all three steps are done. If a step is missing, the card shows you exactly which one.
Next step
- Walk customers through the Customer edit flow.
- Check the Activity page after your first edit comes in.